Product Overview
What Are They?
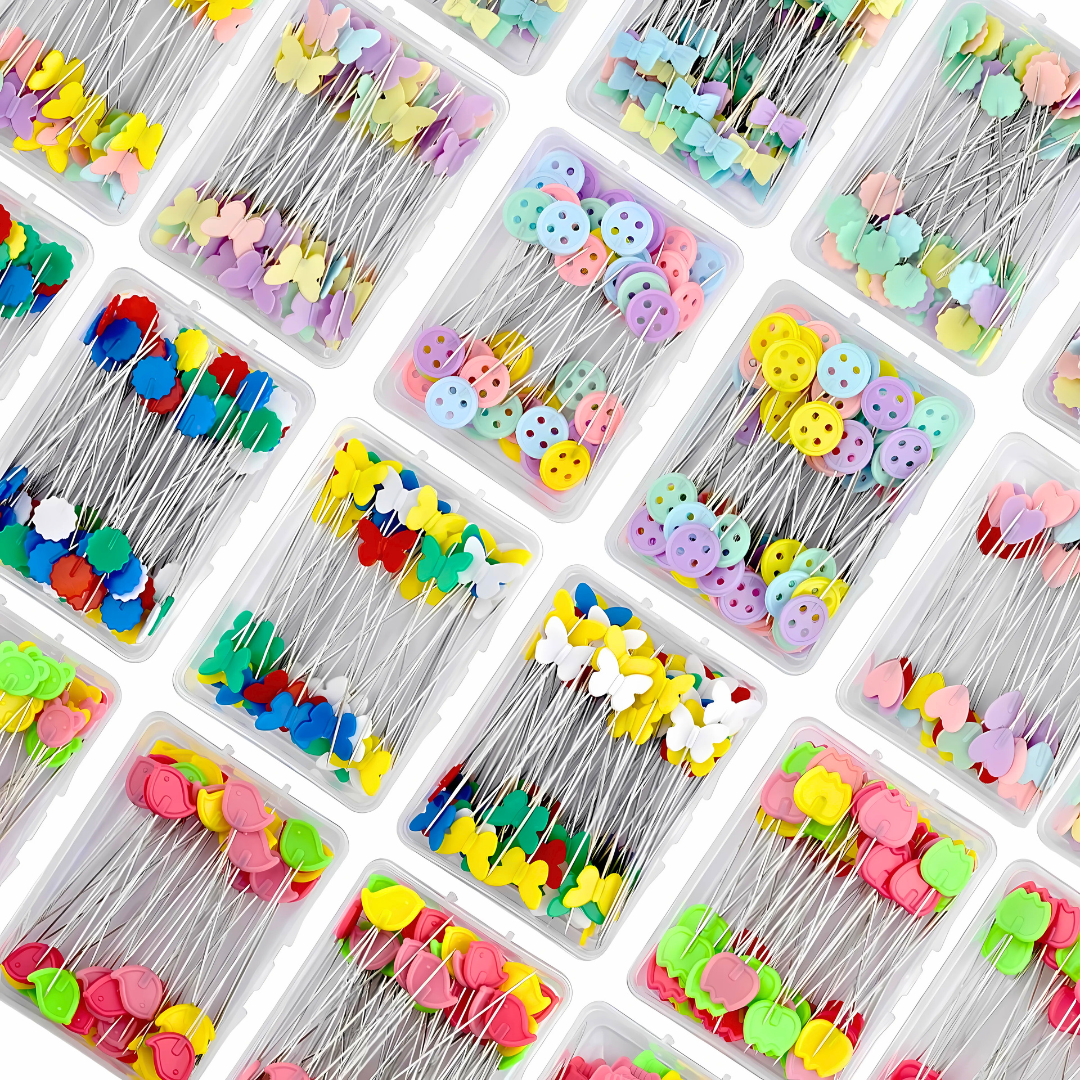
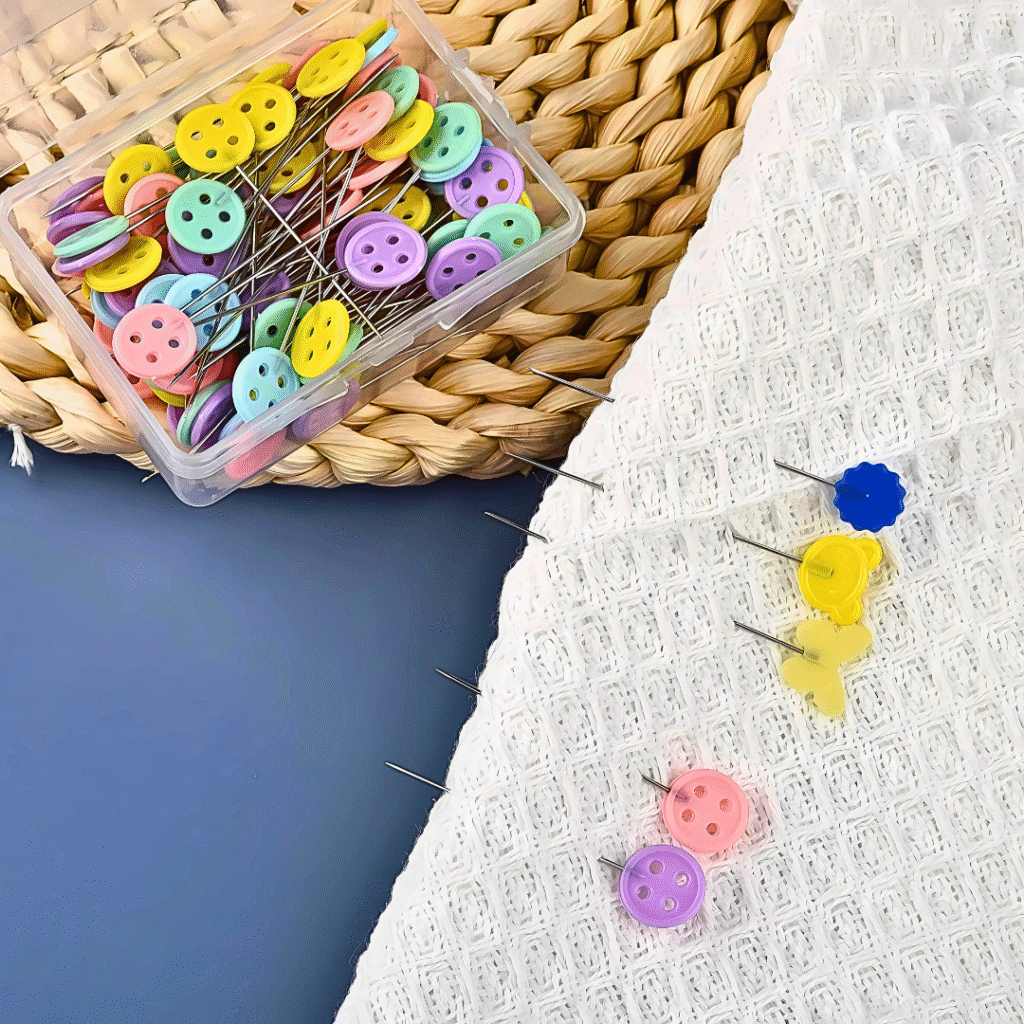
These straight dressmaking pins are slender, pointed pins that are used to temporarily secure fabric pieces together before sewing. They are essential for positioning fabric, aligning seams, creating a guide for pressing material and creating accurate patterns in sewing, quilting, embroidery, and patchwork.
Key Features:
- Length: 40mm – 50mm (1.57″- 1.96″)
- Material: Stainless steel (anti-rust and durable)
- Head Type: Multiple colorful types
- Pack Sizes: 50pcs
Why These Pins Matter
| Feature | Benefit |
| Thin Shaft | Prevents visible holes on delicate fabrics |
| Sharp Point | Easy insertion into most fabric types |
| Flat/Colored Head | Easy to grip and remove |
| Rust-resistant Material | Safe for long-term use and storage |
| Multipurpose Use | Ideal for dressmaking, embroidery, quilting, patchwork, DIY crafts |
STEP-BY-STEP USER GUIDE
Step 1: Prepare Your Materials
- Lay your fabric flat on a cutting surface.
- Have your pins stored in a pincushion or magnetic tray.
- Make sure pins are clean and free of rust.
Tip: If using delicate or satin-like fabrics, test a pin on scrap first to check for snags.
Step 2: Positioning the Fabric
- Align two fabric pieces right sides together.
- If using a pattern, match your notches, corners, and seam guides.
Step 3: Pinning Properly
- Insert pins perpendicular to the seam (at 90°), not parallel.
- This makes them easier to remove while sewing.
- Ideal spacing: every 5 – 7 cm (2 – 3 inches).
- This makes them easier to remove while sewing.
- For curves or bias edges:
- Use more pins in shorter distances.
- Follow the natural curve of the fabric.
- Use more pins in shorter distances.
- For thick fabric or multiple layers:
- Insert at a slight diagonal angle to avoid puckering.
- Use longer pins if needed.
- Insert at a slight diagonal angle to avoid puckering.
Step 4: Sewing With Pins
- Sew slowly and remove pins just before the machine needle reaches them.
- Avoid sewing over pins to prevent broken needles or damage to your machine.

Step 5: Pressing
- Remove plastic-head pins before ironing, unless they’re heat-resistant.
- Glass-head pins are safe to iron over.
NEVER iron directly over plastic-head pins unless specifically labeled “heat-resistant.”
Step 6: Aftercare & Storage
- Remove all pins after sewing.
- Check for bent pins – discard any that are damaged.
- Store pins in a dry container to prevent rusting.

TIPS & BEST PRACTICES
| Fabric Type | Recommended Pin Use |
| Cotton | Standard steel or nickel pins work well |
| Satin/Silk | Use extra fine pins or silk pins to avoid visible holes |
| Denim/Canvas | Use longer, stronger pins for better hold |
| Stretch/Knit | Use ballpoint pins or pin within seam allowance |
| Quilting | Pin seams open with glass-head pins for heat resistance |
TROUBLESHOOTING
| Issue | Solution |
| Pins leave holes in fabric | Switch to finer pins; test on a scrap first |
| Pins bend frequently | You’re using thick fabric—try stronger or longer pins |
| Head melts under iron | Use glass-head or labeled heat-resistant pins |
| Fabric shifts while sewing | Pin closer together or use clips for thick/heavy fabrics |
FINAL THOUGHTS
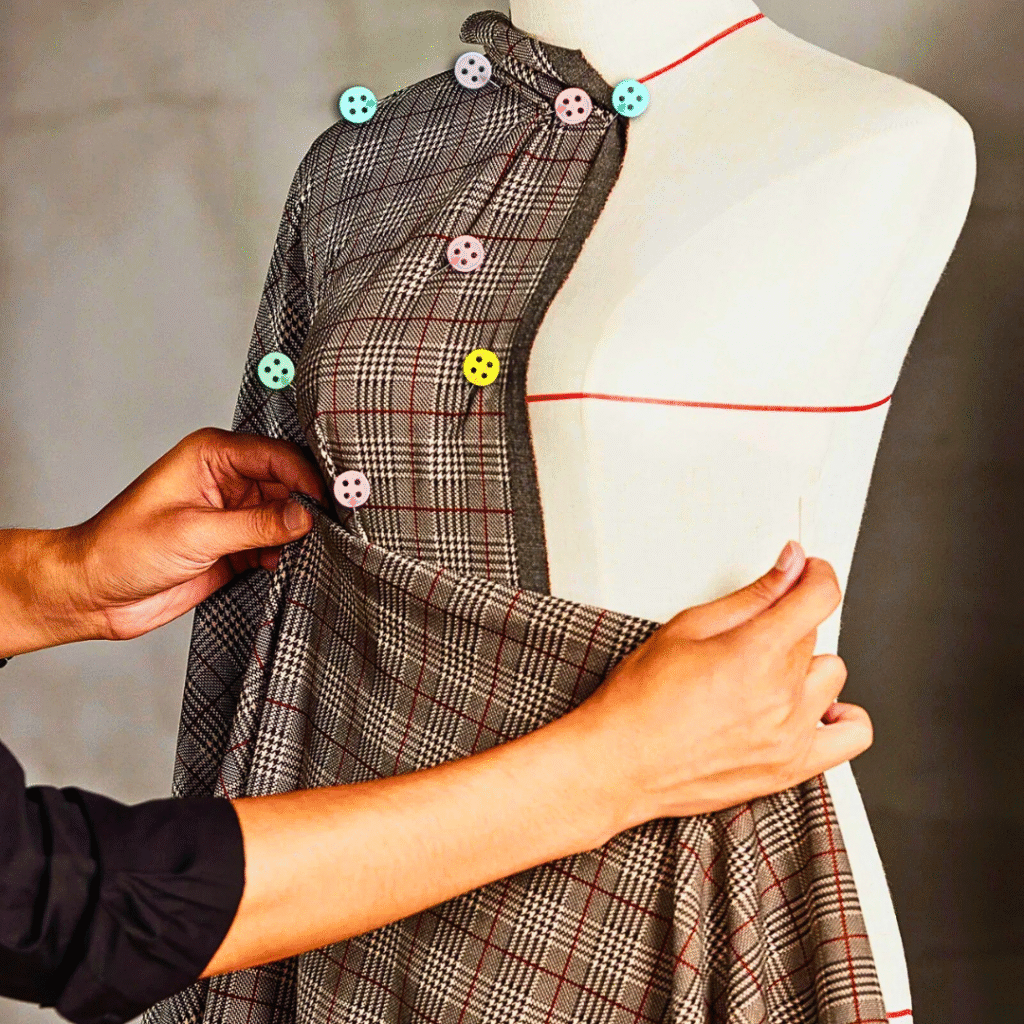
Straight dressmaking pins are small but powerful tools for precision sewing, especially when layering fabric, aligning seams, or prepping garments. The right technique and pin type can improve your project outcomes and make sewing more efficient.
Check out this product HERE
Check out our Craft and Sewing articles HERE