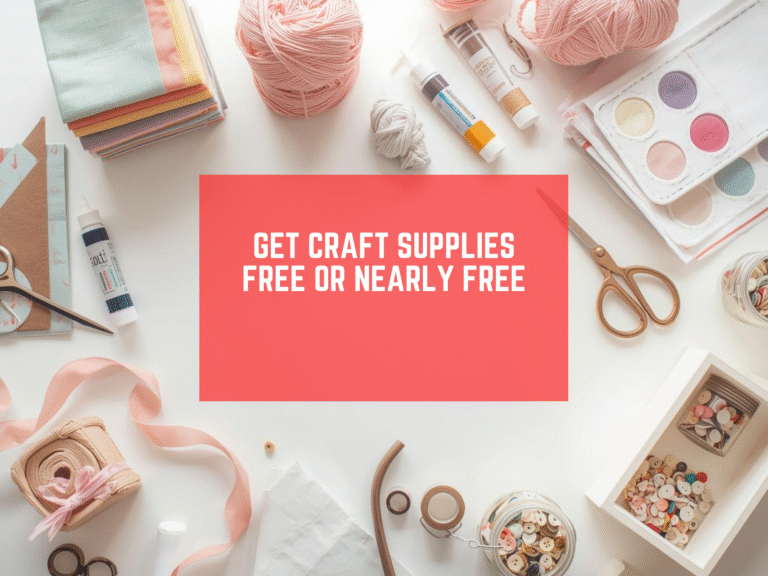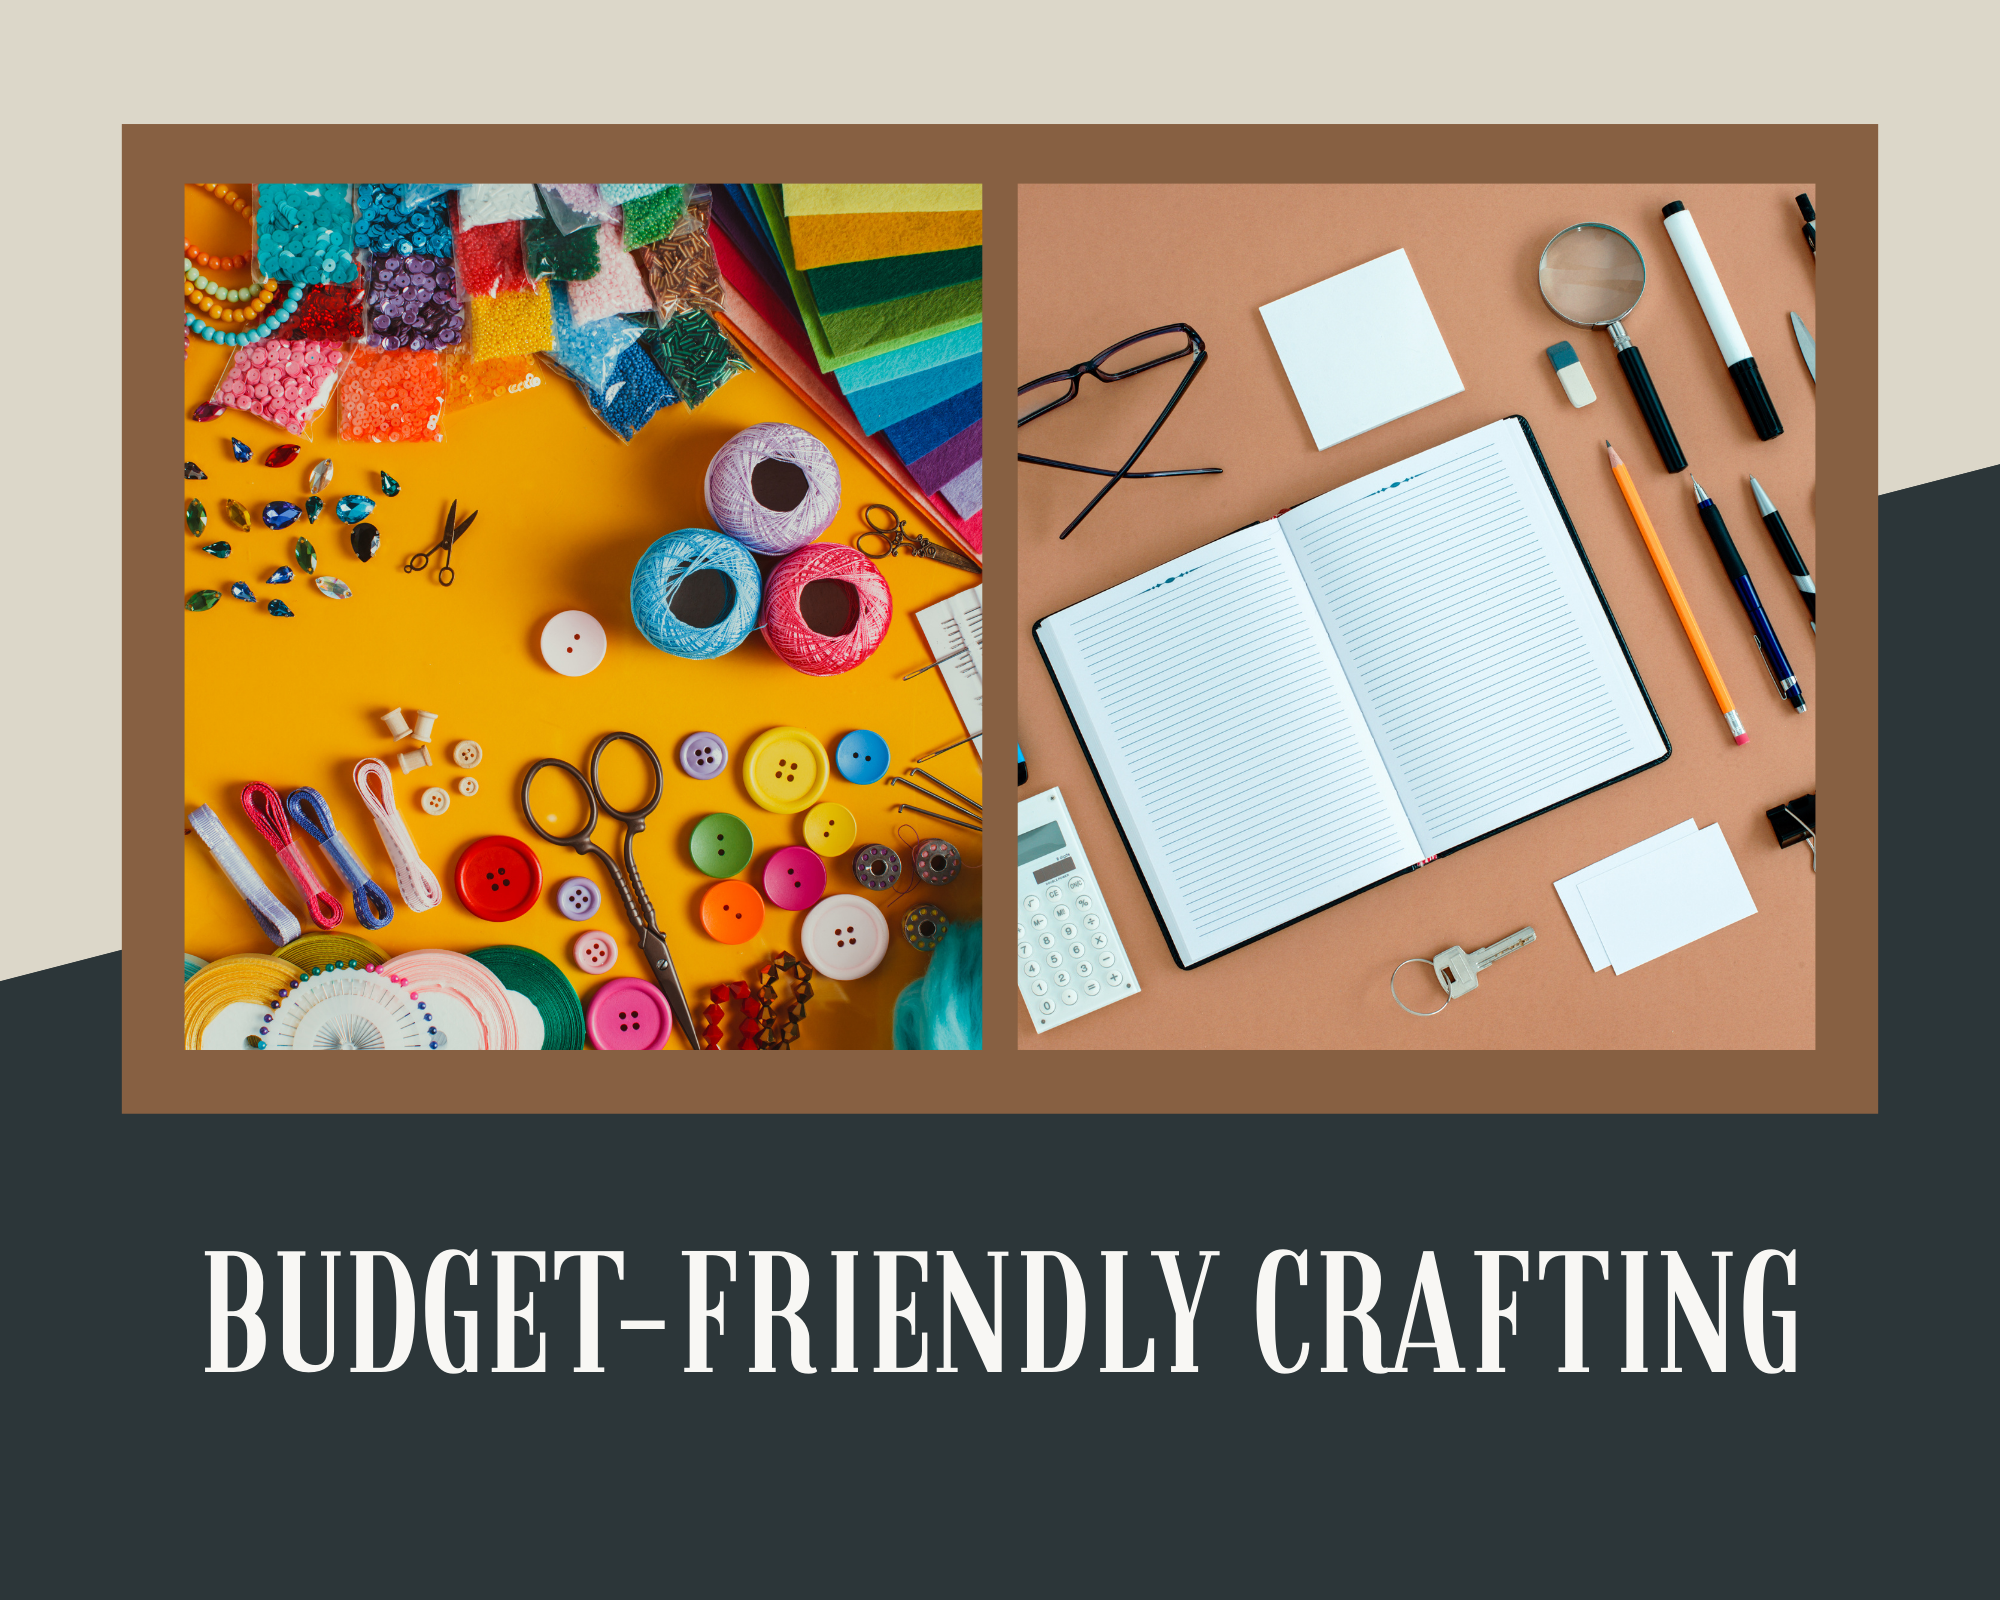
If you love DIY Crafts but feel like supplies cost too much, you are not alone. I sew, glue, and paint too. I also watch my wallet. Good news. Crafting can be Budget-Friendly if you plan your projects and use a few simple money habits. In this guide I show you how to save on Crafting Supplies, how to get more from every Thrift Store trip, why a small budget binder keeps you on track, and how to upcycle clothing and home items into fresh pieces you will love. This post is beginner friendly. I keep the steps short and clear so you can start today.
Start With a Simple Budget Binder for Your Hobby
Before we hunt for deals, let’s set a small plan. A budget binder is a paper or digital folder that holds your plan and your spending for crafts. It helps you see where your money goes and helps you make smart choices. You do not need fancy forms. A few printed pages or a notebook work fine.
Pick your budget categories
Use three basic budget categories to make it easy: Needs, Wants, and Savings. Needs are the items you must buy to finish a current project like thread, needles, or glue sticks. Wants are fun extras like a new fabric line or a trendy tool. Savings is money you set aside for a future big item like a sewing machine or cutting machine. Many money coaches use this simple idea and it works well for beginners.
Make a monthly craft number
Look at your total monthly income. Pick a number for your craft hobby that fits your life. For many people 5 to 10 percent is a good start. Split that number across your budget categories. A common guide is the 50-30-20 rule. That is 50 percent needs, 30 percent wants, and 20 percent savings. You can adjust the mix for your goals.
Use a one-page tracker
In your budget binder add one page with four columns: Date, Item, Store, Cost. Each time you spend, write it down. Keep your receipts in the pocket of the binder. You can also use a note app if you like digital better. Here is an already-done one-page tracker we prepared for you:
Budget Binder Spending Log
Download the free, easy-to-use template in the link below to make life a little easier for you as you start your fast crafting journey:
You can check out our article on Craft Storage Ideas article for more information on planning.
Setup For a Budget Binder That Works Week After Week
Here is a simple setup you can copy today.
- Cover page: Your hobby goal for the month. Example: “Finish 2 scrappy pouches and 1 upcycled denim jacket.”
- Budget categories page: Needs, Wants, Savings. Write your amounts.
- Shopping list page: Store, item, sale price, coupon code.
- Spending log: Date, item, store, cost.
- Project planner: Materials, steps, time, cost.
- Wish list: Tools or classes you will save for over time.
Plan Projects Around Sales and Coupons
Craft stores often run weekly sales and easy coupons. Many shoppers miss this. You do not have to.
Where to find coupons fast
- Michaels posts weekly coupons and online offers on their site. Check before you shop or use for curbside pickup.
- JOANN shares coupons for both in-store and online, plus special event offers.
- Hobby Lobby lists a Weekly Ad and everyday deals you can plan around.
Pro tip: Join store emails and loyalty programs with a spare email address. Put the store apps on your phone.
Thrift Like a Pro
A Thrift Store is a gold mine for diy crafts for adults. You can get fabric, jars, baskets, frames, denim, and even sewing machines. Type “thrift store near me” into your map app and try two or three. Go on a weekday morning if you can. That is when many stores restock.
Learn the color tag system
Many Goodwill locations and other shops use color tags. Each week one color is half off, and on some days that color can drop even more. Ask your store about their system. Planning around tag colors stretches your budget.
Make a thrift list
Keep a simple list in your budget binder of sizes for frames, baskets, and storage bins that fit your craft space. If you sew, add your clothing sizes and favorite fabrics. This stops impulse buys and keeps your trip Budget-Friendly.
Train your eye to see “raw materials”
Upcycling is a great way to reduce cost. Bed sheets can become quilt backs. Men’s dress shirts become fat quarters. Wicker baskets become wall storage. Old frames become display boards for upcycle art or thread racks. Look for cotton, linen, wool, and 100 percent denim.
Try thrift store online too
If you live far from a store, try thrift store online sites. A helpful roundup lists popular resale spots like ThredUp, Poshmark, Depop, and eBay so you can compare. Start with just one store and learn how their sizing and shipping works.
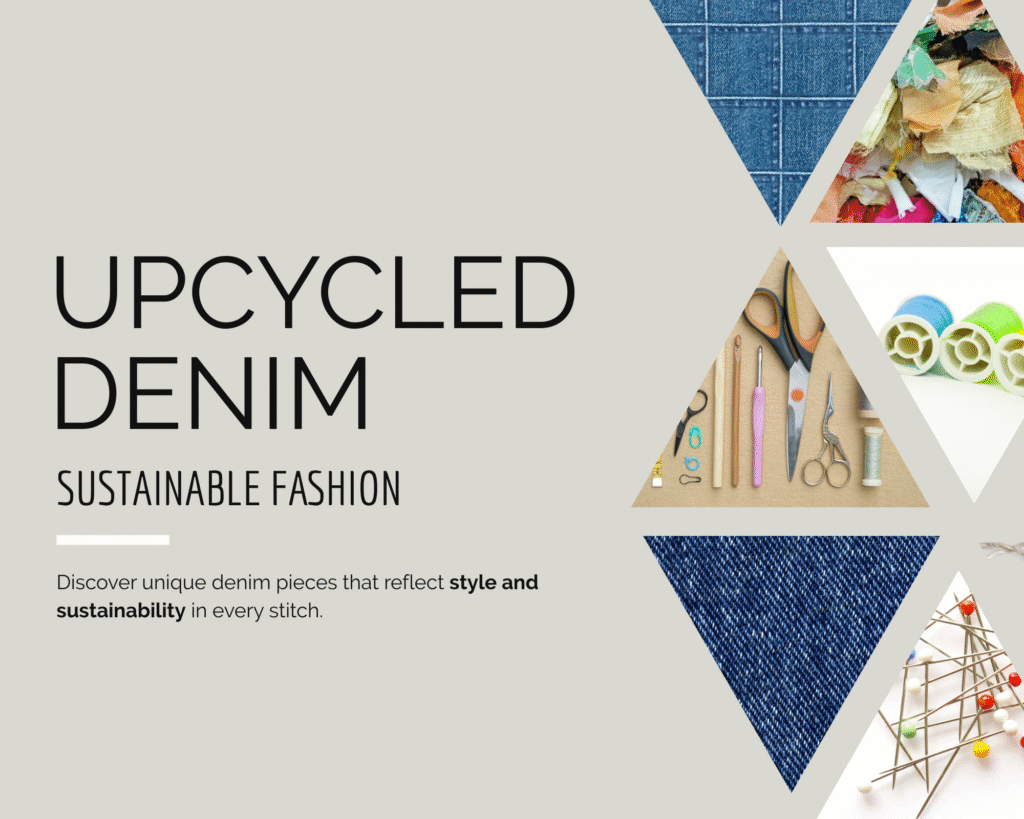
Upcycle Clothing: Save Money and Make It Yours
Upcycling is turning old things into new things. It is perfect when you are on a budget, and it is fun. Here are easy wins for upcycle clothing projects for beginners.
1) The upcycled denim jacket
An upcycled denim jacket is a classic. You can add patches, paint, embroidery, or sew a fabric panel on the back. Use scraps and old jeans to keep it Budget-Friendly.
2) No-sew upcycle ideas
Not ready to sew yet. Try lace overlays with fabric glue, iron-on patches, or painted line art on a plain tee or denim. These are fast and low cost: Moral Fibres – UK Eco BlogRoyal Talens
3) Upcycle art from fabric scraps
Turn small scraps into art. Make mini collages in thrifted frames or stitch scraps into a simple wall hanging. Fresh scrap ideas keep waste down and give you decor for very little money: Better Homes & Gardens
Money tip: Add a “Remnants and Scraps” envelope to your budget binder. Put a few dollars there each month. This is your treasure fund for thrift store finds like fabric bundles, trim, or buttons.
A Step-by-Step Shopping Plan That Is Truly Budget-Friendly
Follow this simple plan each month. It keeps your hobby fun and Budget-Friendly.
- Check the sales first
Open the Michael’s, JOANN, and Hobby Lobby pages. Write down the best offers for this week. If thread is half off, plan a sewing week. If canvases are on sale, plan painting. This keeps your supply cost low. - Pick 1 to 2 projects
Choose projects that fit the current sales and what you already own. Keep a list of “someday” projects in your budget binder for later. - Price it out
Use a scrap of paper to do price-per-project math on.
- Pattern: free from your stash
- Fabric: 2 yards from a thrift sheet for 6 dollars
- Thread: on sale 2 dollars
- Buttons: thrift pack 1 dollar
- Total: 9 dollars
Write the total in your binder. This is a true Budget-Friendly plan.
- Shop your stash
Look through what you already own. Many of us have enough fabric and yarn for months. Set a rule like “use 2 from my stash before I buy 1 new.” - Hunt thrift store finds second
Visit your local Thrift Store with your list. Look for raw materials and storage for your craft room. Follow the color tag discount if offered. - Buy new only at the best price
If you still need new items, buy them with a coupon or during the Weekly Ad. If the discount is not good, wait a week. Another sale will come.
Cut Crafting Costs With These Beginner Moves
These are easy, high-impact ideas you can use today. They keep your DIY and crafts routine steady and low cost.
Always check the clearance end caps
Stores rotate seasonal lines fast. End caps often have deep cuts. Stack with a percent-off coupon for extra savings when allowed. Policies vary by store so check the store’s coupon info page.
Buy basics in bulk only when on sale
Thread, glue, rotary blades, and batting go on sale often. Stock just enough for 2 to 3 months so you do not tie up your budget.
Use remnant bins and fat quarters
Remnants can be 50 to 75 percent off the regular price. They are perfect for scrunchies, zipper pouches, quilt blocks, and applique.
Borrow or share tools
Ask a friend to swap cutting dies, rulers, or specialty feet. Check your local library or maker space for sewing machines, 3D printers, and sergers. Many communities offer classes too.
Free patterns are your friend
There are thousands of free beginner projects across blogs and maker sites. Start with simple items like tote bags, pillow covers, and bookmarks before you buy advanced patterns.
Thrift-and-Flip Project Ideas for Beginners
Here are six simple projects using thrift store finds. They are low cost and good for diy crafts for adults.
- Sweater to Pillow
Felt a wool sweater, cut into a square, and sew a simple pillow cover. - Frame to Thread Rack
Use an old wooden frame. Add rows of small cup hooks. Hang spools by color. Cute upcycle art for your wall. - Men’s Shirt to Apron
Cut the shirt down the middle. Remove sleeves. Add bias tape ties. You now have a budget-friendly apron. - Glass Jars to Notions Storage
Clean jars become clear storage for buttons, clips, and pins. Label the lids and line them up on a shelf. - Upcycled Denim Jacket Back Panel
Use a bright quilt block or a printed tea towel. Stitch to the back of a denim jacket. - T-shirt Yarn Basket
Cut old tees into strips, stretch into yarn, and crochet a small basket.
Shop Secondhand Online When You Need Specific Sizes or Brands
If local stores have limited selections, try online thrift stores. A recent roundup shows popular places where you can filter by size, fabric, and price across many sellers. Watch shipping costs. Put items in your cart and wait for a coupon or a price drop notification. Check out ThredUp
Social platforms also have live drops and curated sales hosted by small resellers. Many buyers like the personal style and the trust they build with a favorite seller. You can learn a lot and find special pieces to upcycle clothing without paying full retail.
FAQs: Quick Answers to Save You Money
How many coupons should I stack.
Follow the store policy. Some stores accept one store coupon plus one manufacturer coupon. Others limit to one. Always read the coupon page for details before checkout.
How do I find the best day to thrift.
Ask staff when they restock and what days color tags change. Many locations run color-of-the-week sales. Set a reminder in your budget binder to check that color each week.
Is upcycling worth it for beginners.
Yes. Start small. A tee to tote or patches on a jacket teach you skills and cost very little. Tutorials for beginners make it easy.
What if I have a tiny craft space.
Use vertical storage, clear bins, and labels. Thrift baskets and shelves. Keep only supplies for the next two months. Then rotate.