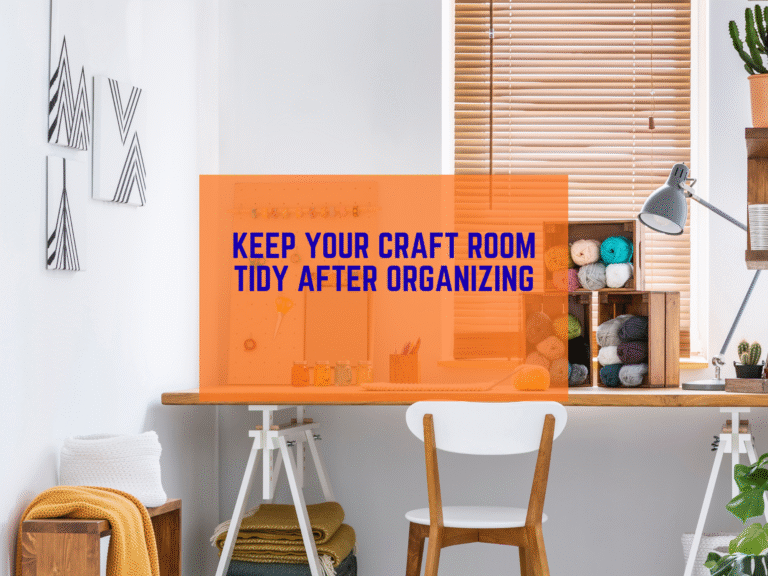
If your craft space is also your dining room, bedroom, or home office, you are not alone. Many crafters set up on the kitchen table, then clear off everything before dinner. I have done that too. The good news is you can build a simple system that lets you start fast and clean up fast. In this beginner guide, I share craft room organization ideas that work in small, multi-use rooms. You will learn how to organize craft supplies, choose craft storage solutions that hide in plain sight, and use short routines that help you switch the room from “craft time” to “everyday life” in minutes.
Along the way, I will share budget tips, layout tricks for a tiny room, and easy labels you can make at home. I will also link to helpful resources and a few guides on our site, so you can keep learning after you finish.
The “Open and Close” Method
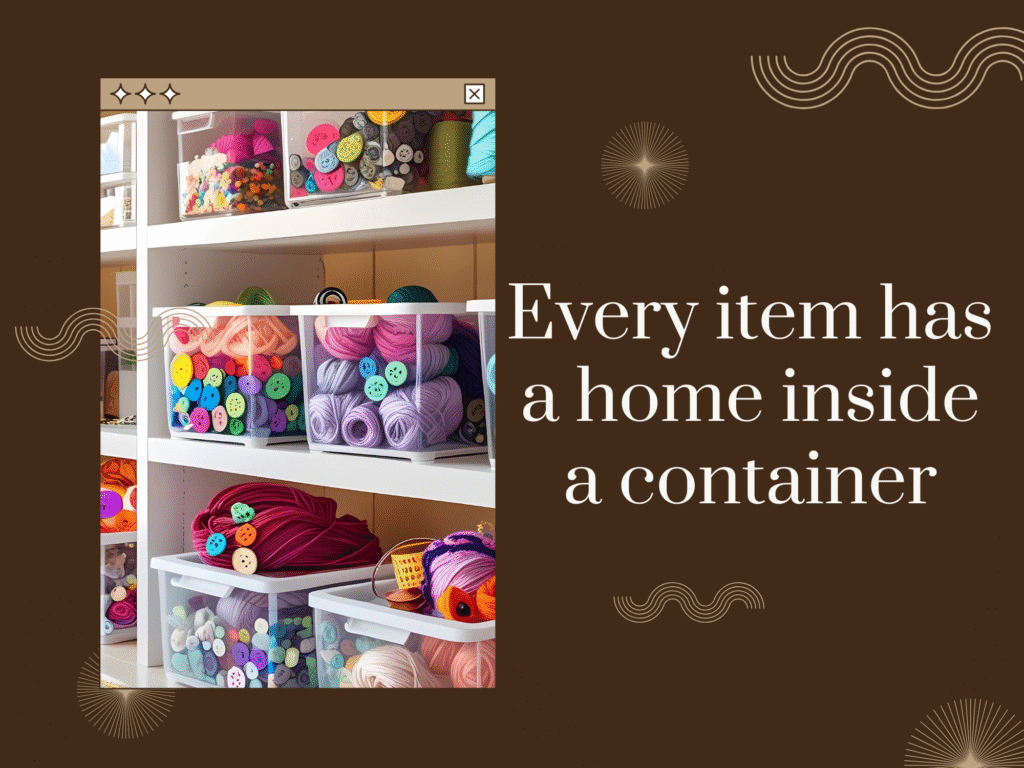
When your craft space is also a living space, you need storage you can open, use, and close right away. I call this the Open and Close Method. Everything lives in a bin, box, drawer, or rolling cart. When it is craft time, you open one unit. When you are done, you close it and slide it away. These craft room organization ideas reduce clutter on shared surfaces and keep tools safe from kids and pets.
Core rules:
- Every item has a home inside a container.
- Keep the number of active containers small.
- Make cleanup a 5 minute checklist.
This simple method keeps your room guest-ready without killing your creativity.
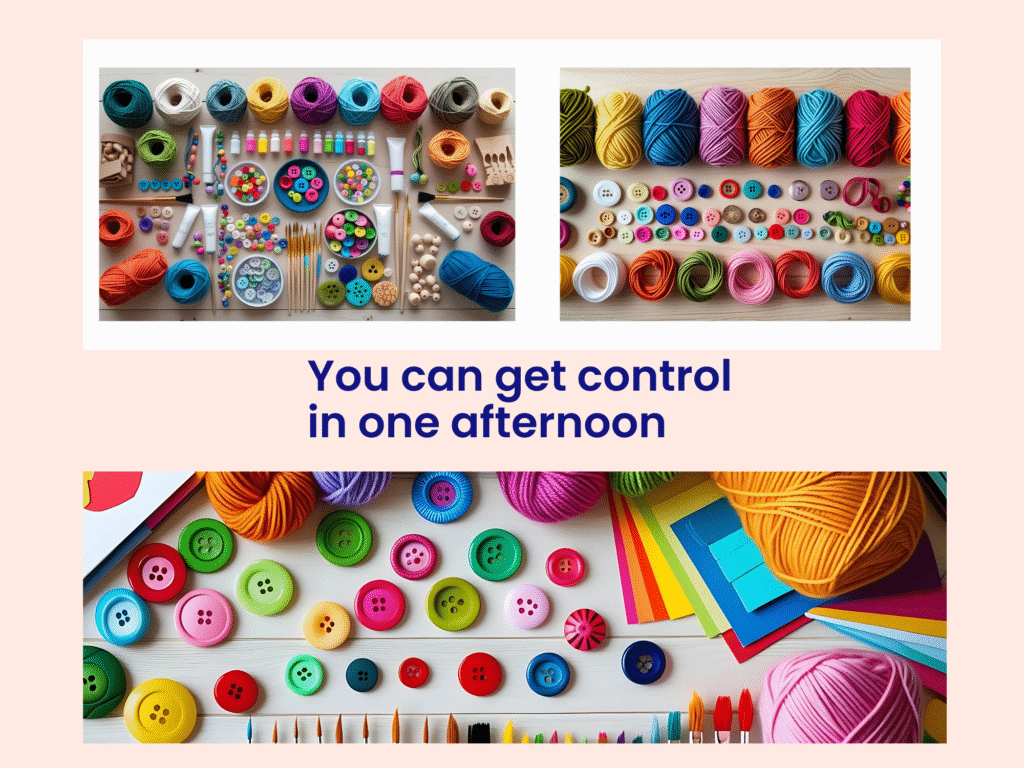
Quick Start: One-Afternoon Setup
You can get control in one afternoon. Here is a step-by-step plan that works in a tiny room.
Step 1. Do a 15 minute tidy up
Grab a timer and do a fast sweep. Toss trash. Put laundry away. Clear the table. Do not sort yet. Just gain open space. This “win” fuels the rest.
Step 2. Sort by project family
Make four temporary piles on the floor or on a bed:
- Sewing and fabric
- Paper, vinyl, and stickers
- Paints, glue, and finishes
- Tools and mixed items
Do not agonize. If you are unsure, place it with the closest match. Your goal is motion.
Step 3. Measure your storage zones
Look for spaces you can use without changing the room:
- Under-bed area
- Inside a closet floor
- Top shelf in a closet
- Beside a desk
- Next to a TV stand
- Corner behind a door
Write the width, depth, and height on a sticky note. Measure twice. These sizes guide your craft storage purchases so everything fits the first time.
Step 4. Pick the right container for each pile
Choose simple, stackable craft storage containers with lids. Clear boxes let you see what is inside. Latching lids help when pets or kids explore. If you are on a tight budget, use sturdy shoe boxes or thrifted baskets with a lid. Dollar store bins are great for small items like clips and bobbins.
- Sewing pile goes into shallow bins for fabric and a small box for notions.
- Paper pile goes into 12 by 12 scrapbook cases or file boxes.
- Paint pile goes into a heavy duty shoebox with a towel at the bottom to catch drips.
- Tools go into a handled caddy so you can move them in one trip.
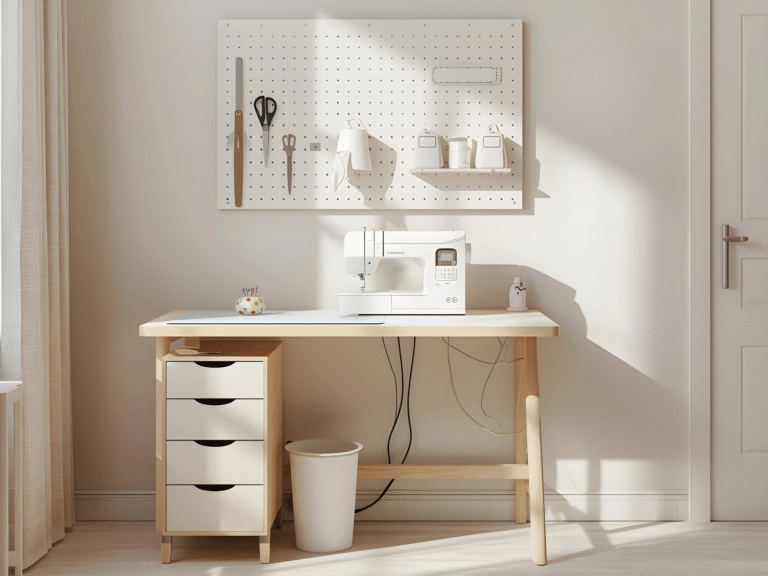
Tip: For wall storage, pegboards keep tools visible and off the table. See the IKEA SKÅDIS pegboard series for ideas IKEA SKÅDIS pegboard. If you rent, or do not want holes in the wall, try large adhesive hooks that remove cleanly Command Hooks.
Step 5. Add wheels where you can
A craft storage cart or craft storage trolley is perfect for shared rooms. You roll it out at craft time and roll it away when done. Look for a slim 3-tier model that fits next to a fridge or inside a closet opening. Stores like The Container Store carry several options Rolling carts category.
Step 6. Label everything
Use plain words and big letters. Labels save time and stress.
- “Thread and Bobbins”
- “Fabric Scraps under 8 inches”
- “Paper 12×12”
- “Paint and Brushes”
You can handwrite on painter’s tape. Or print labels on your home printer. Labels make your organization planner real. They tell your brain, and your family, where things go.
Budget-Friendly Picks That Work
Here are low-cost winners that help you organize craft supplies without buying custom furniture.
- Clear latch-top craft storage bins in 6 to 16 quart sizes. They stack, fit under beds, and slide into closets.
- A fold-flat cutting mat that stores inside a closet.
- A hard plastic shoe box for glue and paint. Easy to wipe and keeps smells contained.
- A rolling 3-tier craft storage cart for everyday tools.
- Over-the-door shoe organizer for scissors, rulers, tape, and markers.
- Magnetic strip or cookie sheet for pins and metal clips.
- Binder with zipper pouches for stickers and small die cuts.
- Cheap pillow cases to slip over dusty sewing machines when not in use.
If you want a deeper dive into budget buys, see our guide on saving money for supplies here: Crafting on a Budget: How to Save Money on Supplies
Storage That Disappears When Company Comes
When the room must look clean for dinner or guests, use closed pieces that look like normal furniture. These craft storage solutions are renter-friendly and look good in any style.
- Craft storage cabinets with doors. Choose 12 to 16 inches deep. Inside, add shelf risers and bins.
- A simple craft storage cupboard in a hallway or guest room. Put a small lock on cleaners and hot tools if kids visit.
- A craft storage desk with drawers. It looks like a normal office desk. Inside, add drawer trays for thread and clips.
- A small craft storage table that folds in half. Slide it behind a couch or under a bed.
- Narrow craft storage shelves with doors. Place baskets on each shelf.
- A kids-friendly option. A kids craft table with storage keeps crayons and paper at child height, while your sharp tools stay in a higher bin. This also sets clear zones for family projects.
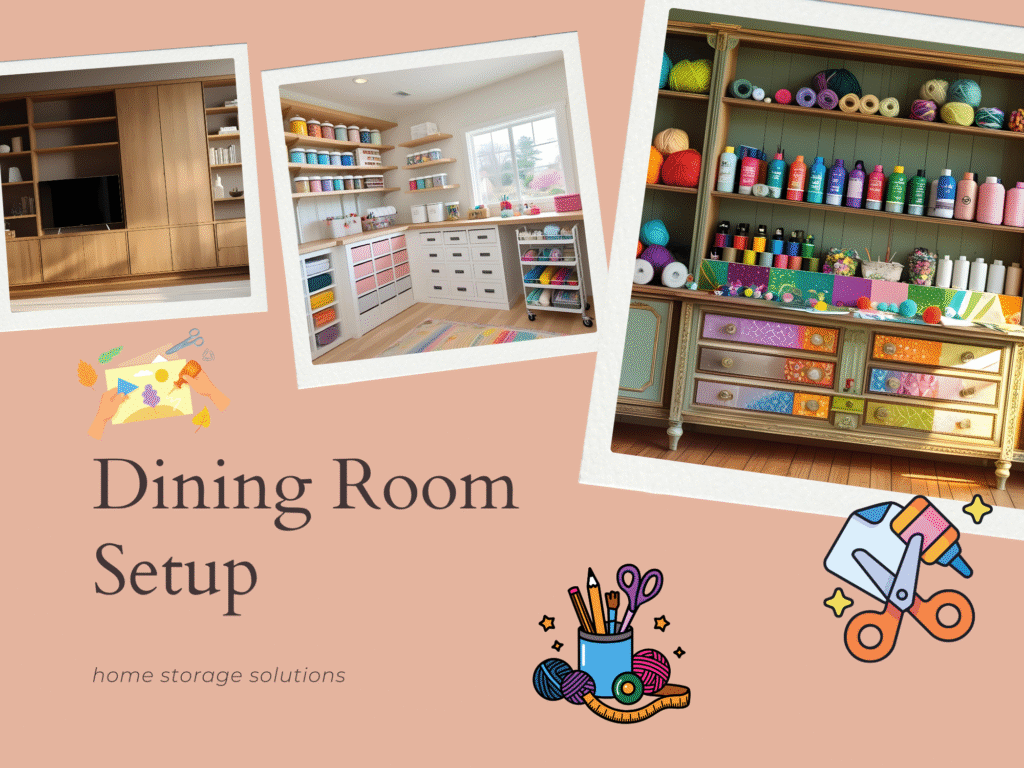
Dining Room Setup
The dining table is a great work surface. Here is how to keep it safe and clear.
- Use a table protector or large cutting mat. Store it upright next to the fridge.
- Keep a handled caddy under a chair. Fill it with everyday tools.
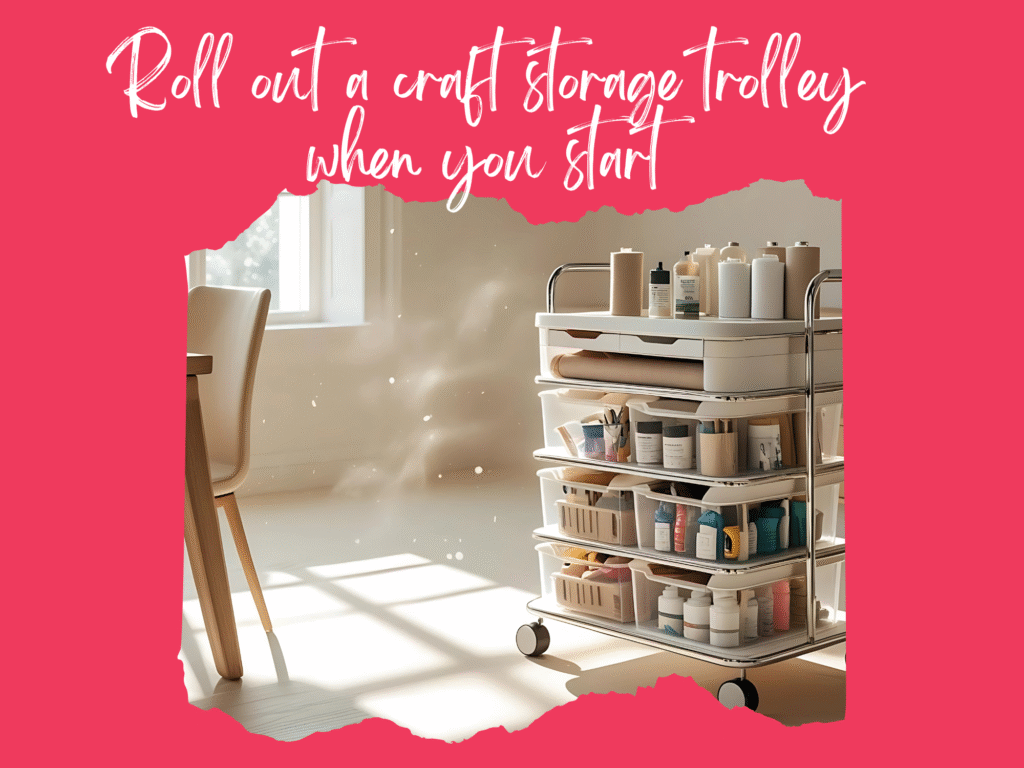
- Roll out a craft storage trolley when you start. Park it at the end of the table.
- Keep wet stuff off the table. Paint and glue live in a lidded box on the bottom cart shelf.
- Use a cloth napkin as a “landing pad” for your phone and glasses. This reduces clutter.
Cleanup routine for the dining room:
- Put tools back in the caddy.
- Wipe the mat and roll it away.
- Put wet items in the paint box.
- Wipe the table and push in the chairs.
- Wheel the cart into a closet or corner.
This whole process takes under 5 minutes once your system is set.
Bedroom Setup
In a bedroom, calm and quiet matter. Pick storage that hides and stacks.
- Use flat craft storage containers for fabric under the bed. Slide in longways.
- Keep your sewing machine in a latching bin on the closet floor. Add a towel to cushion it.
- Store patterns in hanging file folders inside a cube shelf.
- Keep paints and finishes in a bin with a lid, inside the closet, away from heat.
- Add a small fan for airflow when you iron or paint. Place the fan back on the top shelf after use.
Home Office Setup
In a home office, you already have a desk and shelves. Turn them into craft room storage ideas without losing your work zone.
- Add drawer trays to hold thread, clips, and seam rippers.
- Store fabric in magazine files on a shelf. Roll the fabric so it stands up.
- Keep vinyl and paper in 12 by 12 cases on the bottom shelf.
- Place a small cutting mat on the desk only when needed.
- Use a paper sorter for projects in progress. One slot per project.
- When work starts, put the sorter and mat back on a shelf. Your desk is clean and ready for calls.
Smart Containers by Craft Type
Choosing the right container is half the win. Match the container to the item.
Sewing and Fabric
- Shallow bins for fat quarters and scraps.
- Zip bags for cut pieces. Label the pattern name.
- Bobbins in a clear pill organizer.
- Thread spools standing in a narrow drawer tray.
Paper Crafts and Vinyl
- 12 by 12 cases for cardstock.
- Envelope style sleeves for sticker sheets.
- Binder with plastic pockets for stamps and dies.
- A small bin for tools like bone folders and brayers.
Paints and Finishes
- Lidded shoebox for paints.
- Small jars in a handled caddy for brushes.
- Baby wipes and a rag in a zip bag for quick cleanup.
General Tools
- Ruler rack on a hook.
- Scissors in a pen cup with a lid if you have kids.
- Heat tools wrapped and stored in a bin high on a shelf.
Routines That Keep You Sane
Big changes come from small habits. These two routines keep your craft space calm.
The 3 Minute Setup
- Roll out your craft storage cart.
- Place the handled caddy on the table.
- Put one project bin on your left.
- Put a trash bag on your right.
- Start your timer for your craft block.
The 5 Minute Reset
- Return tools to the caddy.
- Put scraps in the labeled scrap bin.
- Wipe the mat and table.
- Close project bin and stack it.
- Roll the cart back to its spot.
Do these every time. You will feel lighter and you will craft more often.
A Simple Weekly Plan
Use this easy organization planner to stay on track.
- Monday — check your project list and pick one bin to finish.
- Tuesday — 10 minute declutter. Toss dried glue, bent pins, and dull blades.
- Wednesday — wash paint cups and brush caddies.
- Thursday — prep fabric. Iron, cut, and put pieces in zip bags.
- Friday — plan weekend time block. Choose one bin.
- Saturday — craft time. Set up with the 3 minute routine.
- Sunday — reset and rest.
Post this plan on the inside of your closet door. Keep a marker nearby to check off each action.
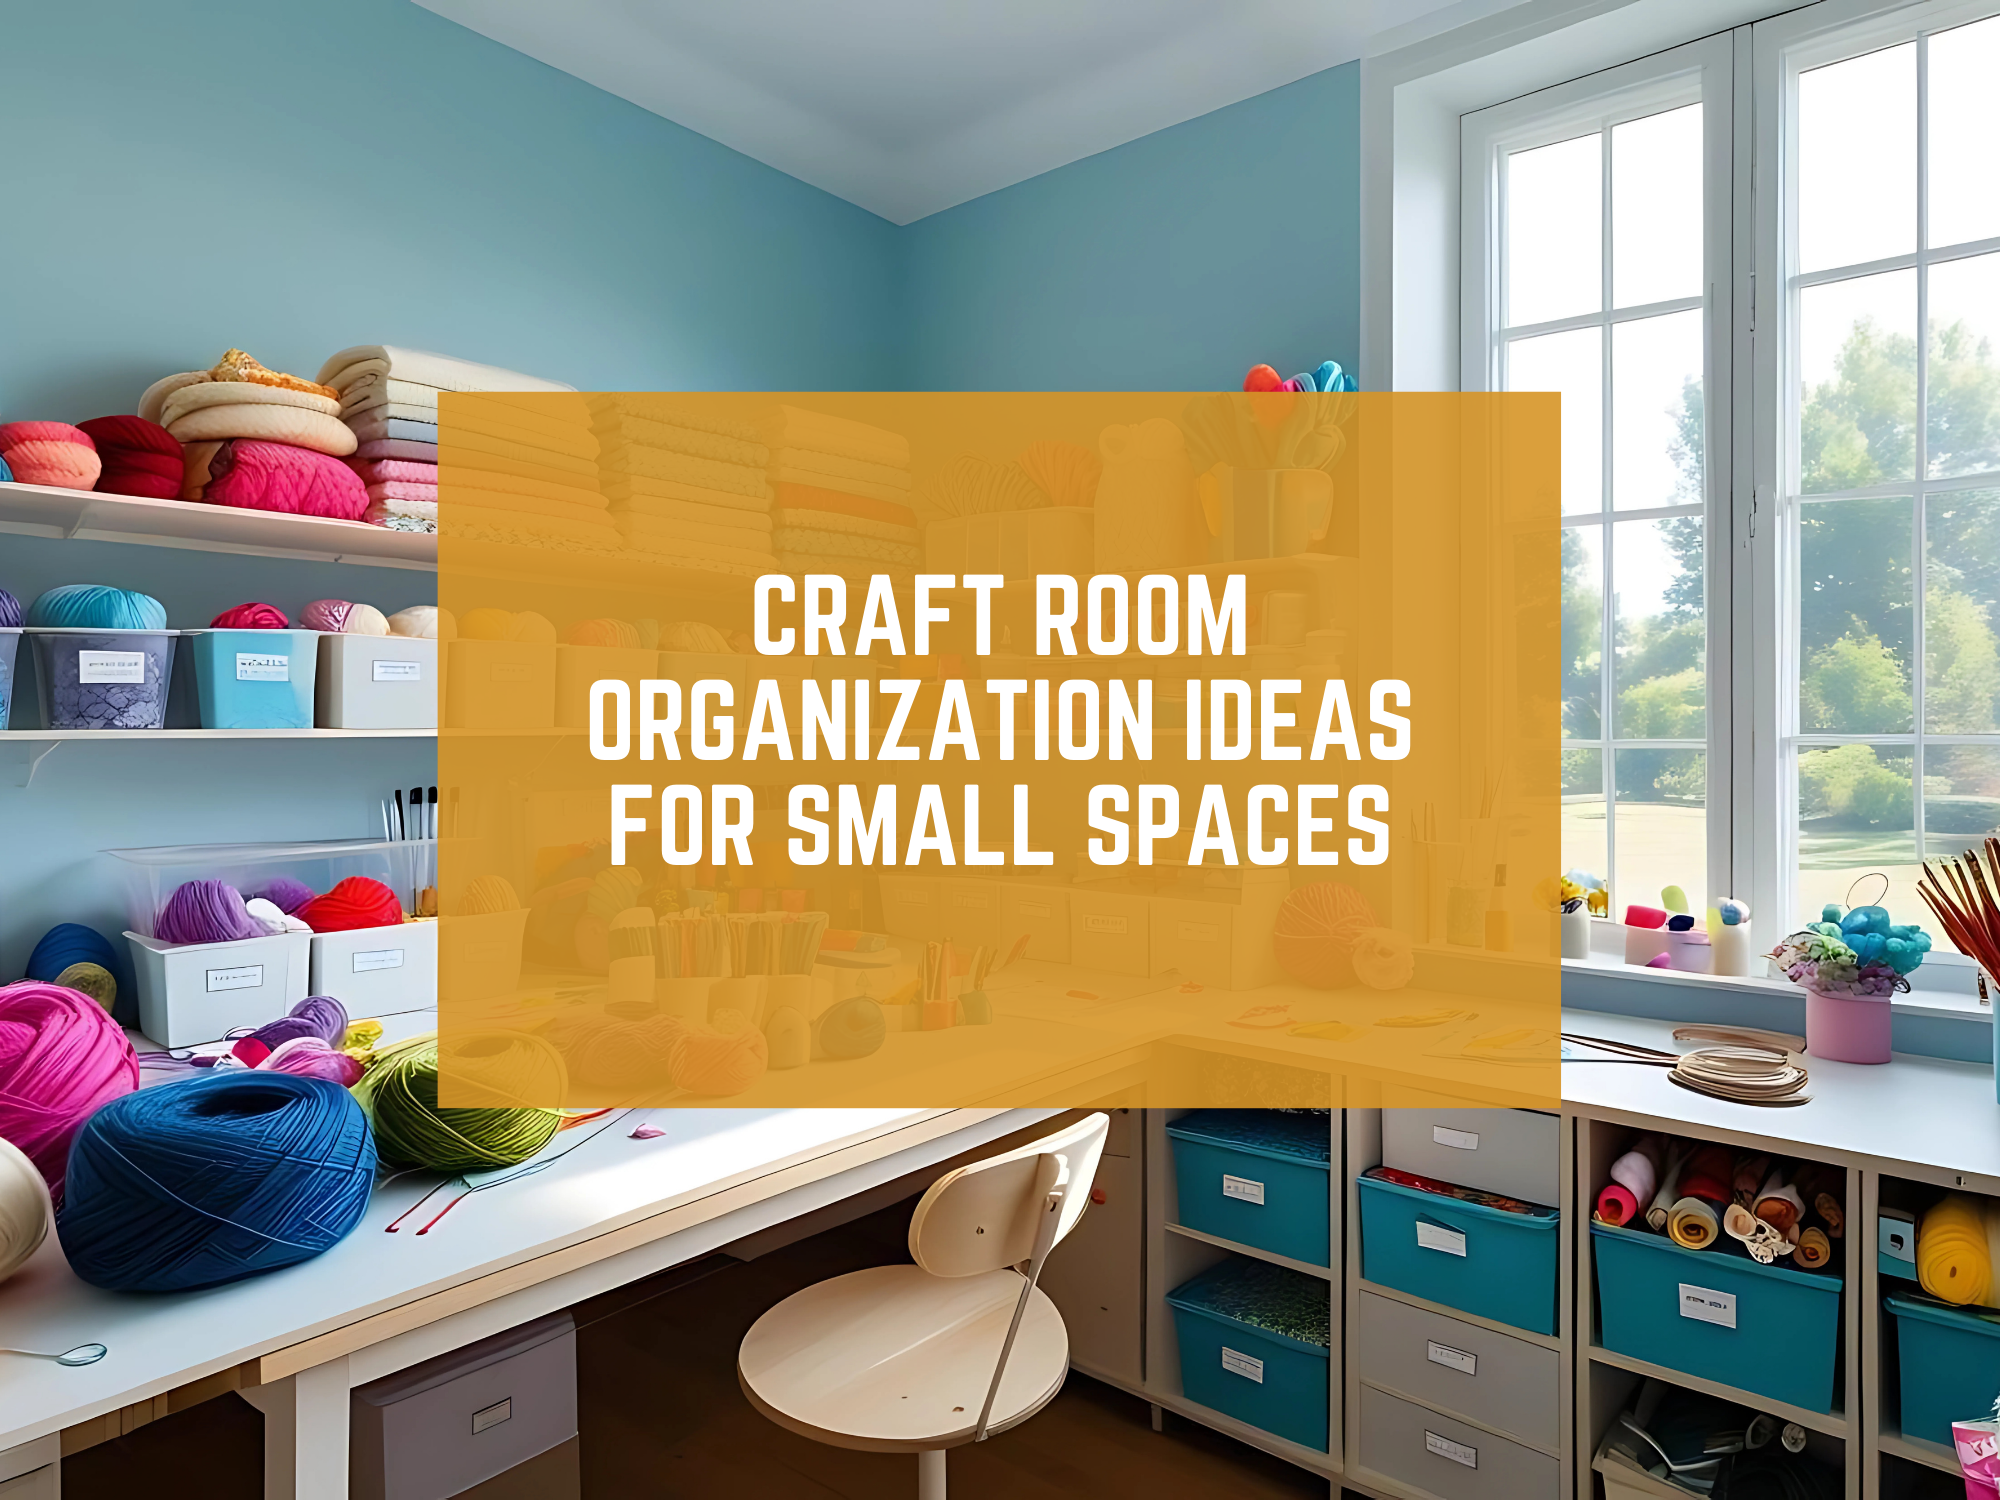
Tiny Room Tricks That Look Good
You can make a small space look calm and stylish. These craft storage ideas for small spaces use simple rules.
- Keep colors neutral for big items. White, clear, gray, or wood look calm.
- Add one accent color for labels or baskets.
- Use closed storage for messy items and open storage for pretty items.
- Store tall things vertical. Wrapping paper or long rulers stand in a tall bin.
- Use furniture with legs so you see more floor. It feels bigger.
- Pick one wall for decor. Keep the rest clean.
If you like a clean look and want fewer things, search “small apartment minimalist” ideas and choose one style you love. Then match your bins and labels to that style.
Furniture That Works Hard
You do not need custom pieces. You need flexible craft storage furniture that fits your measurements.
- Cube shelf plus folding top. Place a folding board across two cube units to make a quick table.
- Slim bookcase with doors. Add bins inside.
- File cabinet with a wood board on top. This becomes a cutting station.
- Narrow console table with baskets. Tucks behind a couch.
- Rolling drawer units for thread and notions. Slide under a desk.
If you love simple, sturdy pieces, shop your home first. Nightstands, TV stands, and kitchen carts can all become craft storage with a few bins.
FAQs
How do I set up craft room organization ideas in a rental?
Use furniture, carts, and adhesive hooks. Avoid heavy wall mounts. Store sharp items high. Roll carts into closets after use.
What is the best place for my sewing machine?
Keep it in a latching bin on the closet floor or on a rolling drawer unit. Add a towel under the machine to reduce bumps. Lift with two hands.
Are craft storage cabinets better than open shelves?
If your space must look neat most of the time, yes. Doors hide visual clutter. Inside the cabinet, use labeled bins so you can find things fast.
What is the best way to organize craft supplies if I have only one shelf?
Use stackable bins with clear fronts. Keep daily tools in a handled caddy. Put heavy items on the bottom shelf for safety.
What if I have no wall space at all?
Use under-bed craft storage containers, a rolling craft storage cart, and a fold-in-half craft storage table. Store your mat behind a door.
Sample Shopping List
Measure first, then pick items that match your zones.
- Four 12 to 16 quart clear craft storage bins with latching lids.
- One 3-tier craft storage trolley.
- Two 12 by 12 paper cases.
- One handled caddy for tools.
- One over-the-door organizer.
- One fold-in-half table if you need extra work space.
- Label tape or printable labels.
Optional upgrades:
- Slim craft storage shelves with doors.
- A simple craft storage desk with two drawers.
- A hallway craft storage cupboard if you need a hidden home for paints.
You can also check our store picks and simple tools here: Trust IASG Store.
Declutter Without Waste
When you tidy, you may find items you will not use. You can donate gently used craft goods to local groups or community shops. Many areas accept fabric, yarn, and kid-safe supplies. For donation guidelines, see Goodwill’s general info page What to Donate. Keep sharp or chemical items at home and use them up or dispose of them per local rules.
Protect Your Table and Tools
Shared tables need care.
- Always use a mat under blades and a tray under paint.
- Store liquids upright in a closed bin.
- Keep heat tools away from curtains and paper.
- Unplug irons and glue guns after use.
- Put blades in a lidded tin when you toss them.
These simple steps keep your home safe and your tools working longer.
Make It Visual
Pictures help us learn fast. If you need layout ideas and simple visuals, browse pegboard setups and rolling cart layouts. Start here and note what you like:
- Pegboard basics on Wikipedia Pegboard.
- Modular pegboard inspiration at IKEA IKEA SKÅDIS pegboard.
- Rolling cart ideas at The Container Store .
Then sketch your own plan on a sticky note. One sketch per wall or storage zone. This becomes your mini organization planner.
Final Word
You deserve a space that helps you create and also supports daily life. With clear bins, a rolling cart, smart labels, and short routines, your shared room can do both. Try the steps today and pick one upgrade this week. You will feel the difference after the first 5 minute reset. If you want more, jump into our related guides and tools at Trusti ASG.
Happy Crafting.
Free Craft Space Switch Kit
Download the free, easy-to-use template in the link below to make life a little easier for you as you start your crafting journey: