If you want to make beautiful things but do not want to spend a lot, you are in the right place. Good news. You can begin at home. The first step of any project is to check what can be repurposed at home. This one habit is a huge money saver. In this guide I show you how to upcycle jars, turn cardboard into smart organizers, and use old clothes as fabric. I also show you a simple way to plan a craft budget so you always know what you have and what you truly need.
Throughout the post I link to outside sources for how to and safety tips, you can also find more helpful info on our site.
Why Budget-Friendly crafting works
Budget-Friendly crafting means using what you have and spending on the right things at the right time. You do not need a big room or a big wallet. You need a plan. You need to look with new eyes.
When I began sewing, I thought new tools would fix every problem. Then I learned to shop my home first. I looked in drawers, closets, the recycling bin, and the Thrift Store. I found fabric in old clothes. I found jars for storage. I used cardboard to make dividers. My projects got better. My spending went down. Yours can too.
Key ideas in this post:
- Make a tiny craft budget and keep it in a budget binder
- Sort spending into smart budget categories
- Upcycle what you find at home
- Learn to see craft gold in jars, cardboard, and old clothing
- Save the store trips for the few things you truly lack
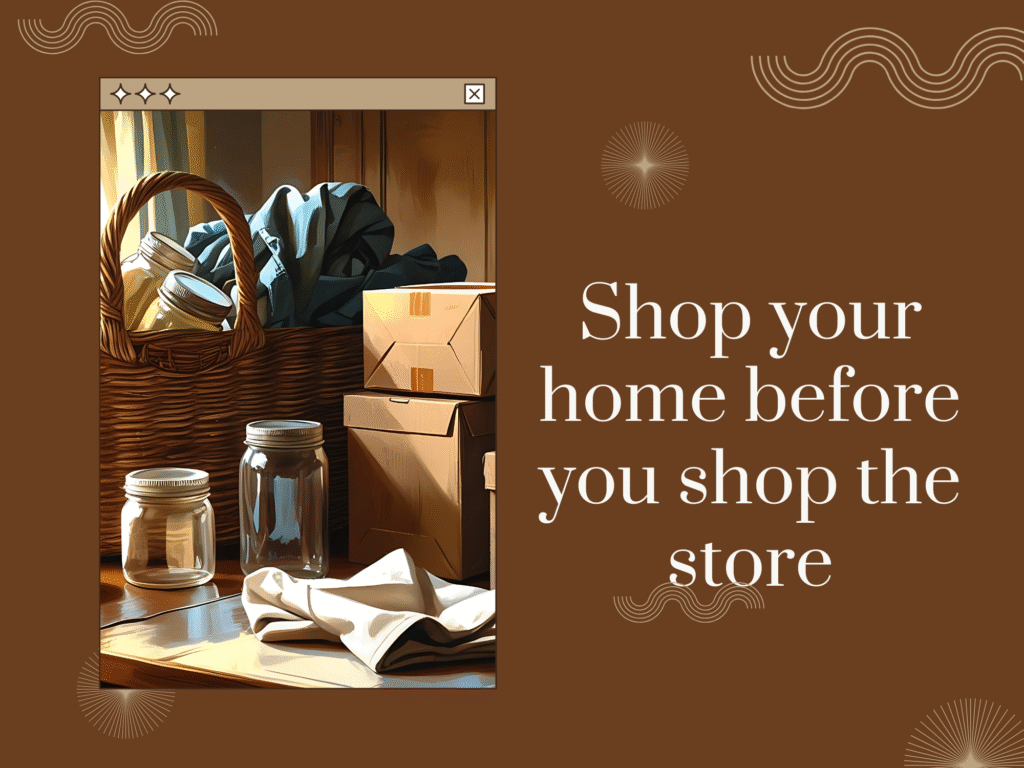
Step 1: Shop your home before you shop the store
Before you buy anything, do a 20 minute home scan. Set a timer. Grab a box or tote. Walk room by room and look for these items:
Kitchen
- Glass jars with lids for jar crafts or storage
- Tin cans for pencil cups
- Old dish towels and cotton napkins for rags, stuffing, or patch fabric
Office and mail pile
- Cardboard boxes from deliveries
- Paperboard like cereal boxes for templates
- Binder clips, rubber bands, and paper clips for holding fabric or patterns
Closet
- Jeans, shirts, or dresses that no longer fit for upcycle clothing projects
- Belts for strap material
- Buttons and zippers to harvest
Bathroom
- Empty lotion pumps and spray bottles to clean and reuse for paint or dye mixes
- Cotton pads and swabs for blending inks and paints
Craft corner
- Scraps, trim pieces, thread ends, and fabric strips
- Half used paints and glues
- Old notebooks or planners to turn into a budget binder
Tip: Clean jars well and let them dry fully. If you need a guide on cleaning and removing labels from jars, this article explains easy methods like soaking and using oil and baking soda. Read a simple jar cleaning guide.
Make this scan your first step for every project. It keeps you in a Budget-Friendly mindset and it sparks new ideas.
Step 2: Make a tiny craft budget you can stick with
Money feels tight when there is no plan. A tiny plan can fix that. You can make a simple budget for crafting in 10 minutes. You do not need an app. You can use paper.
Set up a budget binder
- Find an old binder or folder. Add a few sheets of paper. This is your budget binder.
- On page one, write the month and a small goal. Example: “Make two gifts from upcycled fabric.”
- Also draw four boxes. These are your budget categories.
- On page three, add a home scan checklist
- On the following pages add your project planner
Choose four budget categories
- Tools you truly lack
- Consumables like glue, thread, needles
- Thrift finds and Thrift Store supplies
- Future big item or save jar
Put a simple number in each box. Think small. Ten dollars in one box is fine. If you want a short guide on starting a budget, this page has a clear step by step with pictures. Learn the basics of making a budget.
Track your wins
- Every time you use an upcycled item, write it in your binder.
- Note what you did not buy because you repurposed at home.
- At the end of the month, write how many projects you made for free or nearly free.
This makes your craft budget real. It shows progress. It keeps your projects Budget-Friendly.
We provide a template below to help you get stated:
Budget-Friendly DIY & Crafts Binder
Download the free, easy-to-use template in the link below to make life a little easier for you as you start your fast crafting journey:
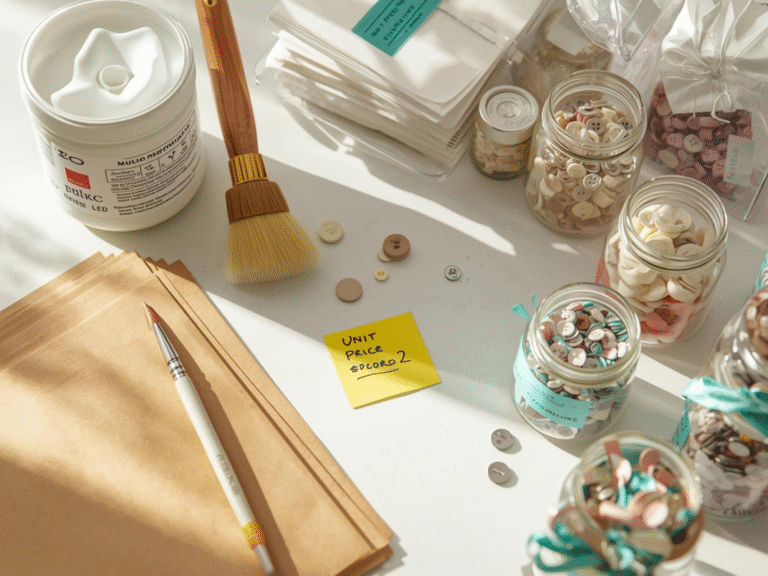
Step 3: Build your free starter kit from repurposed items
You can build a strong kit for diy and crafts almost for free. Gather the items below and store them in a box or on a shelf.
- Jars with lids
- Cardboard sheets and paperboard
- Old clothes made of cotton, denim, or linen
- Basic tools: scissors, glue, tape, ruler, needle and thread
- Rubber bands, binder clips, and clothespins
- A notebook that becomes your budget binder
With this kit you can start many diy crafts for adults today. No rush to the store. No stress.
Jar crafts: simple, useful, and stylish
Jars are incredibly useful for crafts. They can be used for storage, holding flowers, and giving as presents. Here are some simple jar projects you can make using things you already own:
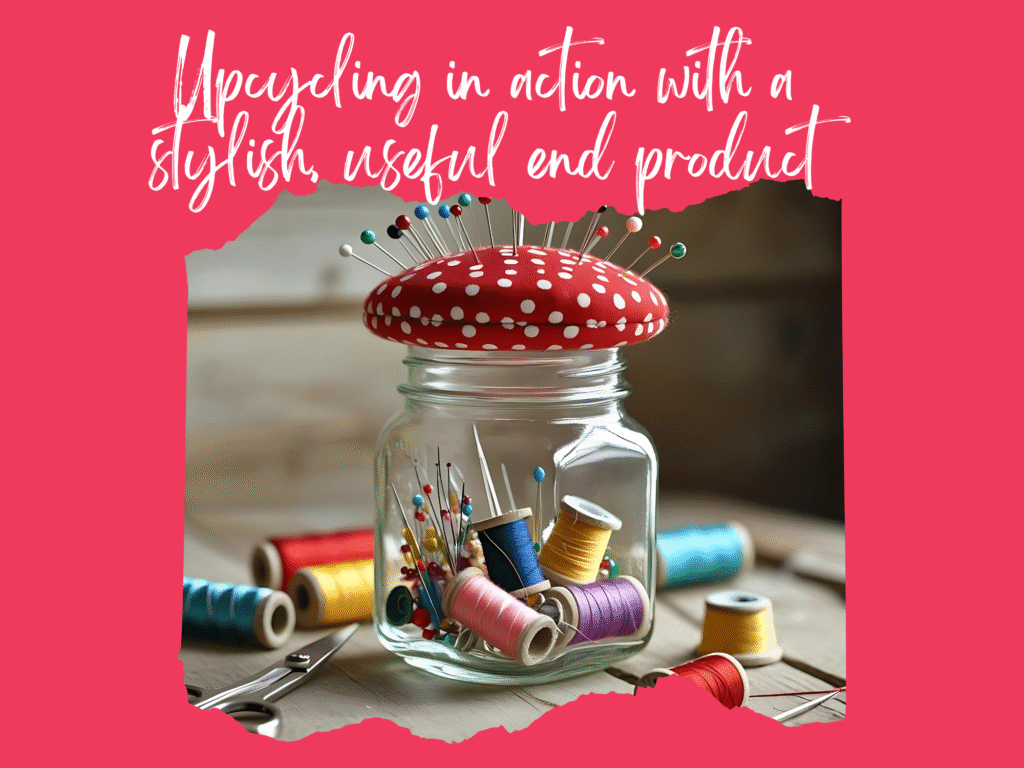
1. Sewing notion jar with pincushion lid
- Fill a jar with buttons, clips, thread or bobbins.
- Make a small pincushion from a fabric scrap and cotton stuffing.
- Glue it to the lid.
2. Paint water cup or brush holder
- Use a wide jar as a water cup for painting.
- Wrap a rubber band around the mouth to rest brushes.
- Add a label so no one drinks from it.
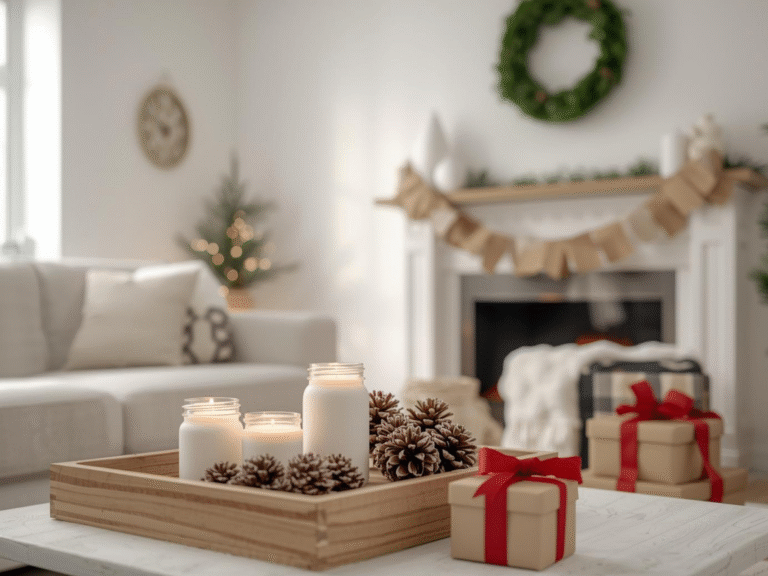
3. Candle holder with tissue paper
- Tear tissue paper into small pieces.
- Brush glue on the outside of the jar and layer tissue pieces.
- Let it dry for a soft glow.
4. Kitchen herb vase
- Clean a jar.
- Tie twine around the top.
- Add water and herb cuttings.
5. Dry goods storage for the craft area
- Store buttons, beads, and clips.
- Add simple labels.
- Group jars by size so it looks neat.
Cardboard organizers that look clean and custom
Cardboard is strong, free, and easy to cut. You can make organizers that fit your space.
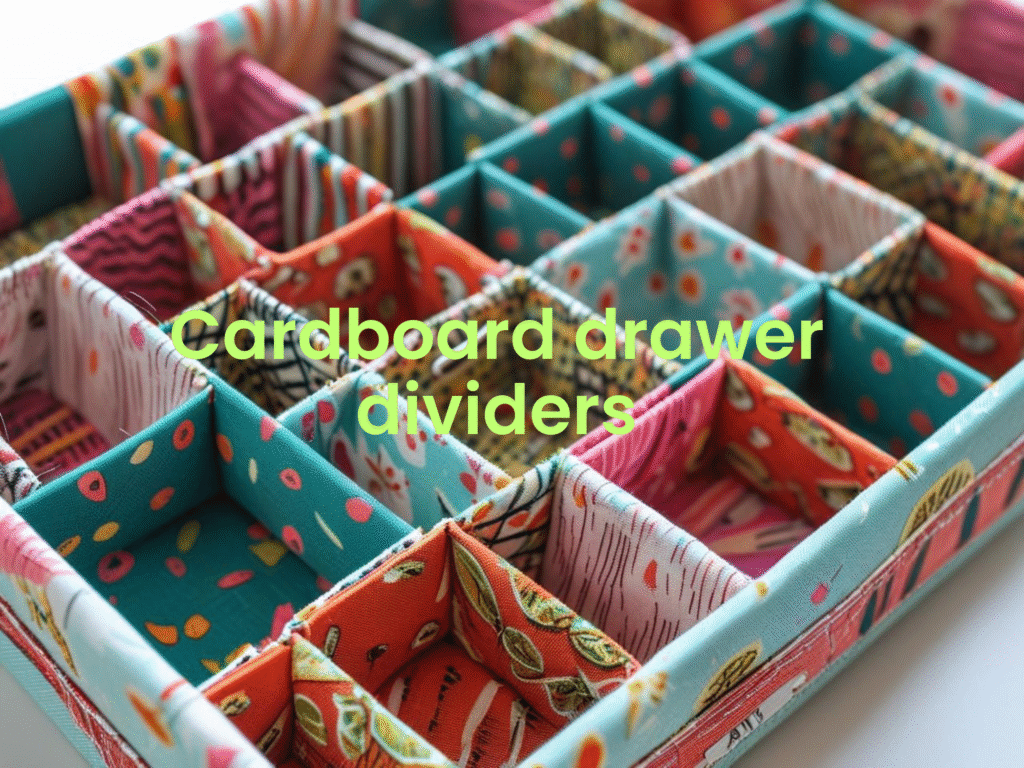
Drawer dividers
- Measure your drawer.
- Cut strips of cardboard to match the depth and length.
- Slot the strips together to make a grid.
- Wrap the pieces with fabric or paper for a neat look.
Magazine files for patterns
- Use a cereal box.
- Draw a diagonal from the top corner down to the front.
- Cut along the line.
- Wrap in paper or fabric.
- Label the side.
- Store patterns, magazines, or printed tutorials.
Desktop cubbies
- Cut three same size boxes down to half height.
- Glue them side by side.
- Add a top piece of cardboard as a shelf.
- Cover with fabric scraps.
- Use for glue, rulers, and small tools.
Peg strip substitute
- Cut a long strip of thick cardboard.
- Glue clothespins along the edge.
- Mount the strip on the wall with removable strips.
- Clip rulers, notes, and small bags of notions.
For more ways to reuse and why it helps your wallet and the planet, this page has a friendly guide. Read about reduce, reuse, and recycle.
Turn old clothes into fresh fabric
Upcycle clothing into fabric and trim. This is one of the best ways to save on crafting supplies.
What to look for
- 100 percent cotton shirts or sheets for quilting and soft crafts
- Denim jeans for bags, patchwork, and organizers
- Linen shirts for crisp projects like aprons or pillow covers
- Buttons, snaps, and zippers to harvest

How to create fabric
- Wash and dry the clothing.
- Turn the item inside out.
- Use a seam ripper to open the seams and remove hems.
- Press the pieces flat with an iron.
- Cut clean rectangles, squares, or strips.
If you need a quick visual on safe seam ripping, this guide shows the right way to remove stitches without tears.
Ideas for upcycled fabric
- Patchwork tote from denim squares
- Fabric baskets from sturdy shirts
- Bias tape from cotton shirts
- Scrunchies and hair ties from knit tees
- Quilted coasters from small scraps
If you enjoy visible mending, you can turn tears into art. This beginner guide to sashiko shows simple stitch patterns that look great on denim.
Upcycle art: turn scraps into something to hang
Upcycle art is fun, easy, and very budget-friendly. You can make wall art with fabric scraps, paper, and found objects.
Fabric collage panel
- Cut fabric shapes from old clothes
- Arrange them on a piece of cardboard or canvas board
- Glue or stitch the shapes in layers
- Add a simple frame made from a cereal box wrapped in fabric
Paper patchwork
- Cut colored paper, packaging, and magazine bits
- Glue them into a grid or stripe pattern
- Add a title cut from a paperboard box
Nature print
- Place leaves under paper or fabric
- Rub with a crayon or pencil to reveal the shape
- Mount on cardboard and hang with twine
For more collage ideas and design tips, look at this simple overview with examples from different artists. https://www.tate.org.uk/art/art-terms/c/collage
Thrift Store strategies that save money and time
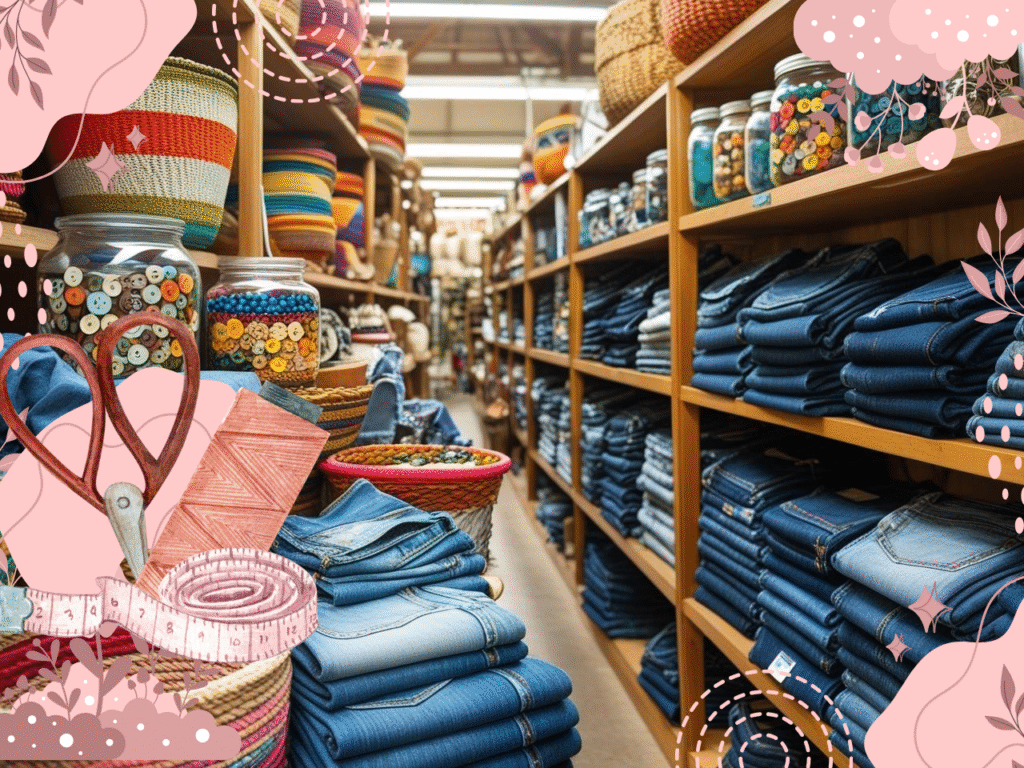
The Thrift Store is a treasure chest for DIY Crafts. Go with a list. Go with your budget binder. Know what to seek.
Best items to hunt
- 100 percent cotton sheets for cheap yardage
- Jeans, jackets, and shirts for fabric and hardware
- Baskets and trays for storage
- Frames for upcycle art
- Jars and canisters with lids
How to shop fast
- Check color tags for sale days
- Look in bedding for large fabric
- Scan men’s jeans by size and weight for bag making
- Open every jar and check the lid
- Put back anything with strong smells or stains you cannot remove
To find a store near you and check donation and sale info, use these pages. Find a Goodwill location and find a Habitat ReStore.
A simple sewing plan for beginners who want to save
Here is a 4 project path that uses jars, cardboard, and upcycled fabric. You can make each in a weekend afternoon. They are diy crafts for adults that kids can help with too.
Project 1: Cardboard drawer dividers
- Time: about 45 minutes
- Cost: free
- Skills: measure, cut, wrap
- Result: a tidy drawer for tools and thread
Project 2: Upcycled t-shirt to scrunchies
- Time: about 30 minutes
- Cost: free to one dollar for elastic
- Skills: cut, stitch, turn
- Result: gifts and a way to use knit scraps
Project 3: Jar pincushion with notions inside
- Time: about 30 minutes
- Cost: free
- Skills: cut a circle, glue, stuff
- Result: storage plus tool on top
Project 4: Denim patchwork tote
- Time: two to three hours
- Cost: free to a few dollars for thread
- Skills: cut squares, sew straight seams, attach straps
- Result: a strong bag and a big win for your budget
Final word
You can craft and sew on a tight budget. Start with what you have. A simple binder and clear budget categories keep you on track. Upcycle jars into storage and decor. Turn upcycle clothing into useful fabric. Use cardboard to build custom organizers that fit your space. These DIY Crafts are friendly to beginners and easy on the wallet. They turn scraps into gifts and art. They also build your skills week by week.
Stay Budget-Friendly by using your home as a supply shop. Use your budget to guide the few things you buy. Visit the Thrift Store only with a list. Keep your binder updated. Most of all, keep making. When you follow this path, you do more than save money. You learn to see value in simple things. That is the heart of diy and crafts.