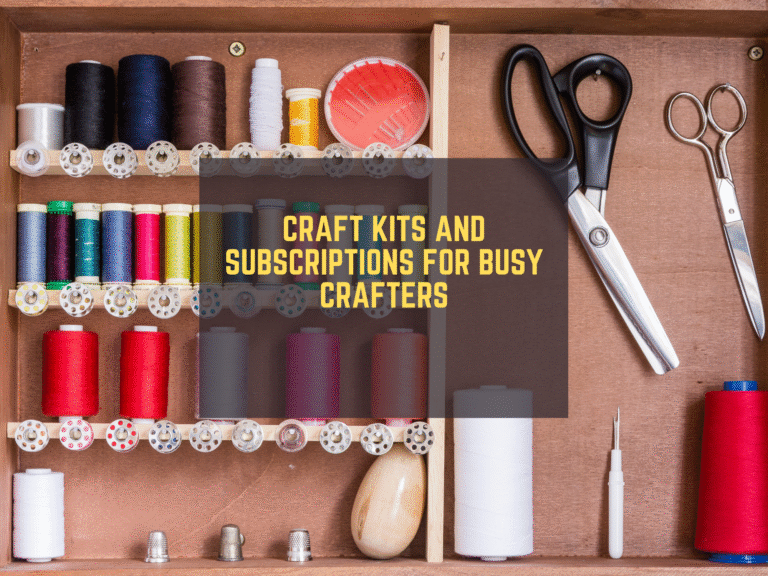
If you love DIY Crafts but you are tired of hunting for scissors, thread, and glue, this post is for you. I sew, glue, and paint too. I know how fast extra minutes slip away when I cannot find what I need. The goal here is simple. Set up a small, smart craft space so you spend more time crafting and less time searching. We will focus on decluttering, storage, labels, and a layout that lets you start at a moment’s notice. I will also share beginner friendly diy crafts for adults, fast project ideas, and thrift shopping tips to stretch your budget.
Throughout this guide, I link to helpful pages you can use right away, plus internal resources on Trusti ASG so you can keep learning and building your space.
Why an organized space helps you craft more
A clear space helps your brain relax. When tools and materials have a home, you can start a project the moment you have craft time. You do not need a full room. A corner or a rolling cart can work. When your Crafting Supplies are labeled and within reach, you can pick a quick craft and get to work.
I use the same idea at home. I keep a small tray with my most used items. I sit down, and I am ready to go. That is the power of a plan.
The plan at a glance
- Declutter the extras so you can see what you have.
- Sort by project type and frequency.
- Use smart storage that fits small spaces.
- Label everything with simple words you will remember.
- Build a grab and go craft tray for fast starts.
- Establish a small routine to preserve your craft time.
- Shop smart at thrift stores and save money while stocking up.
- Keep a list of easy diy projects you can start any day.
Step 1: Declutter with the One Box rule
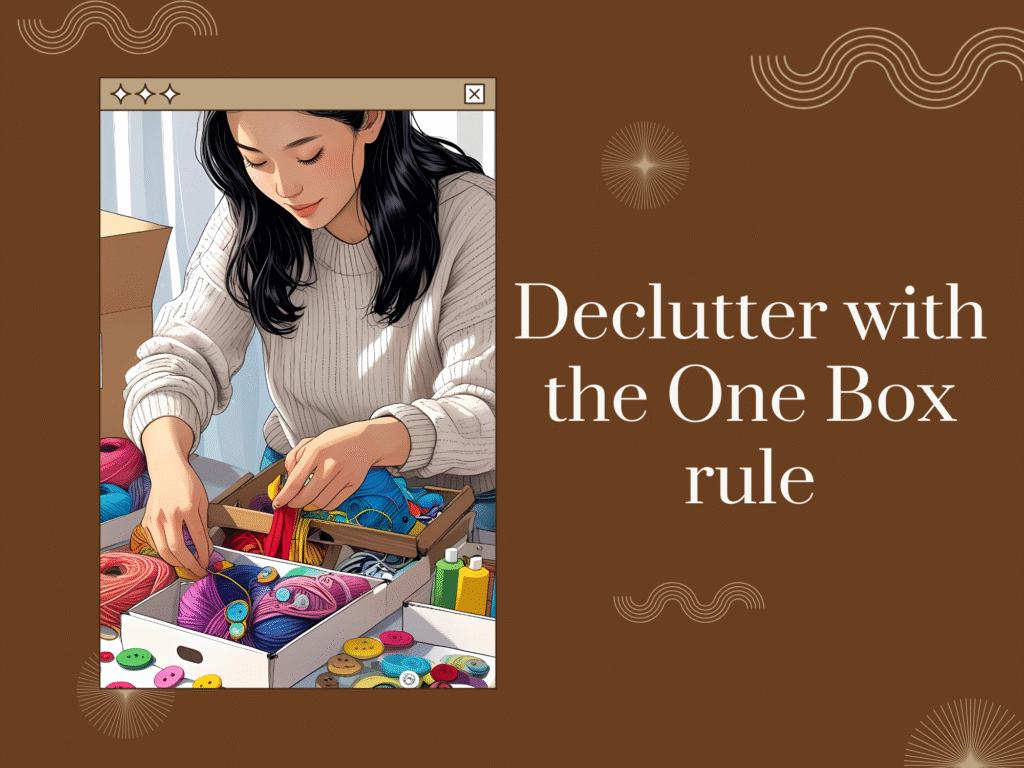
Clutter steals time. Use a simple rule to get a fast win.
- Set a 30 minute timer.
- Bring one empty box.
- Touch every item on your table. Ask: Do I use this in the next 30 days?
- Keep only the items you will use soon.
- Place extras and duplicates in the box to donate.
When your box is full, donate to a local thrift store. You can find one with the Goodwill Store Locator if you often search “thrift store near me.” You can also shop or donate through ShopGoodwill or look for thrift store online options like thredUP. These links help you move supplies out or bring better ones in.
Tip: Toss broken items and dried paint. Keep only safe and usable materials. Clean fabric and notions before storing.
Step 2: Sort by project and by how often you use it
Keep your most used items closest. Sort into three simple groups.
- Daily use: scissors, glue, ruler, rotary cutter, seam ripper, pins, small cutting mat, tape, black marker, white chalk, basic thread.
- Weekly use: fabric yardage, interfacing, felt sheets, hot glue sticks, acrylic paint set, brushes, small canvas, ribbon.
- Sometimes: specialty punches, holiday stamps, glitter, unique trims, scraps for experiments.
Now sort by project type so you can grab and start.
- Sewing basics: thread, needles, bobbins, pins, clips, tape measure.
- Paper and card: cardstock, paper trimmer, adhesives, stamps, ink pads.
- Fabric upcycle: denim scraps, buttons, zippers, lace, patches.
- Decor and gift: mason jars, twine, tags, vinyl letters.
This sort is your map. It tells you what storage you need.
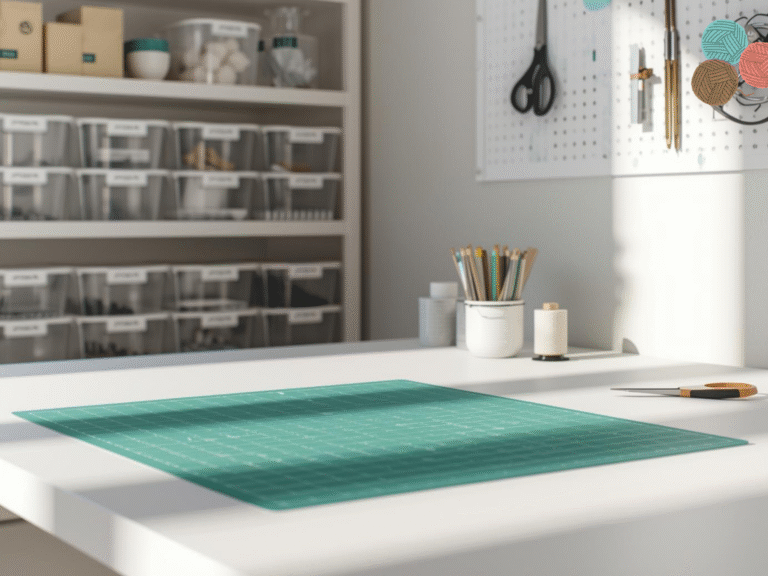
Step 3: Smart storage that fits small spaces
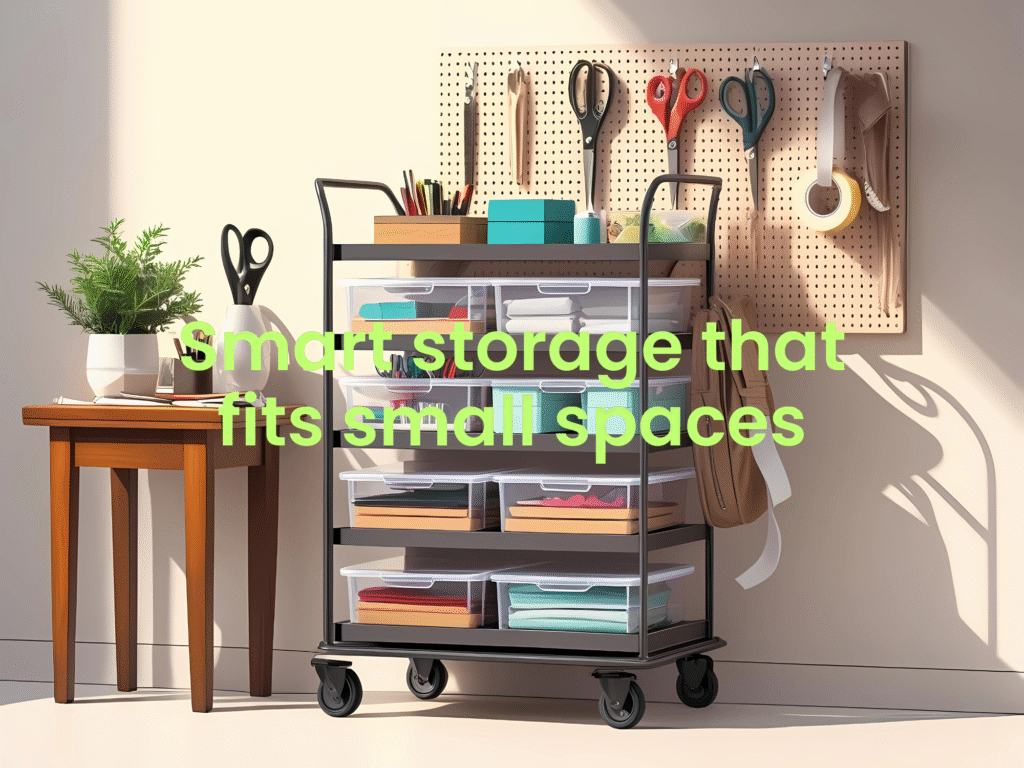
You do not need fancy furniture. You need simple, stackable gear that makes sense.
- Rolling 3 tier cart: Park it by your table. Top shelf holds cutting tools and glue. Middle shelf holds thread and small bins. Bottom shelf holds paint and jars.
- Handled caddy: This is your grab and go tray. Keep scissors, pens, ruler, seam ripper, tape, glue, and a small notebook.
- Clear bins with lids: One bin per project type. Label the front and the lid so you can read it from any angle.
- Zip pouches or pencil bags: Keep kits inside. One pouch equals one fast craft.
- Pegboard: Hang scissors, rulers, rotary cutter, and washi tape. A small pegboard saves drawer space. See ideas on the IKEA SKADIS pegboard page.
- Over the door shoe organizer: Each pocket holds glue, markers, paint bottles, or rolled fabric.
- Magazine files: Store patterns, vinyl, or felt sheets upright.
For labels, printable templates are easy to make. You can design and print on sites like Avery Templates. Keep it simple so anyone in your home can put things back.
Step 4: Label everything and use plain words
Labels save minutes every single day. Use short names you already say out loud.
- Thread and bobbins
- Hand needles
- Glue and tape
- Scissors and cutters
- Paint and brushes
- Denim scraps
- Ribbon and trim
Make the label easy to read. Put the same label on the bin front and on the lid. If you move bins around, you can still see the name.
Color code if you like. For sewing, I use blue labels. For paper, I use green labels. For decor, I use gray. Do not overthink it. Done is better than perfect.
Step 5: Build your grab and go craft tray
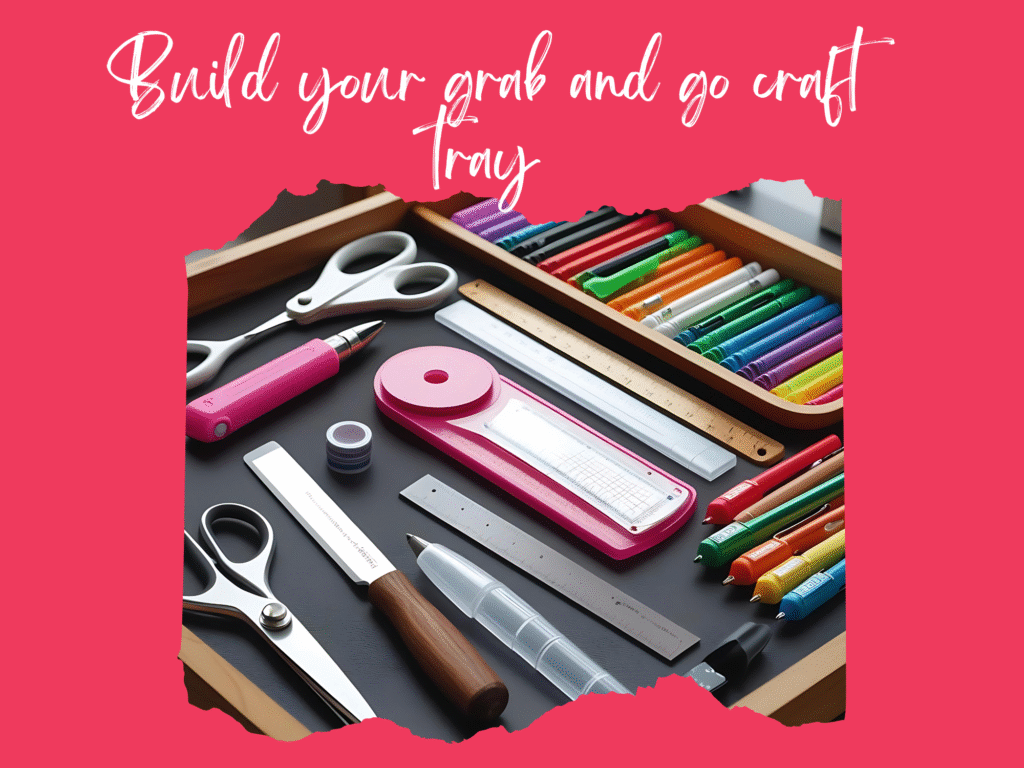
This tray is the secret to starting fast. When craft time shows up, you can start in seconds.
What to put on the tray
- Fabric scissors and paper scissors
- Rotary cutter with fresh blade
- Cutting mat
- Ruler and small square
- Glue stick and tacky glue
- Washi tape and clear tape
- Seam ripper and chalk
- Black fine tip marker and pencil
- Small trash cup for threads and scraps
Keep the tray on your cart or on a shelf by your chair. Return items to the tray when you finish. Your future self will say thank you.
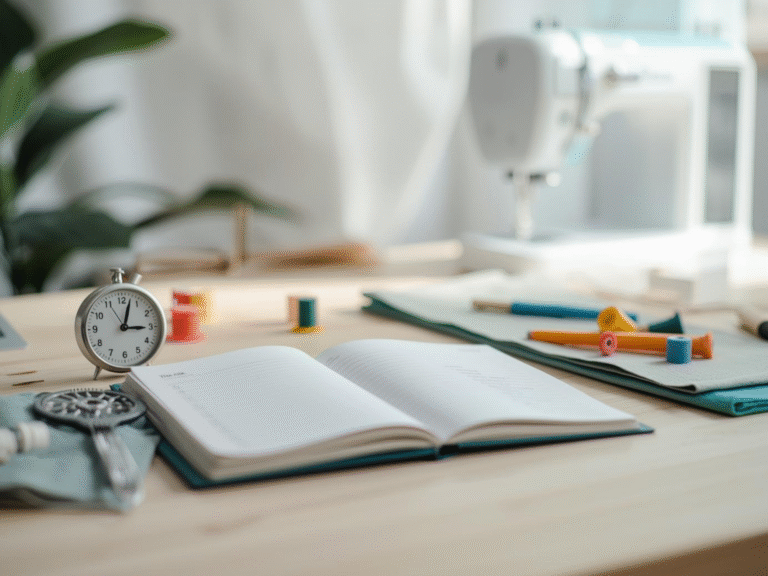
Step 6: Establish a small routine to preserve your craft time.
You do not need long hours. Many easy crafts for adults take 15 to 30 minutes. Pick a time that fits your day. Set a timer. I like 20 minutes after dinner. Try this rhythm:
- Minute 0 to 2: Pick a kit or pouch.
- Minute 3 to 18: Make progress on one step.
- Minute 19 to 20: Clean tray, return tools, and label any new bin.
Small steps done often beat big plans that never happen.
Step 7: Thrift smart for better supplies and lower cost
Thrift is great for budget crafters. You can find jars, frames, baskets, fabric, and more.
- Search “thrift store near me” and check hours before you go. The Goodwill locator is a quick start.
- Shop thrift store online when you cannot get out. Try ShopGoodwill for bundles of fabric or craft lots, and thredUP for clothing to upcycle.
- Look for solid glass jars, wood frames, plain baskets, and cotton shirts or jeans for patchwork. These thrift store finds turn into storage and fabric.
- Inspect items for odors, stains, and damage. Wash or wipe down items before use.
Keep a small shopping list in your phone. Buy only what fits your plan and bins. This protects your space from clutter.
Step 8: Set up fast starter kits for quick crafts
A fast start kit is a zip pouch with everything for one quick craft. Make several so you can pick based on mood or time.
Ideas for starter kits
- Button art mini: burlap square, buttons, glue, small frame.
- Scrap fabric coaster: denim squares, batting scrap, pins, needle, thread.
- No sew felt bookmark: felt, fabric glue, ribbon.
- Jar label set: mason jar, labels, twine, tag.
- Painted wooden spoon: spoon, painter’s tape, small paint pot, brush.
- Patch pocket fix: denim scrap, needle, thread, pins.
Each kit should fit in a single pouch. Add a tiny note card with the steps. When you grab the pouch, you are ready.
Free Organized Craft Space Template
Download the free, easy-to-use template in the link below to make life a little easier for you as you start your fast crafting journey:
Beginner friendly project list you can start today
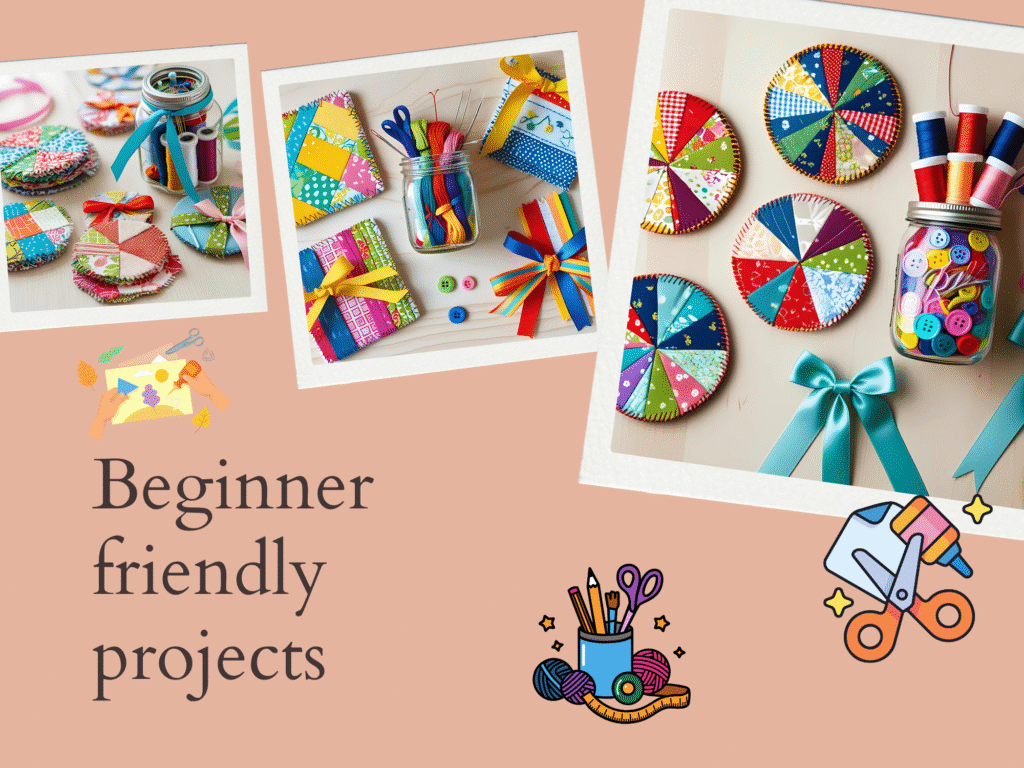
These ideas are simple and quick. They work well as easy diy projects or easy craft projects for adults. Most use items you may already have.
- Fabric scrap coasters
Cut two 4 inch squares and one batting square. Sew around the edges, turn, and topstitch. - No sew fleece scarf
Cut fleece to size. Snip fringe at the ends. Tie knots. - Stamped gift tags
Cut cardstock. Use stamps or markers. Punch a hole. Add twine. - Mason jar sewing kit
Fill with needles, thread, buttons, and pins. Top with a small fabric circle and stuffing for a pin cushion lid. - Denim patch on a tote
Sew a patch pocket from old jeans onto a canvas tote. - Paint dipped planters
Tape a line. Brush paint on the bottom half. Let dry. - Ribbon bookmark
Cut ribbon. Stitch or glue a button on each end. - Framed fabric swatch art
Place a pretty fabric piece in a Thrift Store frame. - Tea towel hanging loop
Sew a ribbon loop to the corner of a towel. - Felt cord wrap
Cut a small rectangle. Add a snap. - Washi tape greeting card
Use tape to make stripes or a simple shape. - Upcycled jar organizer
Clean jars. Add labels. Store buttons, clips, and beads.
These are easy craft ideas for adults who want a fast craft. Each one fits a short window of time.
Make a small space work like a studio
Even a dining room corner can hold your diy and crafts routine. Try this simple layout.
- Table center: cutting mat stays on the table so it is ready.
- Left side: rolling cart with your tray on top.
- Right side: small trash can, iron in a safe spot if you sew.
- Wall: pegboard for tools, small shelf for bins.
- Chair back: clip a pouch for today’s kit.
This setup lets you sit and start without moving a lot of things first.
Label examples you can copy
Use these short names for fast reading. Print with a bold font.
- Scissors
- Rotary cutter
- Ruler and square
- Needles and pins
- Thread and bobbins
- Glue and tape
- Paint and brushes
- Paper and cardstock
- Vinyl and transfer tape
- Denim scraps
- Ribbon and trim
- Buttons and zippers
Final word: organize to make more, not to make it perfect
Remember the goal. This isn’t about building a picture-perfect studio. You are building a space that helps you start quickly and enjoy DIY Crafts on a busy day. Clear clutter, use simple bins, label with plain words, and protect your craft time. If you do this, your easy craft projects for adults will happen more often, and your stash will finally work for you.
You are ready. Pick one fast craft from the list, grab your tray, and start. Your future self will be glad you did.