If you want to make more in less time, batch crafting can help. Many of us only get short windows to create. I do too. With a little planning and a few basic crafting techniques, you can turn small blocks of time into real progress. In this guide I show you how to work in batches so your craft time feels calm, fast, and fun. You will see how to prep parts ahead, move like an assembly line, and finish quick crafts and easy DIY projects even when you only have 20 or 30 minutes.
What Is Batch Crafting?
Batch crafting means you group the same task together and repeat it for more than one project. It is like meal prep. Instead of cooking one dinner at a time, you chop all the onions first, then cook. In the craft world, that might look like cutting all fabric pieces for two or three totes, stamping ten card fronts at once, or painting base coats on several signs in a row. This is one of the simplest crafting techniques I know, and it works for beginners. You waste less time switching tools. Your brain stays focused. Your hands learn a rhythm.
Why Batching Works for Short Craft Sessions
Small sessions often get lost in setting up. You spend ten minutes finding scissors, five minutes clearing a surface, and your time is gone. Batching removes that start-stop. When you work in batches, you set up once and glide. You repeat one motion until it feels smooth. That is why even a 20-minute block can move a project forward. This approach also builds momentum. When I see a neat stack of cut pieces or primed boards, I feel like I am winning already. That keeps me coming back tomorrow.
Plan Your Week in Small Blocks
For short sessions, try a simple timer method. Work for 25 minutes. Rest for 5 minutes. Repeat. This pattern, often called the Pomodoro Technique, fits crafting well and keeps your brain fresh. You can use any kitchen timer or a free app. Learn more about this method here if you want a quick overview and tips, or visit the official site for a deeper dive.
Want help choosing what to do in each block? Grab our Fast Craft Ideas template to map your blocks by day and project. It is a free PDF you can print and use with any craft:
The Core Crafting Techniques for Batching
Use these four steps for almost any craft:
- Group tasks by type. Cutting with cutting. Stamping with stamping. Painting with painting.
- Set up your space for just that one task. Put the tool, the safety gear, and the materials within easy reach.
- Repeat the motion across all pieces. Do not switch tools until the whole group is done.
- Stage the next step in a bin or tray, so tomorrow you can start right away.
When you keep the flow this simple, your craft time feels lighter. You will notice that these crafting techniques reduce clutter and decision fatigue. Progress shows up fast because you can see a whole stack move from one stage to the next.
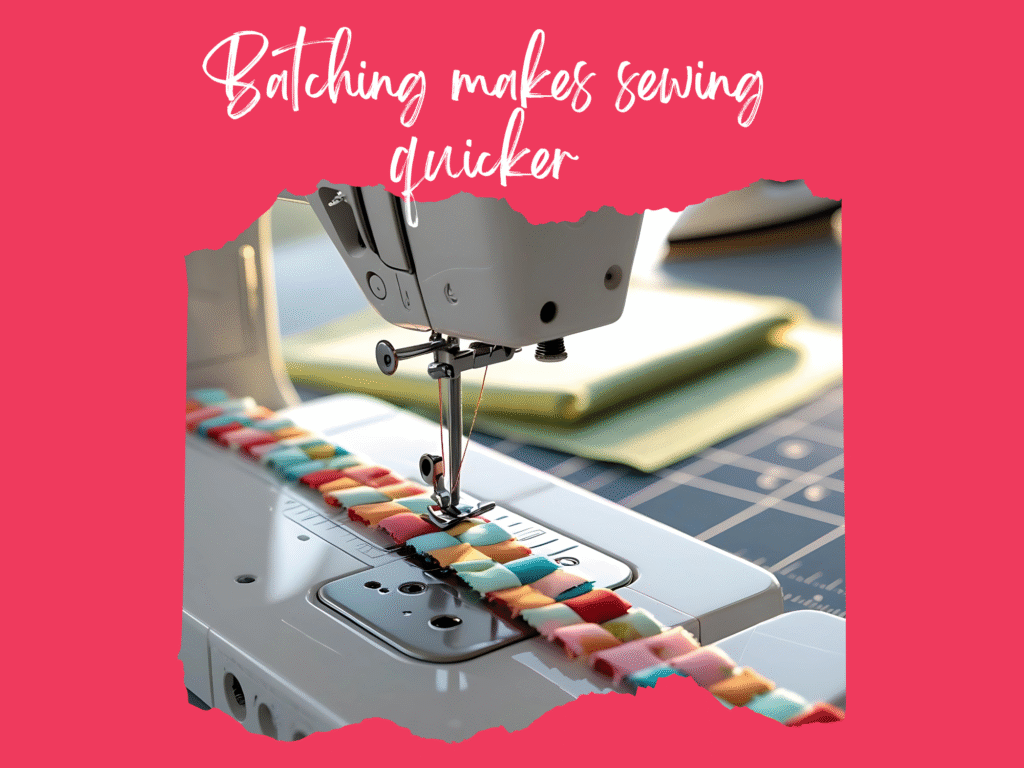
Sewing Example: Cut, Then Chain, Then Finish
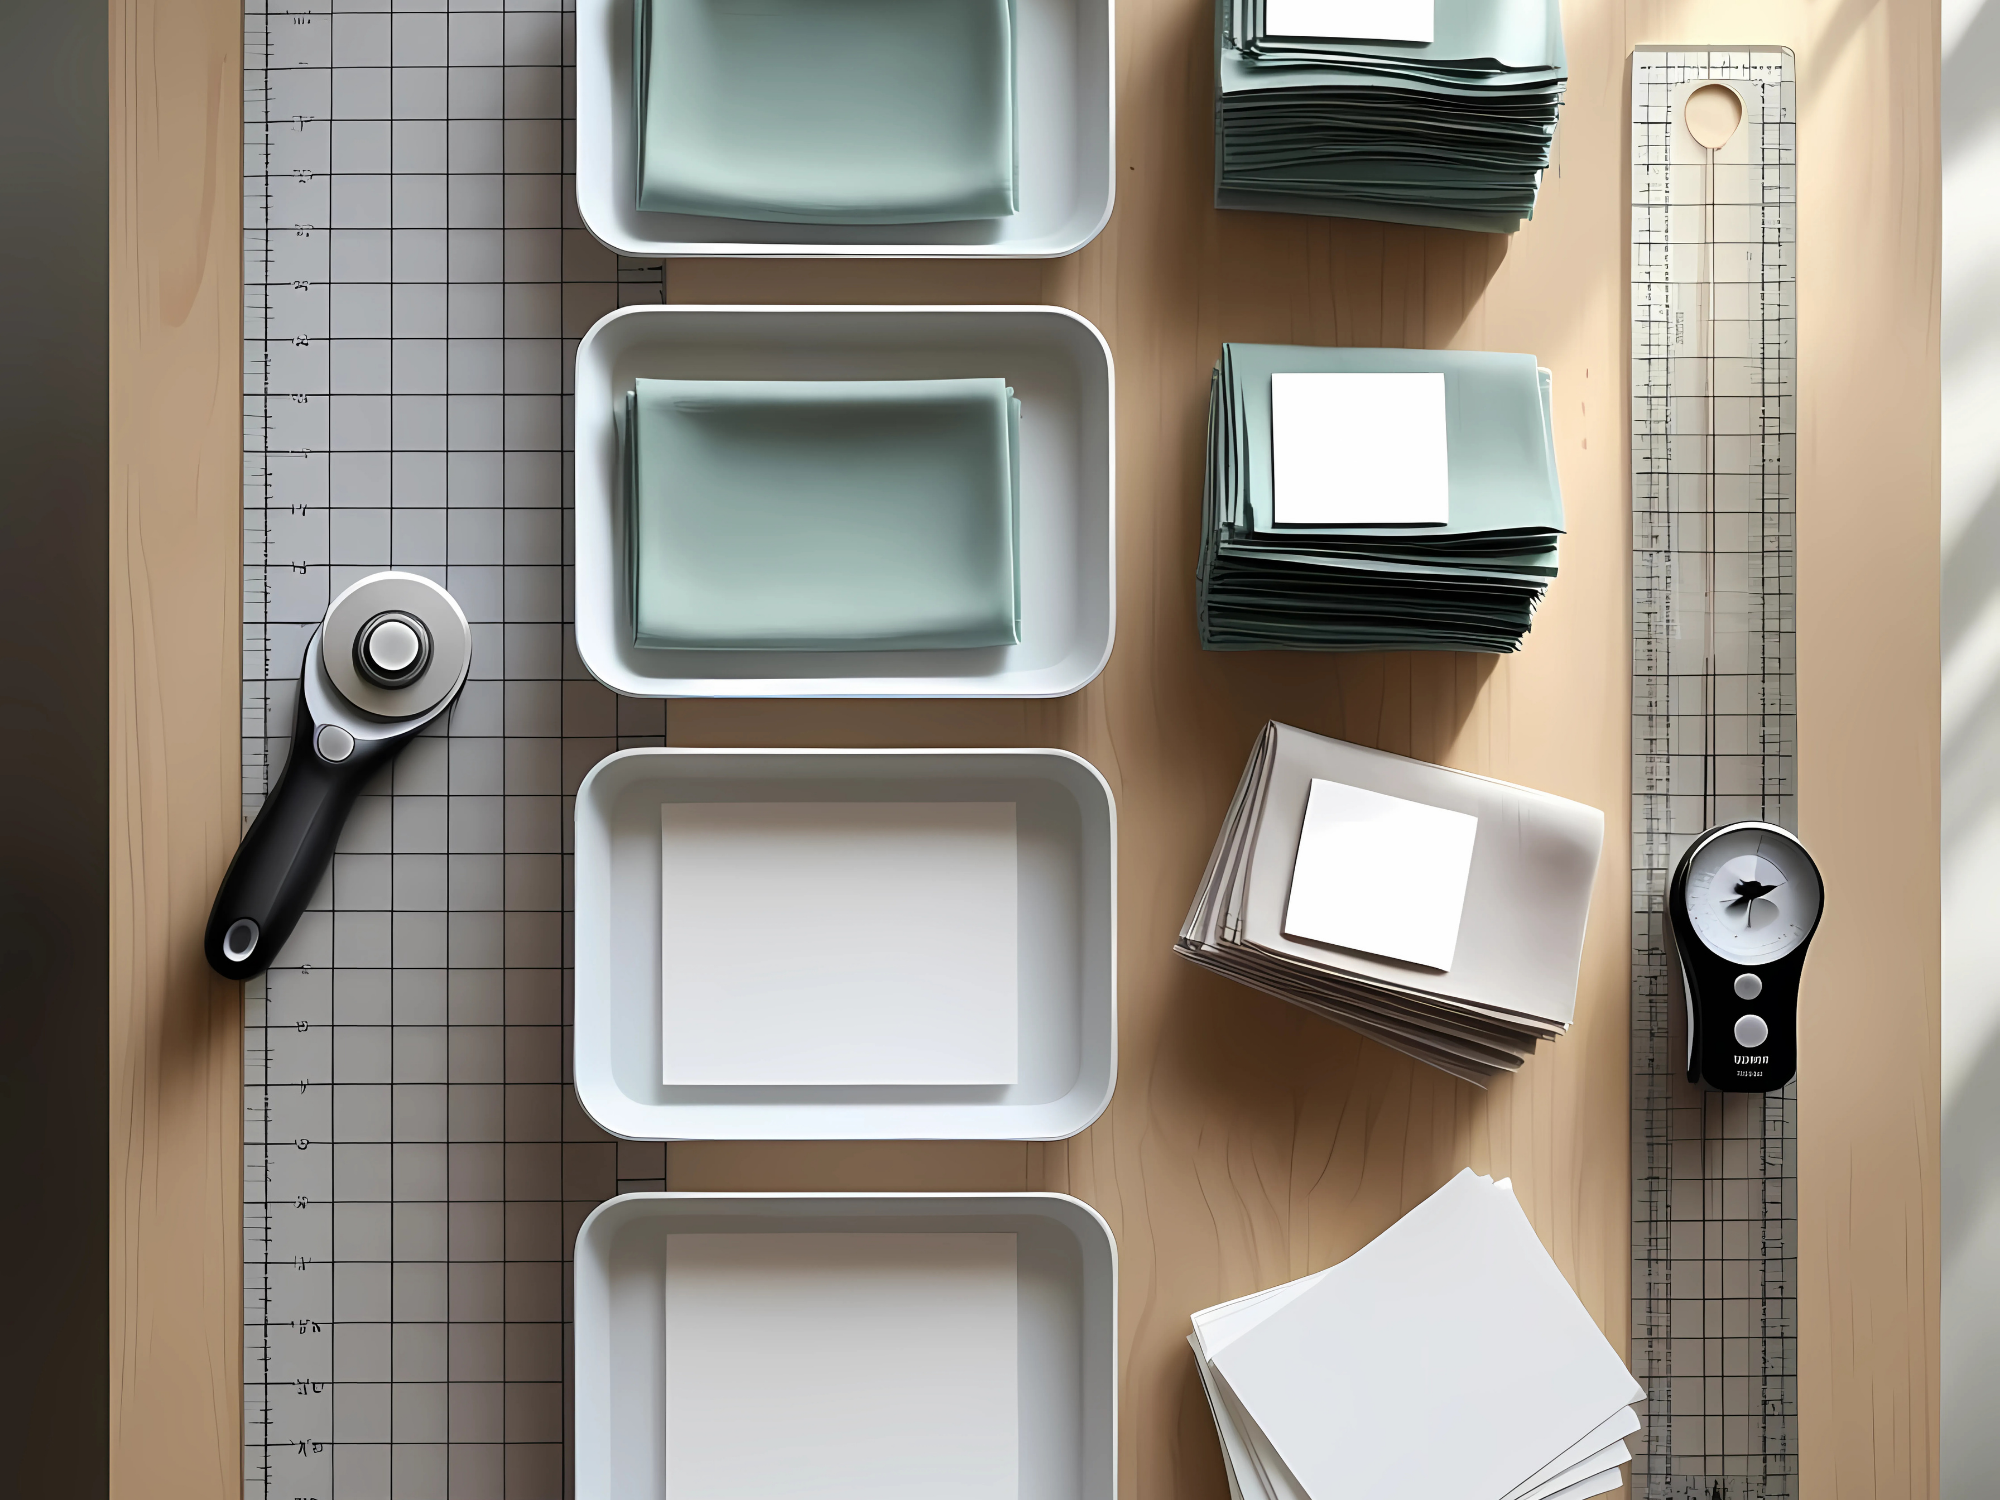
Session 1: Cutting in batches
Lay out two or three simple patterns, like totes, pillow covers, or zipper pouches. Cut all main panels first, then all linings, then all straps. A rotary cutter makes multi-layer cutting quick, and larger blades help when cutting several layers. Threads Magazine explains blade sizes and when to use them, which can speed up your cutting stage.
Session 2: Chain tasks
Sew the same seam on every piece before you move the machine settings. Quilters call this “chain piecing,” and the same idea works for simple bag seams too. You will keep your machine threaded the same way and avoid stop-and-start.
Session 3: Press and assemble
Press all seams, then attach zippers or straps across the whole set. Because you staged pieces in earlier sessions, the final build is fast. You will be surprised how many easy DIY projects you can finish in a week with this rhythm.
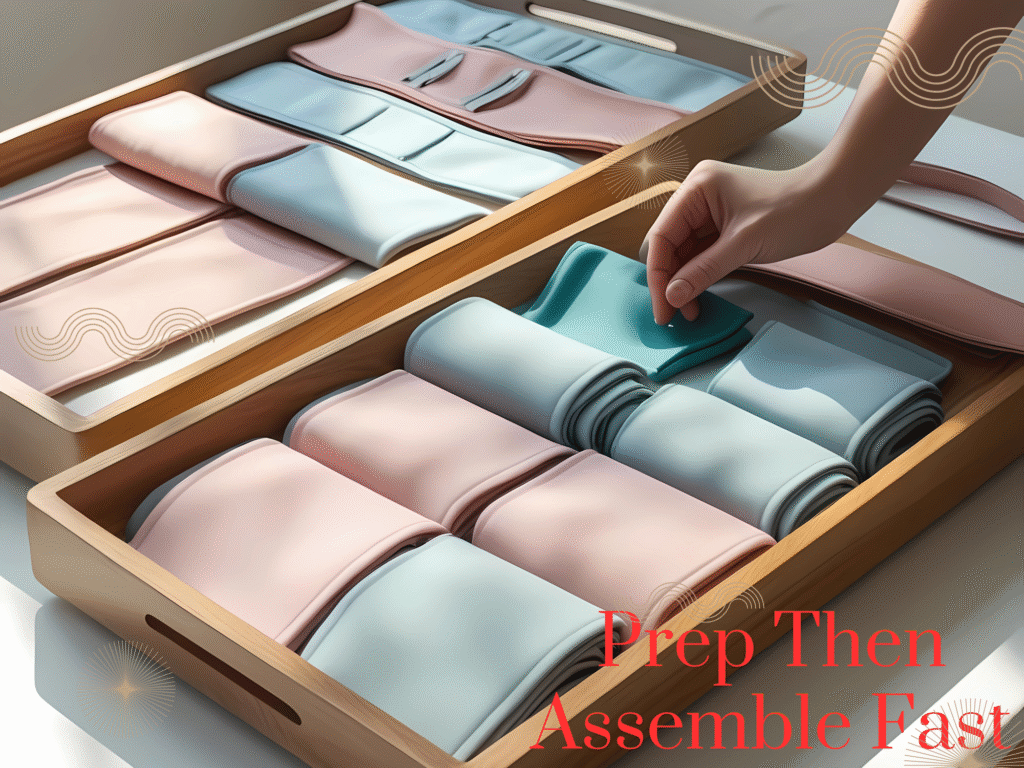
Cardmaking Example: Prep Ten, Assemble Fast
Cardmaking is perfect for batches. You can trim all the card bases and panels first, then stamp, then add die cuts, then glue. Cardmaker Jennifer McGuire often shows batch methods that help you make many cards at once while keeping designs neat and clean. Her tips for prepping sentiments and repeating steps can save a lot of time.
Try this plan:
- Session 1: Cut and score card bases. Trim panels.
- Session 2: Stamp backgrounds across all panels.
- Session 3: Die cut shapes and sentiments. Store them in small bowls.
- Session 4: Glue and add details. Photograph sets together for easy posting.

This approach turns quick crafts into finished stacks. It also makes it easy to send cards all year, since you already built a small “inventory.”
Painting Example: Prime, Base Coat, Detail
Wood signs, frames, and small decor pieces also fit the batch flow.
- Session 1: Prep and prime. Lightly sand and prime raw wood so top coats last and look even. Guides from The Spruce explain when primer helps and how to apply it for a better finish.
- Session 2: Base coats in batches. Brush or roll the base color on several pieces at once.
- Session 3: Lettering or details. Stencil words, add stripes, or glue on embellishments.
If you work on MDF or hardboard, sealing edges and choosing the right primer can prevent swelling and give you a smoother final coat. The Spruce Crafts covers these basics for beginners.
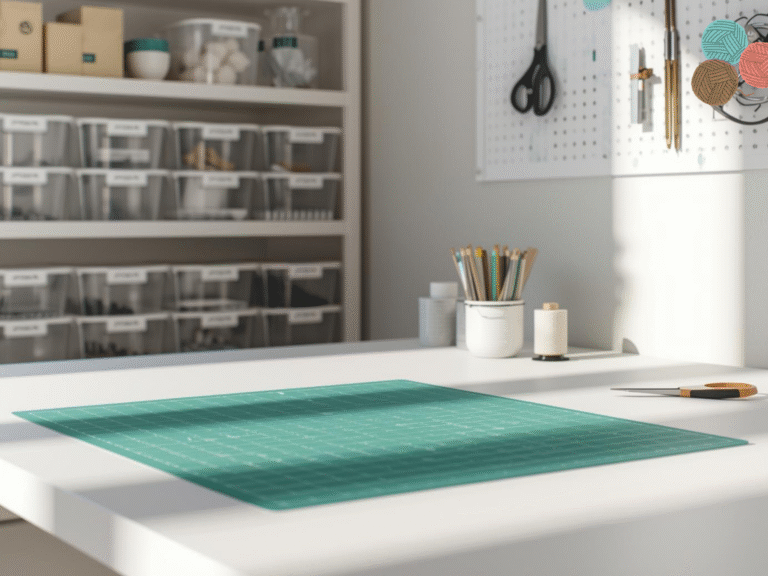
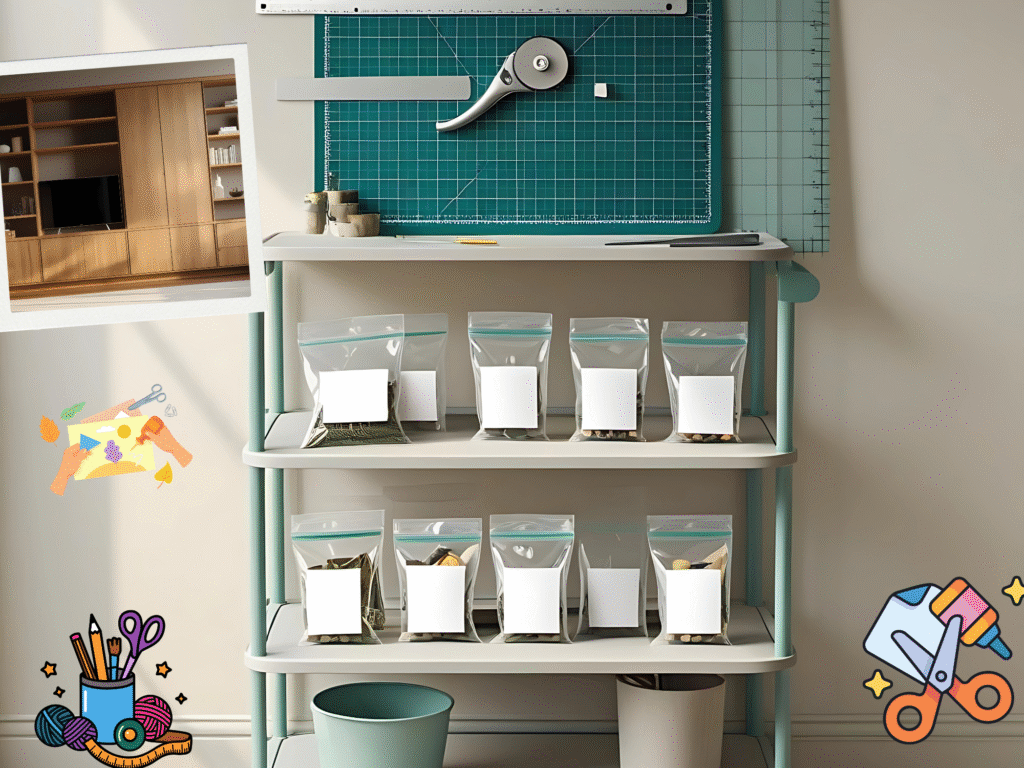
Set Up a Simple “One Task” Station
A small station makes batching easier. You do not need a full room. A shelf, a bin, or a rolling cart works. Load it with only what you need for the current step. For cutting days, keep the mat, ruler, rotary cutter, clips, and a scrap bin for offcuts. Threads Magazine also lists accessories that make rotary cutting faster and safer if you want to go deeper.
If you share a space, our Craft Space Switch Kit shows how to open your craft station fast and close it just as fast at the end.
A 5-Day Batch Plan for Busy Makers
Here is a simple plan you can repeat each week. Each block is about 25 to 30 minutes so it fits after dinner or during nap time.
- Day 1: Choose and stage. Pick two easy DIY projects. Pull patterns, paper, or boards. Put tools in one tray.
- Day 2: Cut or prep in batches. Cut fabric, trim card panels, or sand wood.
- Day 3: Mid-stage work. Sew simple seams, stamp backgrounds, or apply primer.
- Day 4: Main build. Assemble pieces. Add closures, layers, or base coats.
- Day 5: Finish. Topstitch, glue accents, add varnish, and photograph.
If you like scheduling by the clock, a time-blocking guide can help you protect those small windows on your calendar.
Batch Crafting Planner
Download the free, easy-to-use template in the link below to make life a little easier for you as you start your fast crafting journey:
What To Batch First: A Quick Starter List
- Sewing: Cut all rectangles, then all linings, then all interfacing. Chain piece short seams. Press in one wave.
- Cardmaking: Stamp all backgrounds, then all sentiments. Die cut in one sitting.
- Painting: Sand all edges, prime all boards, lay base coats across the whole set.
- Vinyl or HTV: Weed all designs at once, then heat press in one block.
These are simple crafting techniques that beginners can do. Each one saves motion and keeps your mind on one move at a time.
Track Your Batches and Your Craft Time
Writing things down helps. A one-page log lets you track which stage you finished and what to do next. Our Budget-Friendly DIY & Crafts Binder has pages you can repurpose for planning, tracking supplies, and logging steps. It is free to download and print.
Common Mistakes to Avoid
- Mixing too many projects at once. Start with two. Add more later.
- Switching tools mid-block. Finish the whole stack before you change.
- Skipping prep. A dull blade or no primer can cost you time later. If you are unsure about primers and surface prep, The Spruce has beginner guides that explain when and why to prime.
- No cleanup plan. End each session with a 5-minute reset. Put pieces in labeled bags. Stage the next step on top.
How This Helps With Quick Crafts and Easy DIY Projects
Batching turns scattered minutes into finished items. You see clear markers of progress. A pile of cut pieces. Ten stamped card fronts. Three boards with base coat. When progress is visible, your brain wants to keep going. That is the real power behind these crafting techniques. Your craft time feels shorter because you do not waste it switching. You also build skill faster because you repeat the same motion many times in a row.
Your Next Step
Pick one area to try this week. Sewing, cardmaking, or painting. Choose two small easy DIY projects and walk them through the steps I shared. Use timers to stay focused. If you want extra help planning your batches, download the internal tools linked above. Then set up a small station so you can start and stop without stress.
Batch crafting is simple. It is friendly for beginners. It works when life is busy. With a few steady crafting techniques, you will turn short blocks into real progress and enjoy more finished quick crafts in less time. And if you want more guides for small spaces, time savers, and budget tips, visit the Trusti ASG Blog at trustiasg.com and keep learning with us.