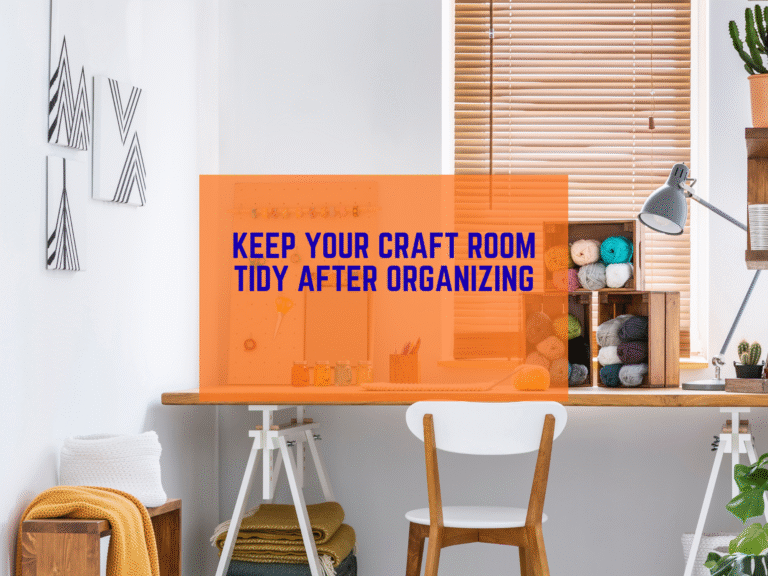
If your craft table is always crowded, this post is for you. With vertical storage, you lift tools and supplies off the table and give them a clear home you can see at a glance. In this guide I will show easy pegboard organization, smart shelves for fabric bins, and simple rails and hooks for scissors and rulers. You will learn how to turn a blank wall into calm, working wall storage that fits a small or busy space.
Why Vertical Storage Works
Clutter grows on flat spaces. Vertical storage puts tools where your eyes can find them fast. You reach up, not across piles. That saves time and stops the “where did I put it” hunt. It also keeps kids and pets safer because sharp tools live up high. When you use hanging storage, you also see what you already own. You buy less, use more, and finish more projects.
Step 1: Make a 15 Minute Wall Plan
Before you buy anything, stand in your space and look up.
- Pick one open wall or the back of a door.
- Measure width and height. Write it down.
- Mark three simple zones with painter’s tape.
- Top shelf zone for light bins and display
- Middle grab zone for your most used tools
- Lower bin zone for heavy items and fabric
- Top shelf zone for light bins and display
Find the studs so your wall storage is safe. A basic stud finder is fine. If you rent, you can still do a lot with hanging storage that uses adhesive hooks and rails. See the weight limits on the package from 3M Command. Mount within the limits.
For more craft space basics, check our guide at Trusti ASG.
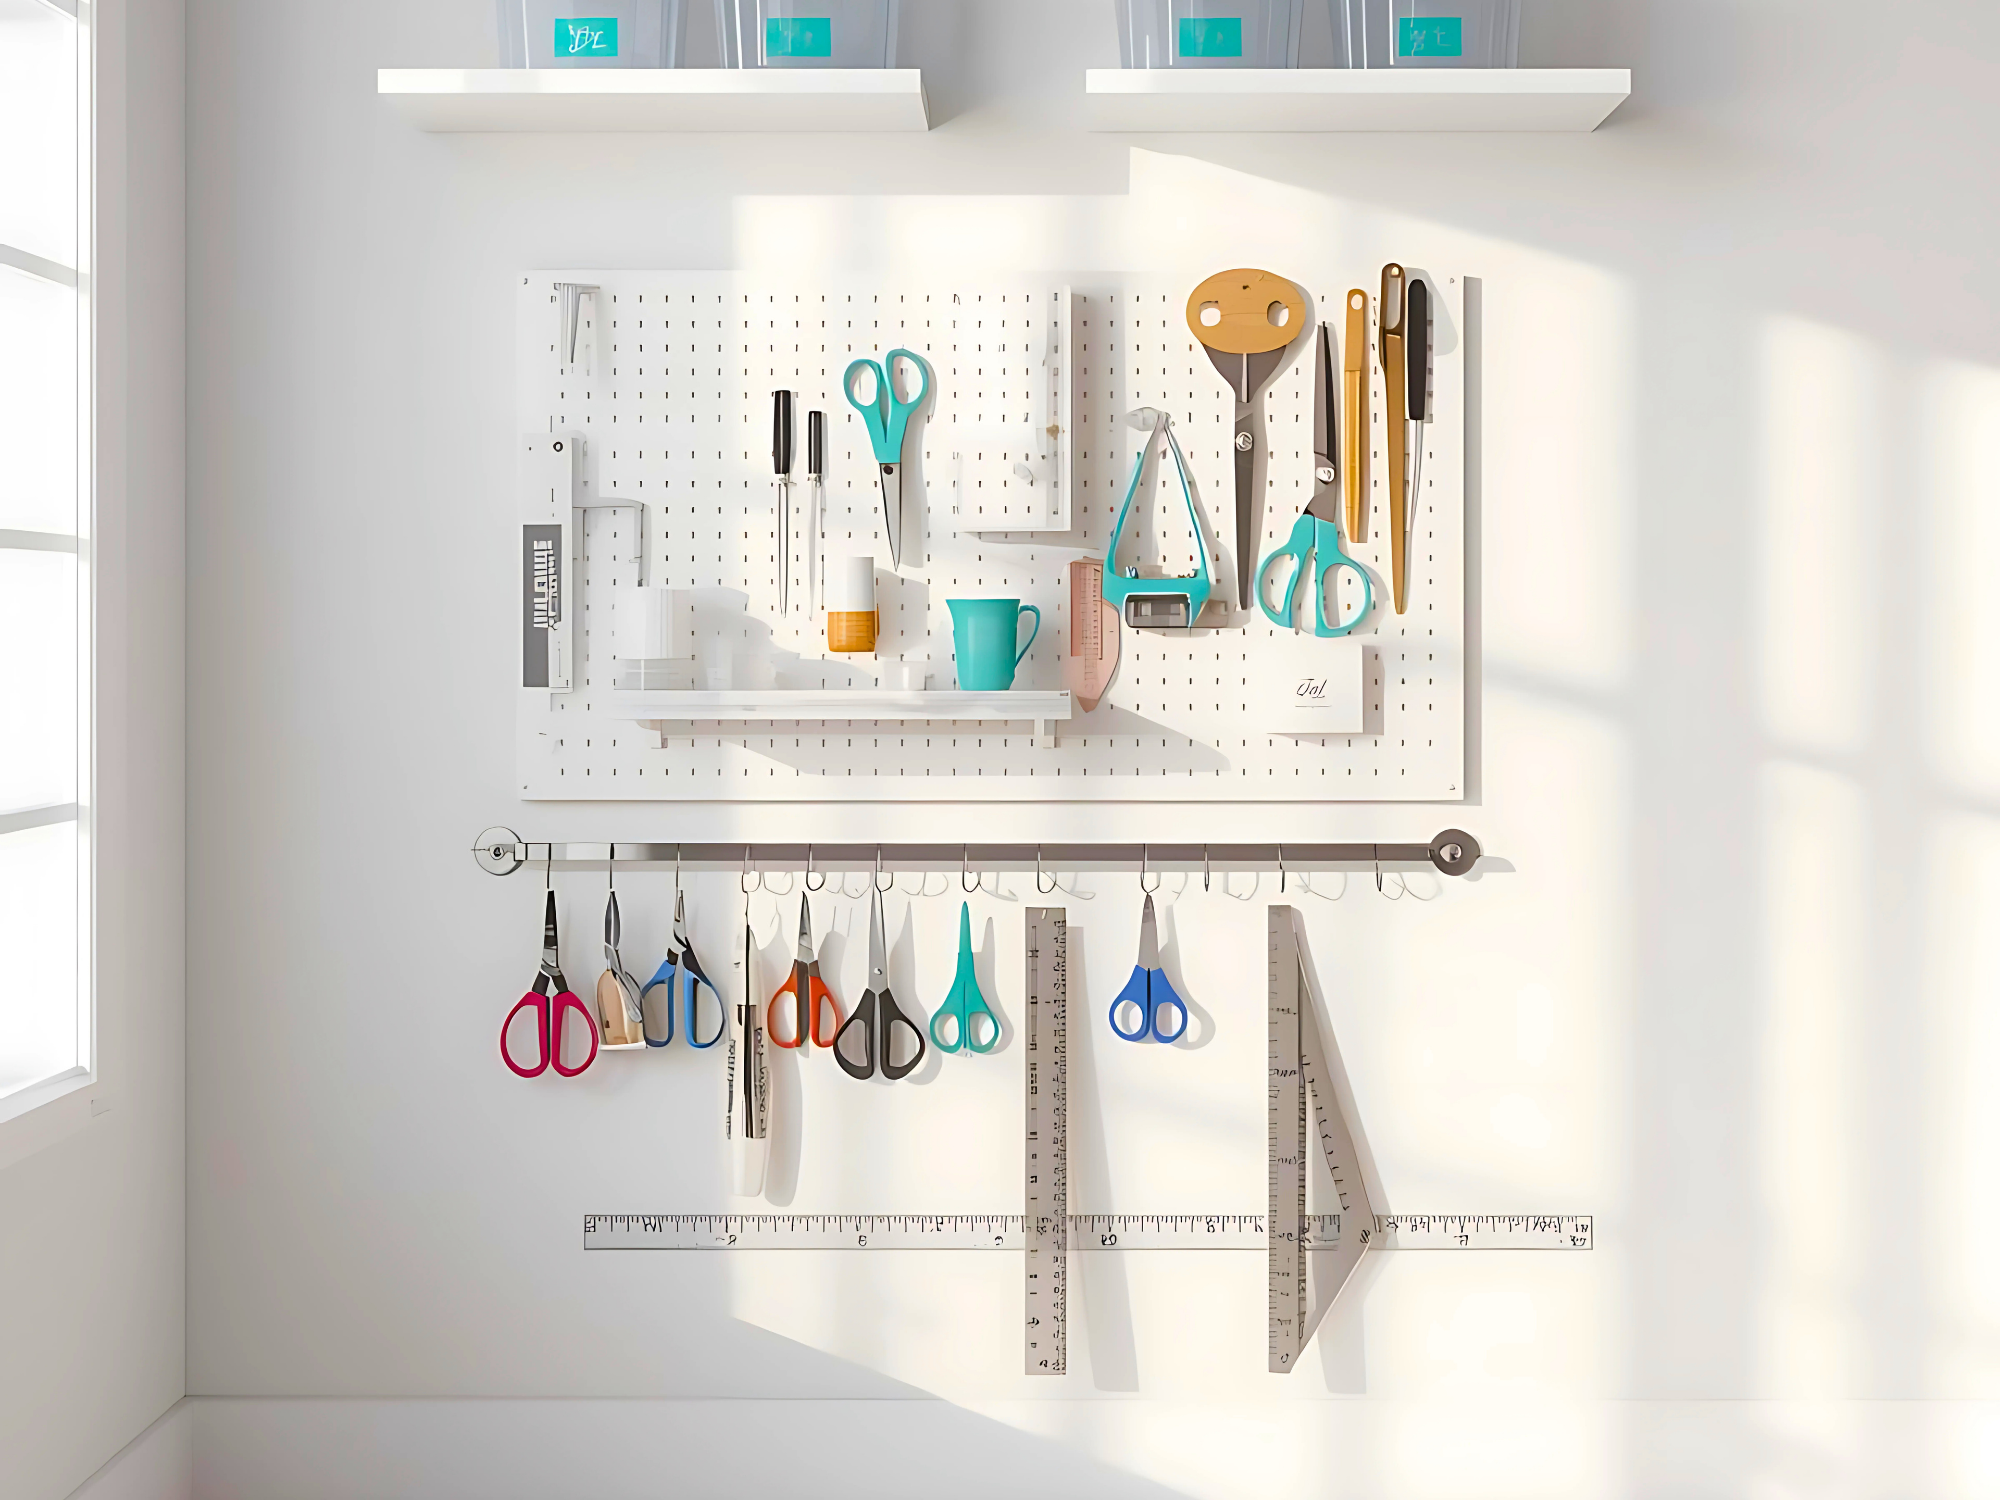
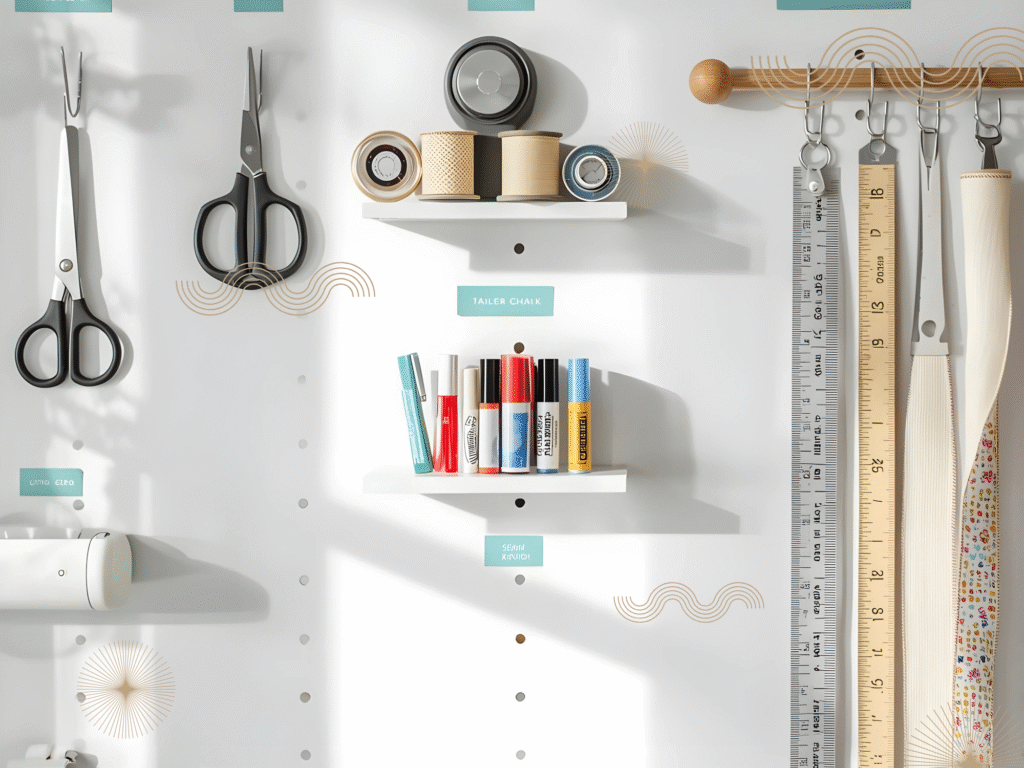
Step 2: Pegboard Organization Basics
A pegboard is a strong first step. It is light, flexible, and easy to change. You can use a classic metal or wood board, or a modern system like IKEA SKÅDIS with cups, shelves, and hooks. Here is how I set one up.
- Size it to your wall. Leave a small margin so doors and switches still work.
- Use spacers so hooks sit right. Many boards include them.
- Place the board in the middle grab zone.
- Start with only the tools you touch every session.
Pegboard organization shines when you group by task. Keep cutting tools together. Keep marking tools together. Keep rulers together. You can make rows so your hand always knows where to reach.
Pegboard Organization Ideas
Try these simple pegboard organization ideas to get going.
- Hooks for scissors, rotary cutters, and pinking shears
- A small shelf for fabric clips and chalk
- A cup for pens, fabric markers, and seam rippers
- A dowel for washi tape or ribbon
- A rail for quilting rulers so they hang flat
If you want more examples of hook types and layouts, this overview shows basic hardware and spacing tips.
Step 3: Wall-Mounted Thread Racks and Ribbon Bars
Thread likes to tangle and roll. A wall-mounted thread rack keeps spools clean and visible. Look for racks with pegs set at a slight angle. That holds the spools better.

Add a simple rod or towel bar under the rack for ribbon. Slide spools on the bar. Use small caps on the ends so they do not slip off. When you cut a piece, the rest stays neat.
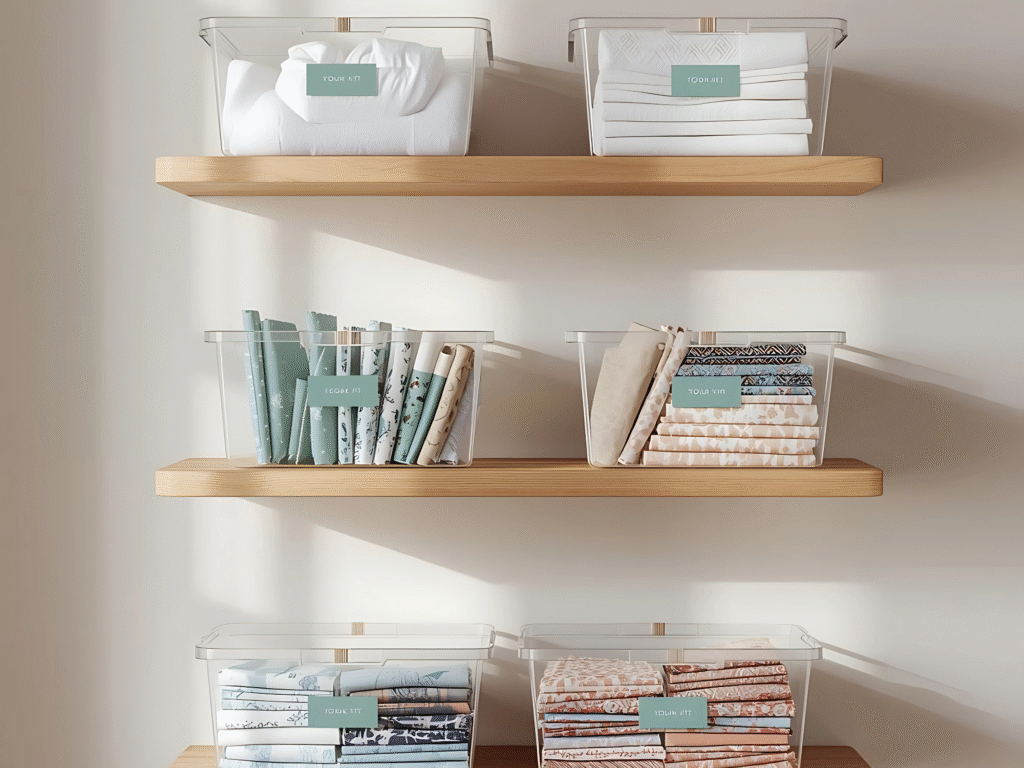
Step 4: Shelving for Fabric Bins
Floating shelves turn the top zone into strong wall storage for fabric. Use shelves that can hold real weight. Fasten into studs when you can. Then choose bins that fit the shelf depth. Clear bins are great. You can see colors fast. Label each bin by fabric type or project.
Sample shelf layout:
- Top shelf: batting, interfacing, seasonal fabric
- Middle shelf: solid cottons in two bins, prints in two bins
- Lower shelf: kits in progress, a bin for scraps by size
If you want sturdy brackets and an easy rail system, the ELVARLI and BOAXEL guides at IKEA show options you can mount and reconfigure as your stash grows.
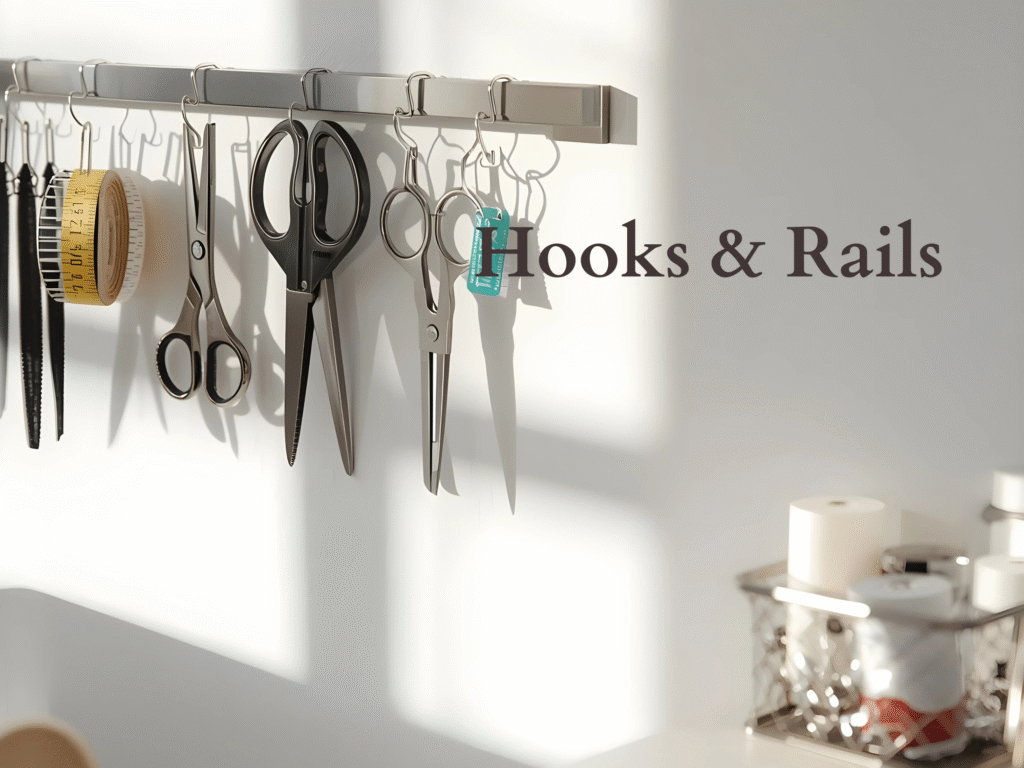
Step 5: Hooks and Rails for Scissors, Rulers, and Tools
Rails and hooks make fast hanging storage. A rail keeps things flush to the wall and off your desk. You can use a kitchen rail like IKEA KUNGSFORS, add S hooks, and hang scissors, measuring tapes, and small baskets. Hang quilting rulers by their slots so they stay flat and do not warp.
Simple rail plan:
- Left side: measuring tapes and seam gauges
- Center: scissors set, rotary cutter, snips
- Right side: small basket with bobbins and clips
Sample One Wall Setup for a 4 by 6 Foot Area
This layout keeps every inch working.
- Top zone: two 24 inch shelves for fabric bins
- Middle zone: a 30 by 22 inch pegboard for tools you touch daily
- Lower zone: a short rail for rulers and scissors, plus a narrow shoe rack on the floor for finished blocks
Keep a small open spot on the board. This gives you room to grow without a full redo.
Five Fast Pegboard Organization Ideas By Craft Type
Use these plug and play lists to start fast. Move items as you learn your flow.
- Sewing and Quilting
- Hooks for shears, snips, rotary cutter
- Shelf for bobbins and needles
- Cup for fabric markers and chalk
- Rail for quilting rulers
- Mini bin for clips
- Hooks for shears, snips, rotary cutter
- Paper Crafting
- Hooks for scissors and bone folder
- Shelf for tape runner and corner rounder
- Cup for pens and glue sticks
- Dowel for washi tape
- Mini bin for die cuts
- Hooks for scissors and bone folder
- Embroidery
- Hooks for hoops
- Shelf for floss boxes
- Cup for needles and threaders
- Small pegboard shelf for pattern cards
- Mini bin for snips
- Hooks for hoops
- Jewelry Making
- Hooks for pliers and cutters
- Cup for head pins
- Shelf for bead trays
- Rail for rulers and mandrels
- Mini bin for clasps
- Hooks for pliers and cutters
- Kids Craft Zone
- Hooks for blunt tip scissors
- Cup for markers and crayons
- Shelf for glue and tape
- Dowel for ribbon
- Mini bin for stickers
- Hooks for blunt tip scissors
For more step by step craft space ideas, see our posts at Trusti ASG.
Renter Friendly Wall Storage
You can still use vertical storage if you cannot drill.
- Use strong adhesive hooks within listed limits
- Try a tall over the door rack for rulers and yarn
- Use a freestanding grid panel that leans against the wall
- Use tension rods inside a closet to hold ribbon bars and light baskets
Always check weight and leave extra margin. If it feels loose, remove it and try a lower spot.
Safety and Weight Tips
- Heavy items go low. Light items go high.
- Use wall anchors rated for more than the shelf load.
- Put sharp tools up and away from small hands.
- Keep a small step stool nearby so you reach safely.
- Do a five second tug test on new mounts before loading them.
If you want a quick guide to anchors and when to use them, this primer from The Home Depot explains basic types and loads.
A One Hour Wall Makeover Plan
You can build a starter setup in about one hour.
- Clear the table and pull everything to the side.
- Mark your wall zones with tape.
- Mount the pegboard first. Hang five tools you use every time.
- Add one rail for rulers and scissors.
- Add one shelf and one bin for fabric in progress.
- Label the bin and the pegboard spots with small tags.
Stop there. Craft for a week. See what feels good. Then add one more thing. This slow build keeps you from overbuying. It also helps your hands learn the new habit. It is not about more bins. It is about placing the right tool in the right spot so your wall does the work.
Simple Habits That Keep Walls Working
- Put a tool back before you reach for the next one
- End each session with a two minute reset
- Keep one empty hook and one empty bin spot for new items
- Review the layout once a month and fix the one thing that bugged you
These small moves protect your pegboard organization and keep your desk clear for actual making.
Wrap Up
You do not need a bigger room. You need smarter wall storage. When tools live on the wall, your desk stays open and calm. Start with one pegboard, add a rail, then add one shelf with bins. Keep only what you use in reach. Let the rest sit higher in safe, labeled bins. With steady habits, your pegboard organization will do the heavy lifting every day. Try one set of pegboard organization ideas from this post and see how fast your next session feels. With simple hanging storage and strong shelves, your walls can hold more, and your mind can focus on making. That is the power of vertical storage in a small or crowded craft area.
Free Vertical Wall Storage Planner
Download the free, easy-to-use template in the link below to make life a little easier for you as you start your fast crafting journey: