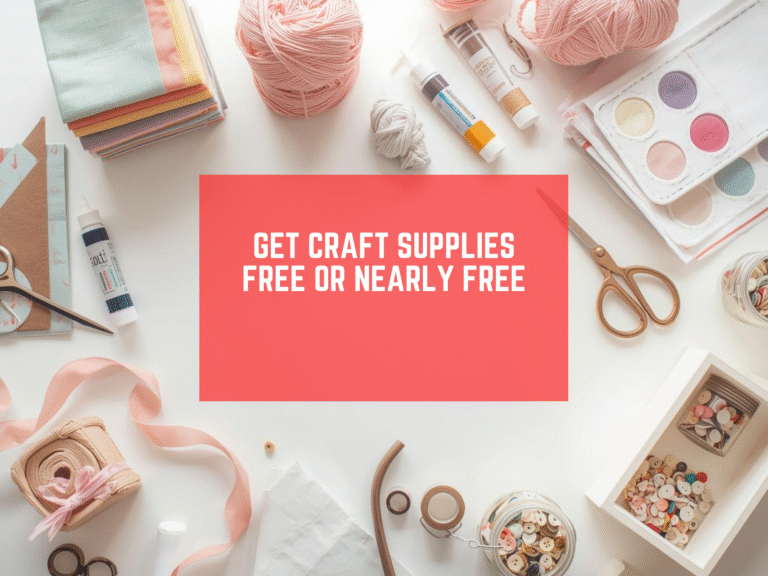
You can make beautiful work without buying fancy gear. In this guide, I share simple tool hacks for sewing and crafting. You will see how to get great results with low cost items you already own. These ideas are beginner friendly. They help you skip expensive tools and still get clean, strong results.
I use clear steps and short lists. Try one or two tips today. Build your kit over time. If you want more planning help, grab our free guides at Trusti ASG like the Batch Crafting Planner, the Closet Craft Studio Planner, and the Budget-Friendly DIY Recycled Crafts Planner. You can also visit our home page at trustiasg.com for more.
Why cheap crafts work
Good projects come from clear steps, not price tags. You do not need a wall of arts and craft tools to start. You need a plan, safe habits, and a few steady helpers. Cheap crafts use common items in new ways. This saves money and keeps clutter low.
When we avoid expensive tools, we also get more practice. We make more things, learn faster, and finish more often. That is a big win.
Start with what you have
Open a drawer. You may already own small items that act like a craft tool. Here are a few ideas to try.
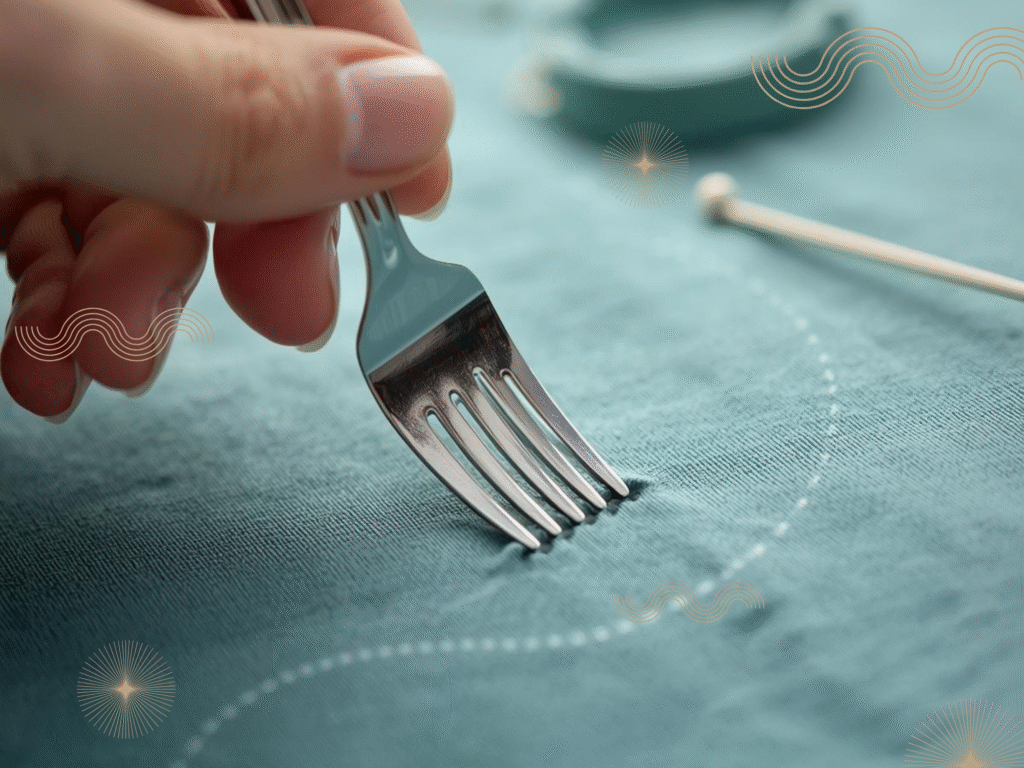
- Fork for stitch marks. Use the tines to press even spacing for hand stitching or lacing. If you want to see the pro version, an awl is the tool shops sell. Your fork can guide the holes before you pierce the fabric with a needle.
- Rubber mallet from the hardware aisle. A soft mallet flattens seams or sets snaps without marring metal. Learn what a rubber mallet is and why it protects surfaces.
- Binder clips instead of pins. Clips hold thick layers and vinyl where pins would leave holes. See how a binder clip works and why it holds so well.
- Painter tape as a seam guide. Place a strip on your machine at the right width to guide fabric. Read about masking tape and why it lifts off cleanly.
These are simple diy tools. They cost little and do a lot.
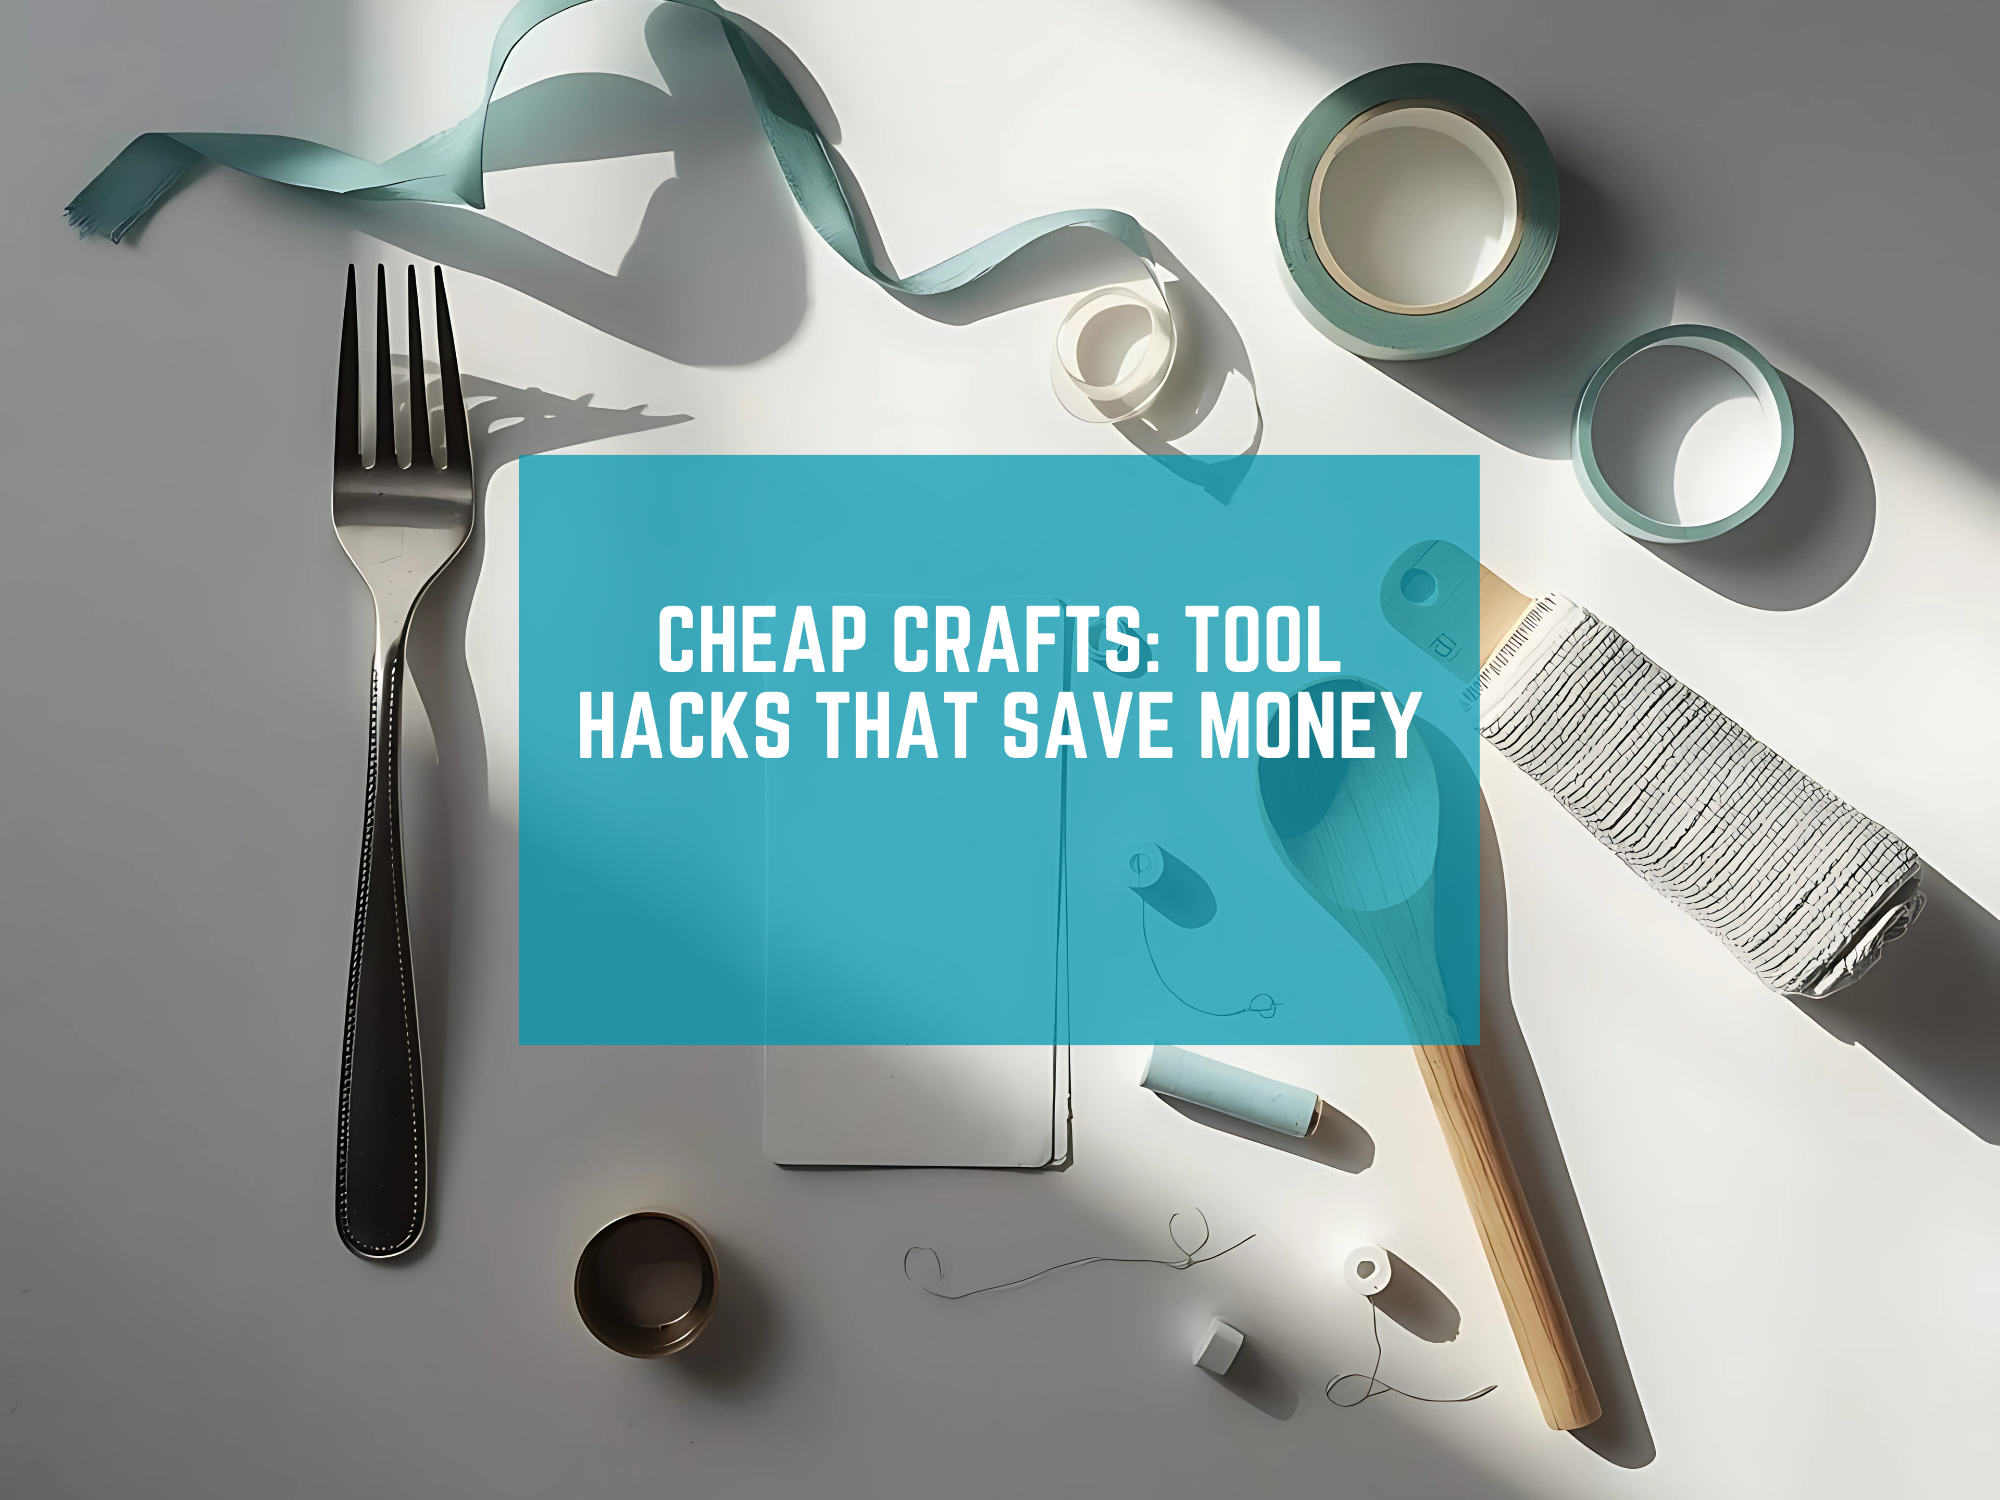
Sewing tool hacks that save money
Here are low cost swaps that work in real sewing tasks. Pick what fits your next project.
Marking and measuring
- Chalk from a school kit marks hems and darts. It brushes off. You can also rub chalk on the edge of a ruler to mark a long line.
- A fork or small comb gives even spacing for sashiko, lacing, or decorative stitching. Gently press to make guide dents, then stitch.
- Cards and gift cards act as small seam gauges. Cut one edge at 1 inch, another at 5/8 inch, and label them. Now you have a pocket size guide for common widths like seam allowance.
Holding layers
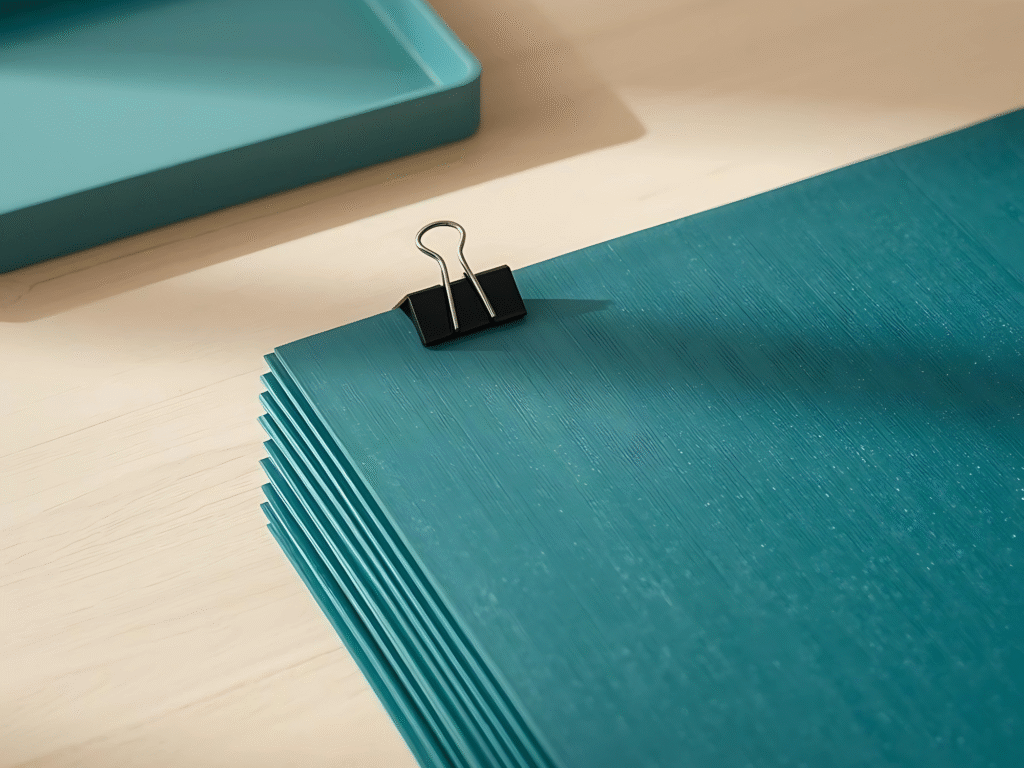
- Binder clips beat pins on vinyl, leather, and thick quilts. They are strong and leave no holes. They are a classic craft tool for cheap crafts.
- Paper clips can act like tiny clamps on ribbon or bias tape while glue sets.
Pressing and shaping
- Wooden spoon as a point turner. Use the handle to push out corners on pillows and bags.
- Towel roll as a tailor’s ham. Roll a hand towel tight, secure with rubber bands, and use it to press curves.
Setting hardware

- Rubber mallet plus a cutting board makes a safe surface to set grommets and snaps. No need for a pricey anvil set when you start out.
- Nail set or thick needle can guide small holes in craft foam or felt. Work on scrap first, and keep fingers clear.
These tool hacks help you avoid expensive tools while building skill.
Cutting and trimming on a budget
Cutting tools can be pricey. Try these swaps first.
- Sharp kitchen shears are fine for felt, paper patterns, and stabilizer. Save your best fabric scissors for fabric only.
- Craft knife plus a metal ruler makes clean cuts for cardboard templates. Add a binder clip at the end to keep the ruler from slipping.
- Old self healing mat not needed at first. A piece of thick cardboard protects your table while you learn.
If you later love quilting or leather work, then upgrade. Start simple. Learn how each craft tool should feel in your hand.
Glue, tape, and basting tricks
You do not need specialty tape at the start.
- Painter tape holds seams or zippers while you stitch. It lifts with less residue than many tapes. See more about masking tape.
- School glue stick basts hems and patches. Heat set with a warm iron through a press cloth.
- Double stick tape helps align trims and labels before sewing. Remove slowly to avoid tugs.
These diy tools make cheap craft setups feel pro.
Pressing without a fancy iron setup
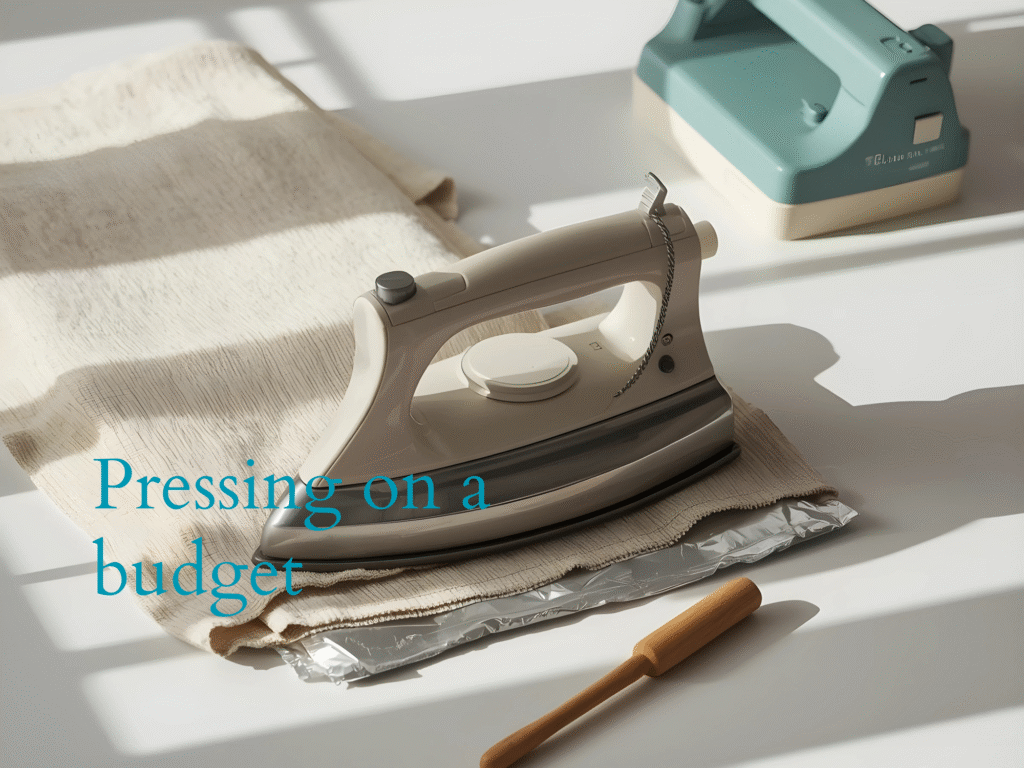
Pressing is key in sewing, but you can keep it simple.
- Basic dry iron plus a thin cotton press cloth covers most jobs.
- Aluminum foil under your board reflects heat back for faster pressing.
- Clean wooden spoon or rolling pin can press seams on small items where an iron is too big.
Good pressing makes cheap crafts look high end.
Safety and quality tips
Cheap does not mean risky. Follow these rules to keep work clean and safe.
- Work on a sturdy, flat surface.
- Keep blades sharp. Dull blades slip. Replace low cost knife blades often.
- Test your tool hacks on scraps first.
- Pull long hair back and keep sleeves tight when you cut or press.
- Store sharp items in a tin or a cup. Label it.
If a task needs strength or heat, go slow. Do not force a tool to do more than it should. If a project starts to grow, that is the time to upgrade one piece at a time.
When to invest and when to wait
You can finish many projects with low cost items. Still, some arts and craft tools are worth saving for later.
Save up for these later
- A sturdy fabric scissor that stays sharp.
- A small rotary cutter and mat if you cut many strips or quilt blocks.
- A clear quilting ruler for fast, straight lines.
- A seam ripper with a comfortable handle.
Wait on these at first
- Specialty pressing tools if you sew mostly straight seams.
- Fancy rulers you will only use once.
- Brand name clip sets when binder clips work.
Avoid buying based on hype. Try diy tools first. If a swap slows you down every time, then consider the upgrade. This is a smart way to avoid a drawer full of expensive tools you rarely touch.
FREE Cheap Crafts Tool Hacks Planner
Download the free, easy-to-use template in the link below to make life a little easier for you as you start your fast crafting journey:
Plan your projects the simple way
A clear plan helps you get more done with less. Batch steps that use the same tools. Cut all pieces at once. Press in a group. Then sew in a group. This cuts setup time and helps your focus. Use our free Batch Crafting Planner to map your steps. For tiny spaces, the Closet Craft Studio Planner shows how to store your diy tools in a small area. If you love turning jars, boxes, and old shirts into art, grab the Budget-Friendly DIY Recycled Crafts Planner.
Final thoughts
Cheap crafts are about skill, not shopping. With a few tool hacks, you can get pro looking results and keep your budget safe. Try a fork to space stitches. Try a rubber mallet to set snaps. Use clips instead of pins on tricky fabric. These small changes add up.
I hope this guide helps you skip expensive tools and still do work you are proud of. If you want more tips for a cheap craft setup or need help picking your first craft tool, visit Trusti ASG and browse our free planners. Start with what you have. Learn as you go. Your hands can make great things today.