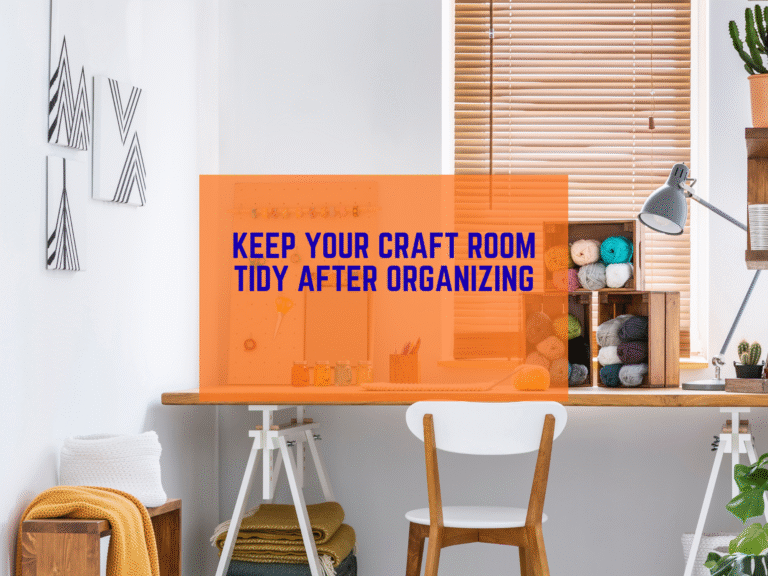
If your thread rolls run away and your seam ripper hides, this guide is for you. I have lost my measuring tape more times than I can count. A good sewing room organizer plan fixes that. In this post, I will show simple steps to sort, store, and label your sewing notions and craft tools so you can sew without the hunt.
I write for beginners. You can start with what you have and add more later. I will also link to helpful guides and products that work well. For deeper help on small spaces, see our post on Best Sewing Room Organization Tips for Small Areas.
Step 1: Do a quick 10 minute sweep
Set a timer for 10 minutes. Pick up loose items on the table and floor. Put trash in a bag. Put fabric in one pile and notions for sewing in another. You are not doing a full clean. You are making space to sort. This small win gives you energy to keep going.
Step 2: Make three simple zones
You do not need a big room. You can do this in a corner or closet.
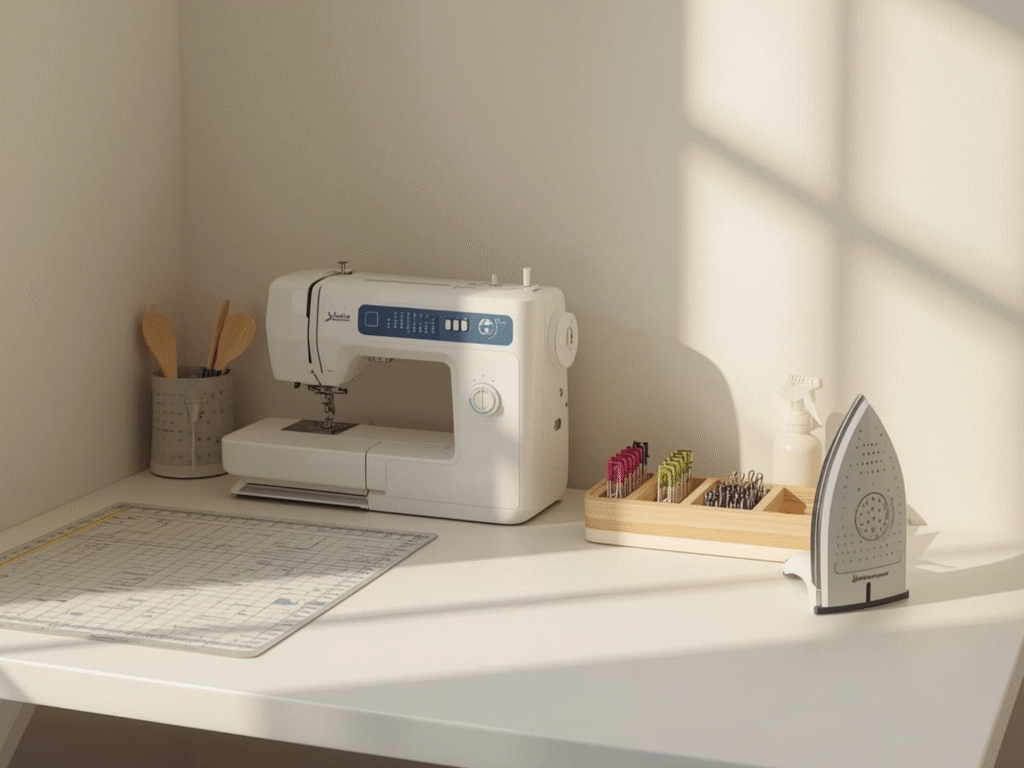
- Cut zone for rulers, cutting mat, rotary cutter, and tape.
- Sew zone for your machine, foot pedal, bobbins, needles, and clips.
- Press zone for iron, mini board, and spray bottle.
Place a tiny tray or cup in each zone for loose tools. This keeps each craft tool from drifting to other spots.
Step 3: Group the small stuff by use
Think about how you sew. Group items you use together.
- Thread with bobbins that match.
- Hand needles with needle threader and thimble.
- Buttons with snaps and hooks.
- Zippers with zipper feet.
Use clear containers so you can see at a glance. Label the front. If you do not have a label maker, use painter tape and a pen. You can make nicer labels later.
Step 4: Pick storage that fits tiny items
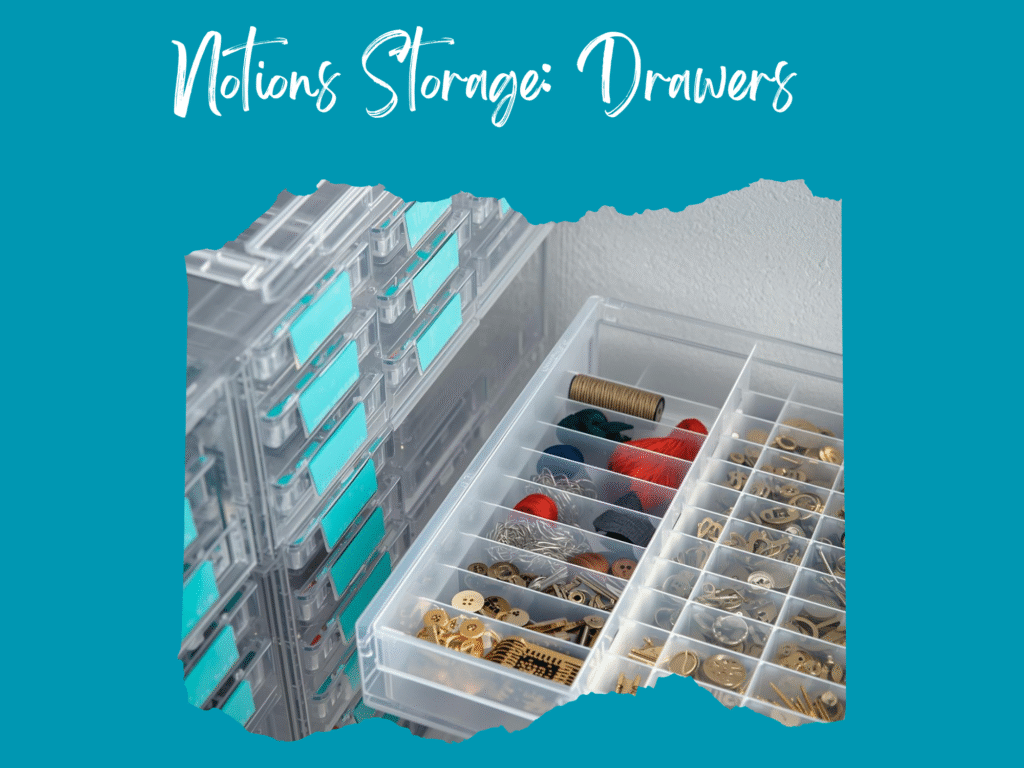
Little things need small homes. Here are beginner friendly picks that last.
- Divided drawer cabinet. A 64 drawer unit keeps needles, clips, feet, snaps, and screws in one spot. The clear drawers make it easy to see what you have. A well known option is the Akro-Mils 64 Drawer Plastic Storage Cabinet.
- Tackle box or small parts box. These are great for bobbins, buttons, and snaps. Try a clear box with adjustable dividers like the Plano StowAway.
- Shallow trays in a drawer. Cut cardboard to make simple dividers, or reuse a silverware tray.
If you want more budget ideas, check out our guide to Craft Storage Ideas: Organize Your Supplies.
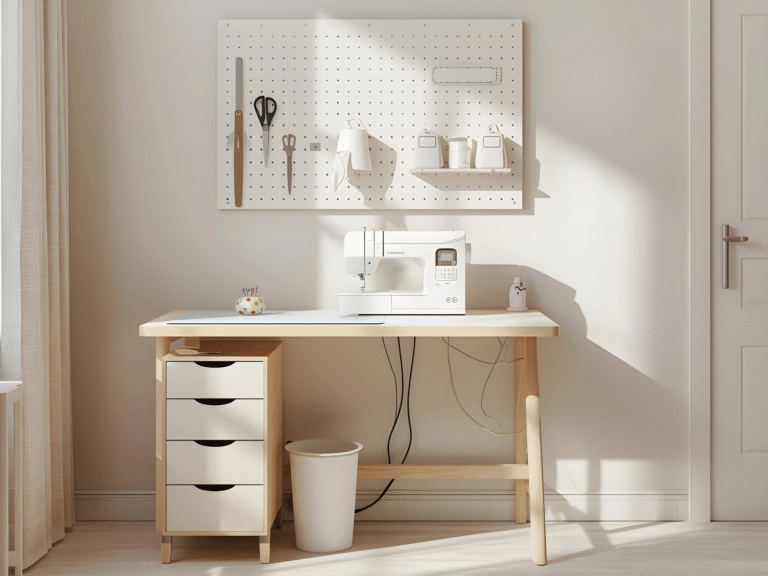
Step 5: Keep daily tools within arm’s reach
The tools you touch every session should live right in front of you.
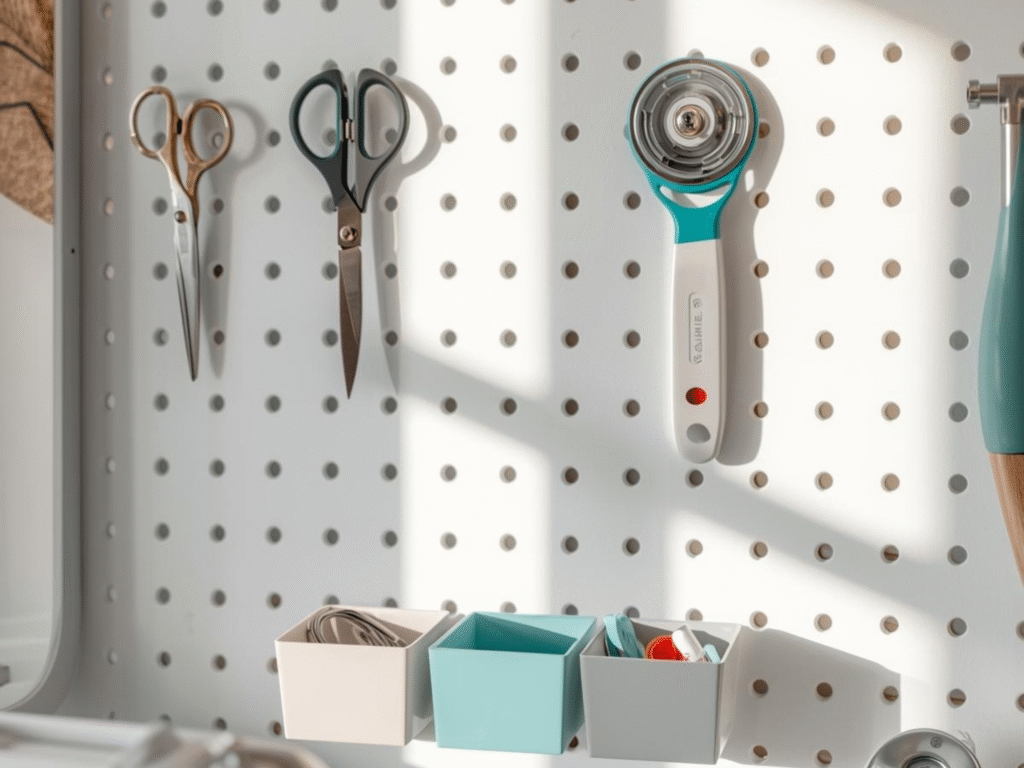
- Pegboard. Hang scissors, rulers, and rotary cutters on a pegboard so they do not pile up on your table. The IKEA SKÅDIS pegboard system is a popular choice with lots of hooks and bins.
- Magnetic strip. Put a magnetic tool bar by your machine to hold snips, small screwdrivers, and metal bobbin cases. An example is the 18 inch Magnetic Tool Holder.
- Damage-free hanging. If you rent, you can hang light items with adhesive strips. Read weight limits and surface rules on the 3M Command Strips page.
Mounting tools like this turns your wall into a sewing room organizer that saves desk space.
Step 6: Label for speed
Labels turn a nice setup into a fast setup. Keep labels short and clear.
- Thread 50 wt
- Hand needles
- Zippers 7 inch
- Walking foot parts
Put the same wording on the drawer and on the bin inside. When you return a tool, read the label and drop it in the right spot. This is simple, but it works.
Step 7: Build a quick DIY tool organizer
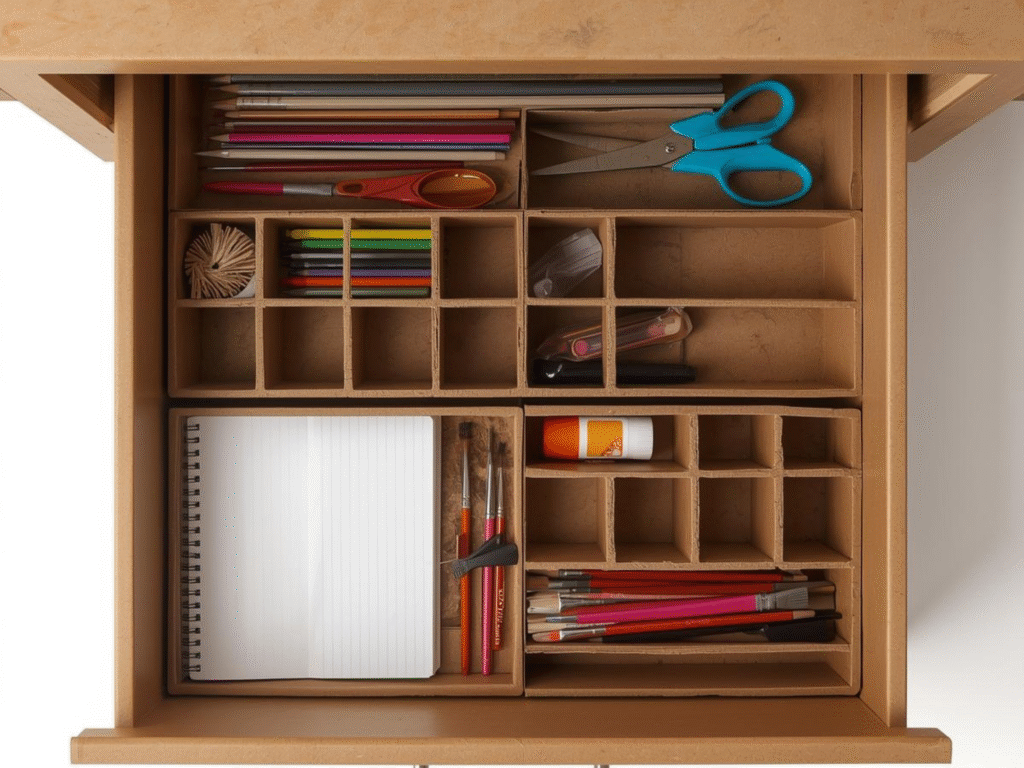
You can make a diy tool organizer in one hour with supplies you already have.
- Use a shoe box or cereal box.
- Cut chipboard or cardboard into strips.
- Create a grid that fits your most used items.
- Wrap strips with tape for strength.
- Label each section for a specific craft tool like seam ripper, chalk, clips, and needles.
Place the box in your top drawer or on your table. Now your go-to items are always ready. If you want a more polished look later, upgrade to a bamboo utensil tray or an acrylic divider set.
Step 8: Set a home for each category
Make a short list and stick it inside your cabinet door.
- Scissors live on the pegboard.
- Rotary cutters live on the pegboard.
- Seam rippers live in the top drawer DIY tray.
- Extra needles live in the drawer cabinet.
- Bobbins live in the tackle box.
This list is your map. It helps you put things back fast. It also helps family or helpers return items to the right place.
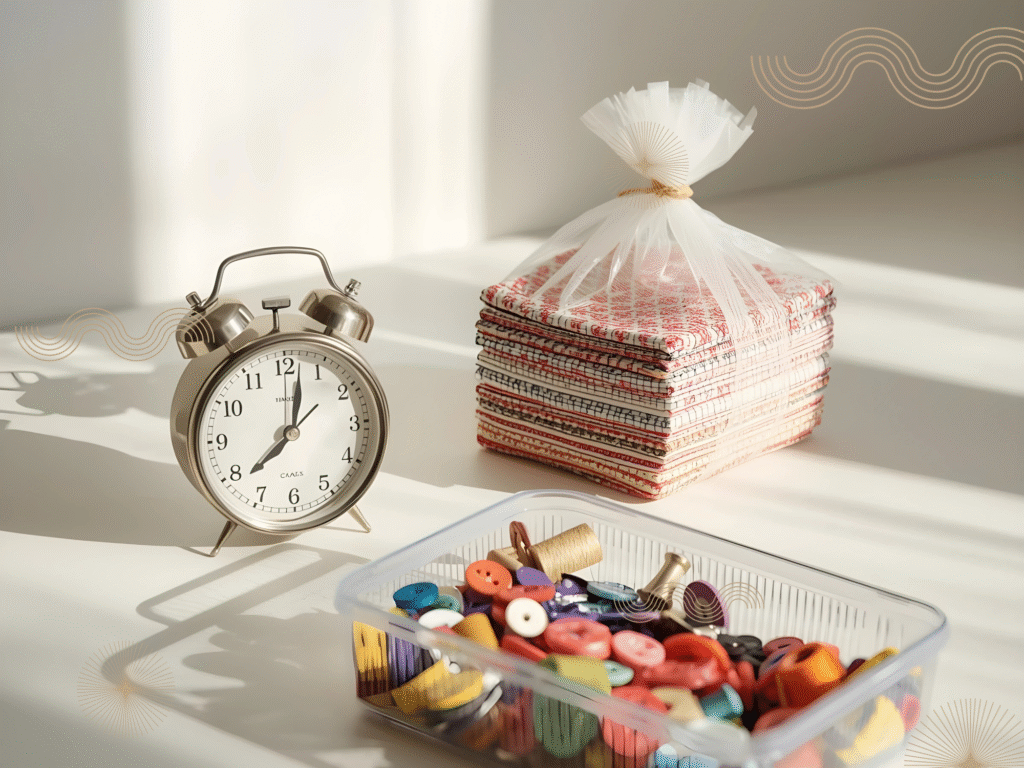
Step 9: Make a fast thread and bobbin plan
Match your bobbin to your thread. Store them together so you never guess again.
- Wind two bobbins for each new thread color.
- Slip the bobbin on a small bobbin clip or in a zip bag with the spool.
- Place each set in a bin labeled with the thread weight.
When you sit down to sew, grab one set and go. No more hunting for the right bobbin.
Step 10: Do a 3 minute close each time
At the end of each session, do a tiny reset.
- Put tools back in their labeled homes.
- Toss scraps and empty threads.
- Wipe the table.
- Note what you need to restock.
This habit locks in your sewing room organizer plan. Tomorrow you can start sewing right away.
Wall ideas for tiny rooms
If floor space is tight, go vertical.
- A pegboard with cups and shelves keeps items off the desk. The SKÅDIS system has add-ons like containers, hooks, and shelves to fit many tools. See options like the SKÅDIS pegboard and SKÅDIS accessory sets.
- Magnetic bars are great for metal rulers and snips. If you need a budget choice, look at the Harbor Freight magnetic tool holder.
You can see how other sewists use SKÅDIS for sewing storage in real life here for more ideas. Sew JahitLike Love Do
Free Find Every Tool Fast Sewing Room Organizer Template
Download the free, easy-to-use template in the link below to make life a little easier for you as you start your fast crafting journey:
Sample setup for beginners
Here is a simple layout you can copy.
- Top drawer DIY tray holds seam ripper, clips, marking chalk, small ruler, and needle packs.
- Tackle box holds buttons, snaps, hooks, and eyes by type.
- 64 drawer cabinet holds machine feet, extra needles, bobbin cases, and small screws by size.
- Pegboard holds scissors, long rulers, tape measure, and rotary cutter.
- Magnetic bar catches snips and tiny screwdrivers.
This setup makes a strong sewing room organizer for very little money.
What to buy first
Start small. Here is a short list.
- One clear small parts box with dividers for buttons and snaps. A box like the Plano StowAway is a good example.
- One drawer cabinet for tiny items like needles and clips. The Akro-Mils 64 Drawer is a classic.
- One pegboard or magnetic strip to keep tools in reach. See SKÅDIS pegboards or a magnetic tool holder.
Keep learning with us
Want more help on space saving and quick wins for makers. Read our guides on Craft Storage Ideas and Fast Craft Ideas to Boost Your Crafting Time.
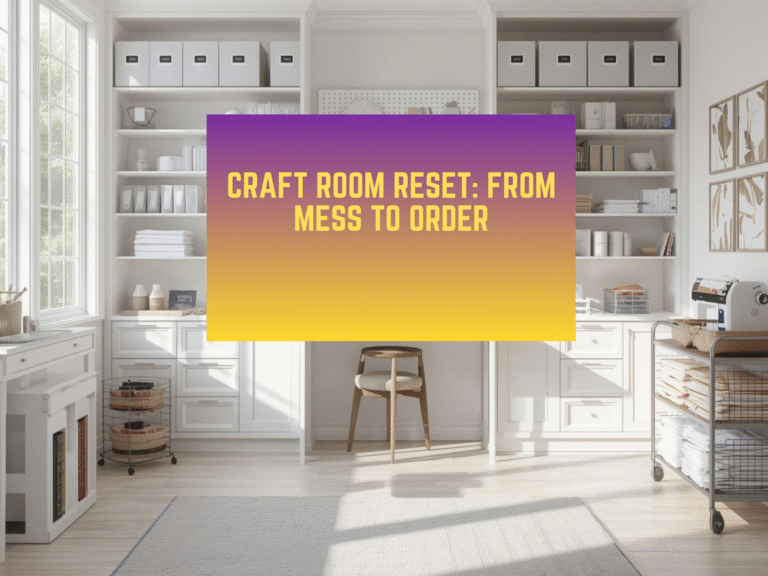
Wrap up
A tidy space is not about buying lots of bins. It is about simple rules you can follow every day. Group like with like. Label it. Keep daily tools within reach. Do a short reset when you finish. These steps turn chaos into a calm, working sewing room organizer that saves time and lowers stress. Your sewing notions will be easy to find. Your craft tools will have a home. You will sit down and sew with a smile.
With a plan like this, you will not lose your seam ripper again. And when you do need it, you will know right where it lives.