If your bins and drawers are full, you are not alone. Many of us buy craft supplies for a plan we will do later. Then later never comes. In this post I dare you to try a simple plan. For one week, make projects only with what you already own. Your craft stash is full of ideas. This short challenge will help you use it, save money, and learn how to organize your craft supplies so you can find them fast.
Why use your stash now
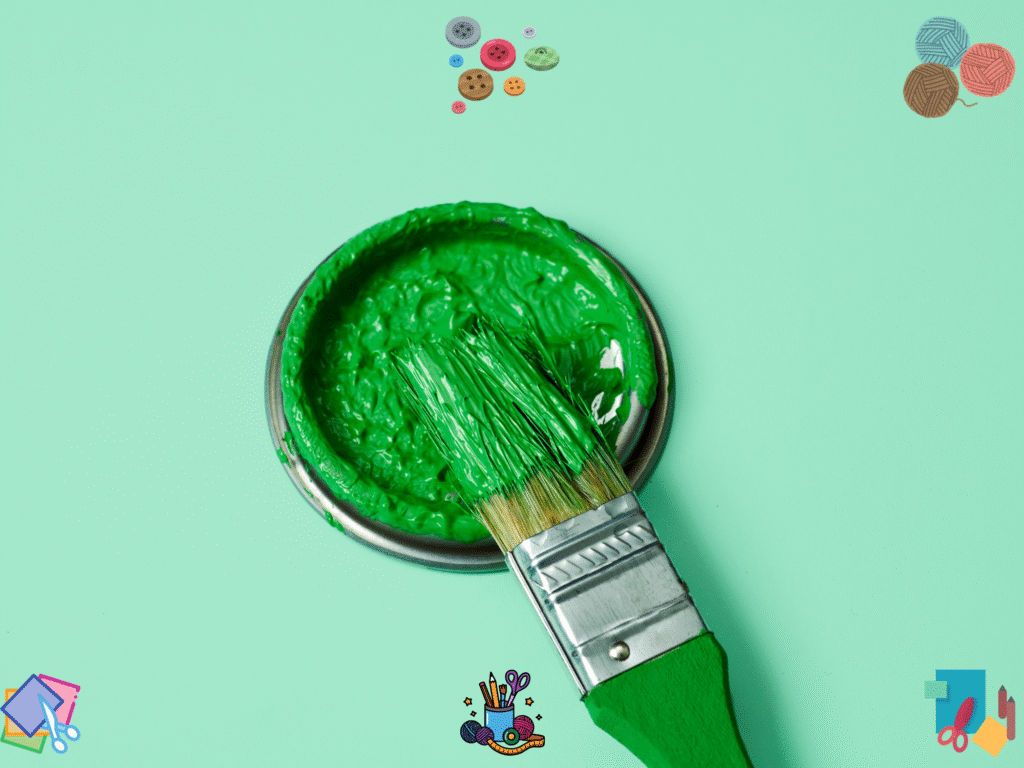
Supplies do not last forever. Paint can get lumpy or smell bad. Inks can dry out. Glue can lose its hold. Storing paint in hot or freezing places can also damage it. Most latex or acrylic paints can last years if sealed and stored well, but once opened, their life drops. Use what you have before it goes bad.
Many glues still work for years with good storage, but they do break down over time. If your glue is stringy, clumpy, or smells sour, it is time to toss it and buy fresh later.
Ink pads can dry out. The good news is that some brands let you re-ink the pad with a refill bottle, so you can keep stamping without buying a whole new pad. See an example of a DIY re-inkable pad from Ranger here: Ranger Archival DIY Ink Pad.
The rules of the 7-Day Craft Stash Challenge
- No new purchases this week. Borrow, swap, or substitute.
- Shop your craft stash first.
- Set a timer for 25 minutes. Short sessions help you start and finish.
- End each day with a 5-minute tidy. Put tools back where they live.
- Track what you used and what you saved.
I made a simple planner you can use all week:
Free 7-Day Stash Challenge
Download the free, easy-to-use template in the link below to make life a little easier for you as you start your fast crafting journey:
Day 0: Fast reset so you can move
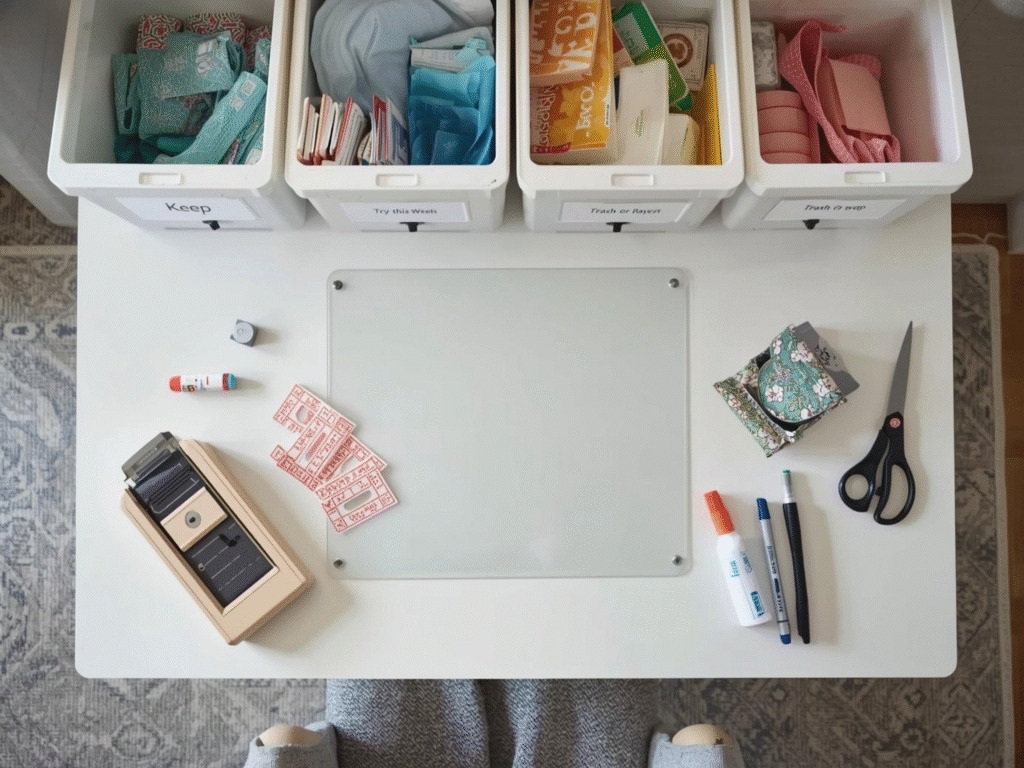
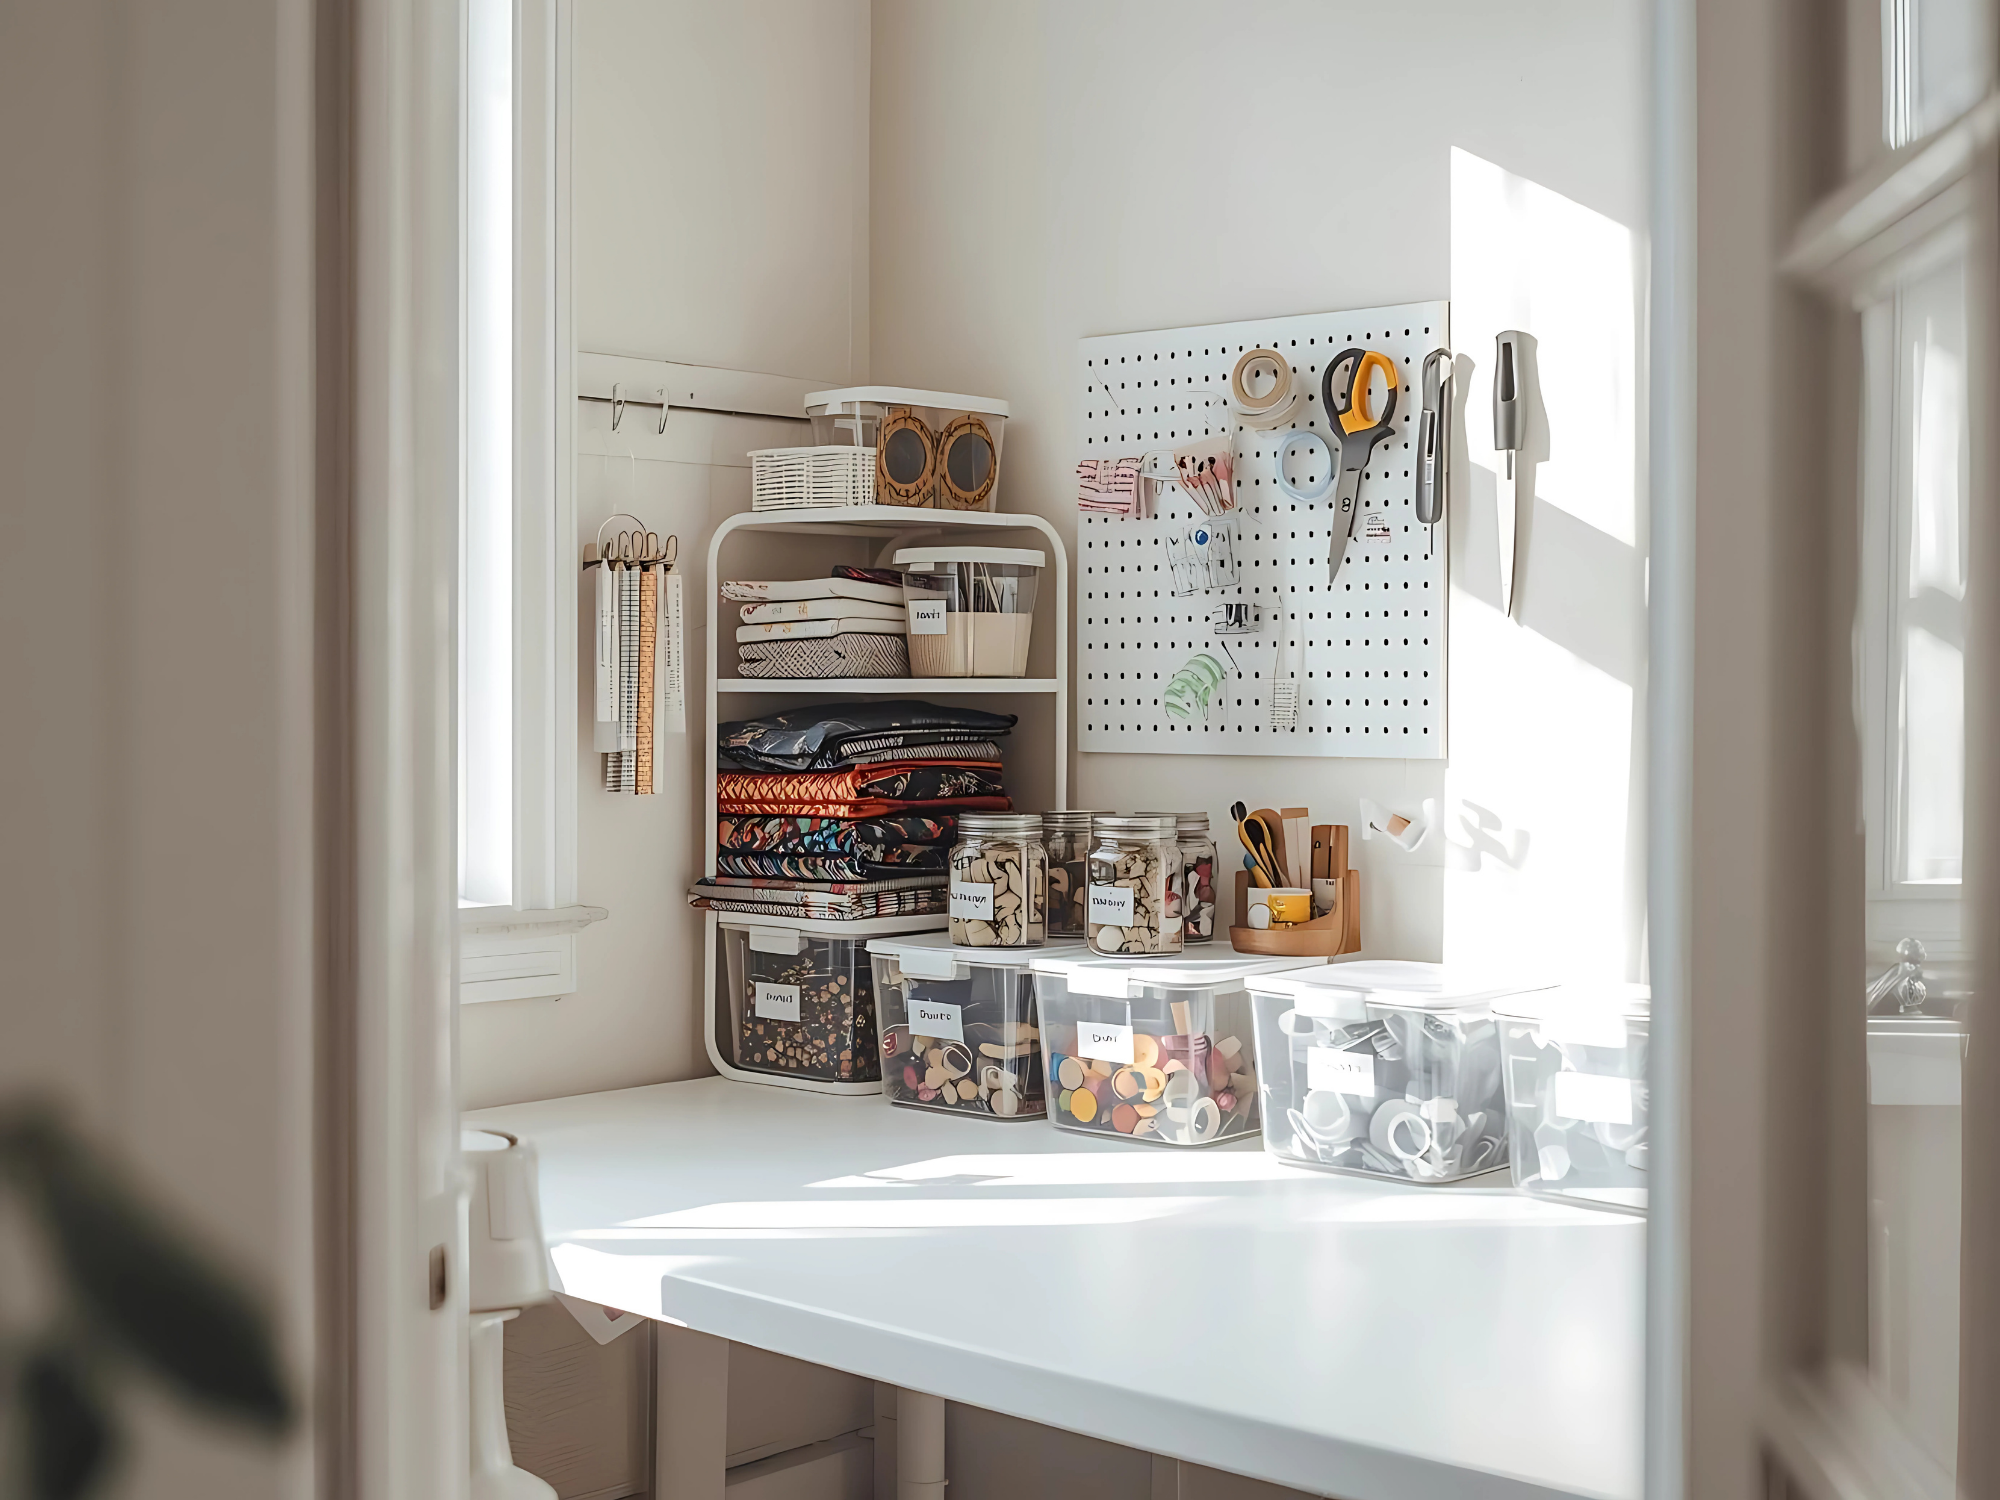
Spend 30 minutes getting ready. Here is how to organize your craft supplies in a quick, friendly way:
- Clear a small work spot the size of a placemat.
- Make four containers: Keep, Try This Week, Donate or Swap, Trash or Recycle.
- Sort only what is in reach. Do not empty the whole room.
- Label the Keep items and set them near your seat. Put Donate in a box by the door.
- Put Trash or Recycle in the bin.
If you want a deeper guide, this starter article has simple steps for craft rooms: 7 Steps to Help You Organize Your Craft Room.
Your 7-day plan
Day 1: Color challenge
Pick one color and pull fabric, paper, trims, and buttons in that shade. Make a card set, a zipper pouch, or a simple wall banner. Use scraps first.
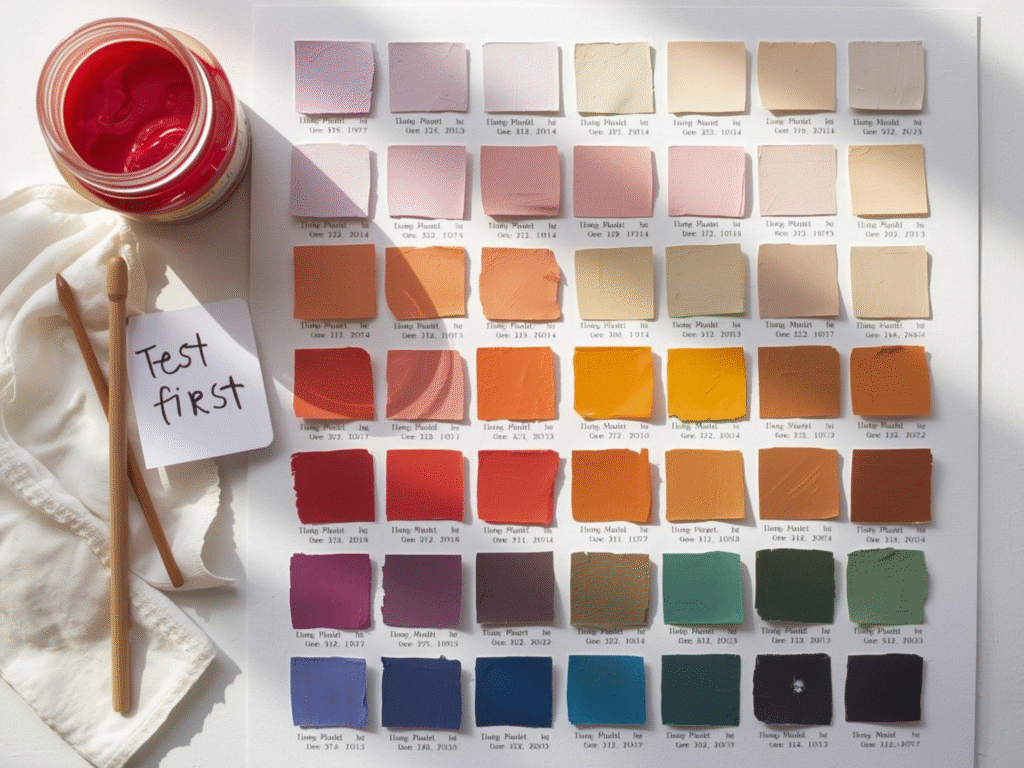
Day 2: Use old paints
Open each paint, stir well, and paint test swatches on scrap. If a jar is chunky, smells sour, or has mold, stop and follow local rules to dispose or drop off as needed. Oil-based paints are hazardous waste. Latex often needs to dry before you toss it. Check the EPA’s household waste guidance for safe steps.
Day 3: UFO finish day
UFO means UnFinished Object. Pick one small project and take it to done. Bind that mini quilt. Sew that last seam. Mount that cross-stitch.
Day 4: Fabric quick win
Make a simple drawstring bag, mug rug, or scrunchies with fat quarters or strips. Cut pieces you already have. No new yardage.
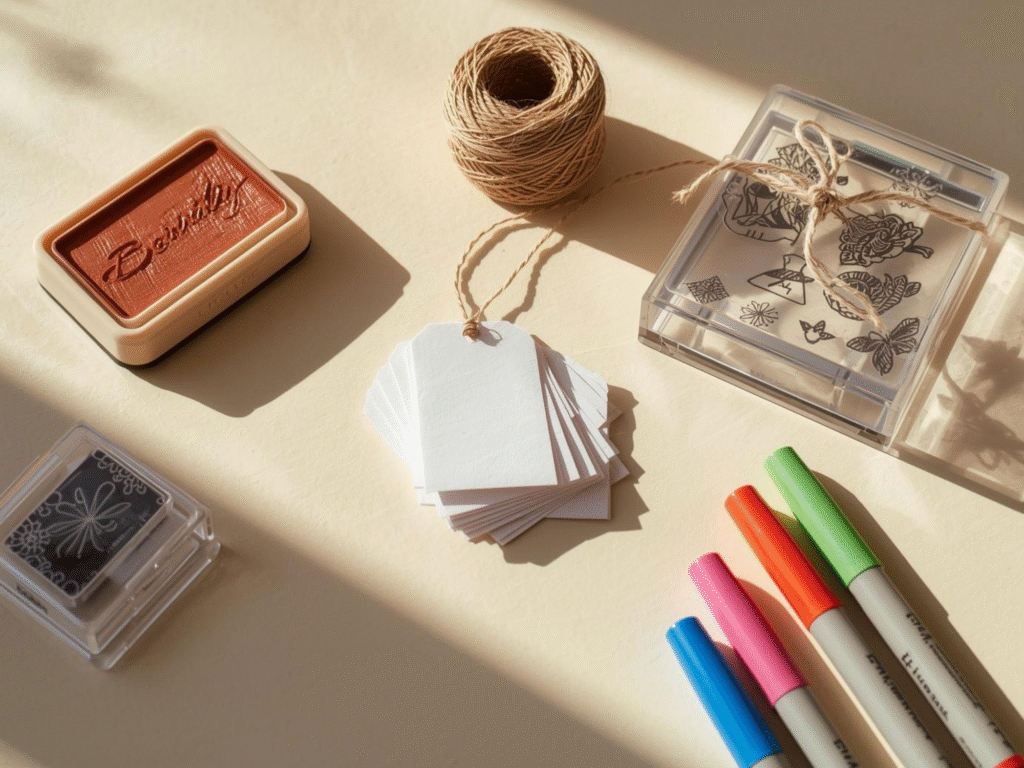
Day 5: Paper + stamps day
Re-ink the pad if needed and stamp a batch of gift tags or thank-you cards. If the pad is dry, add re-inker or switch to colored pencils or markers. See how re-inkable pads work here: Ranger Archival DIY Ink Pad.
Day 6: Tool practice
Pick one tool you own but rarely use. Try three short drills. If it still does not fit your style, add it to the Donate box.
Day 7: Give or display
Gift one item to a friend, or set a small display shelf. Seeing your work keeps you motivated.
Easy storage tips that save supplies
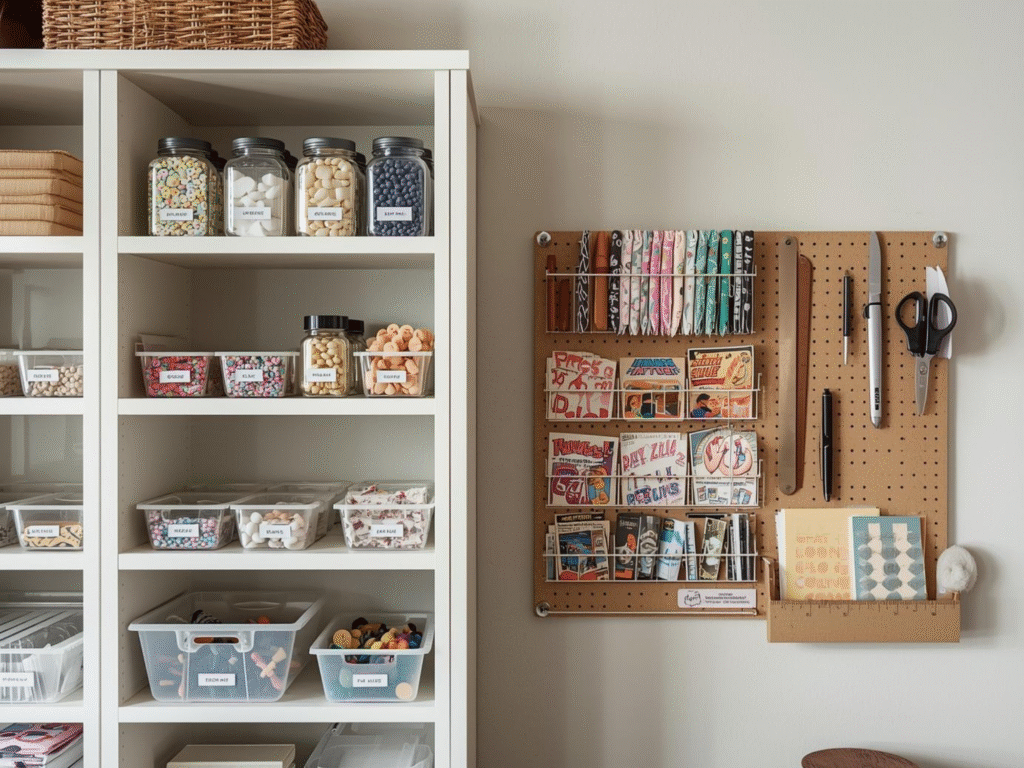
- Control the climate: Keep paints and glues in a cool, dry spot. Do not let them freeze or bake in the garage. Temperature swings can ruin coatings and binders
- Seal and label: Wipe rims, cover with plastic wrap, and close lids tight. Mark open date and color mix on the lid. Many retailers and paint pros note that unopened latex can last up to around 10 years, but opened cans should be used sooner and checked before use.
- Separate by task: Put cutting tools together, all adhesives together, and all surface color together. Keep most-used items within arm’s reach. Simple zone storage is a proven craft-room tip.
- Protect fabric: If you store quilts or heirloom fabric, use acid-free boxes and tissue to avoid yellowing and creases. Museums and archival suppliers advise padding folds and using acid-free materials to protect textiles long term. See this short guide.
Want more small-space ideas, pegboard layouts, rolling carts, and fabric mini-bolts? Browse our step-by-step storage posts here: Crafting Space & Organization.
A simple money plan for the week
Write down everything you did not buy. At the end of the week, total it. That is money you kept. If you want a tracker, set up three lines:
- Supplies I used instead of buying
- Dollars saved
- What I learned
Keep the savings in a jar for one month. Use it for a class you will take, not more random supplies. This turns a habit into a reward.
What if I truly need something
Try a swap with a friend. Trade two yards of fabric for a zipper. Borrow a punch or ruler. If nothing works, add the item to a short, clear list. Wait 48 hours before you buy. Most of the time, you will find a substitute in your craft stash.
Quick FAQ
Can I join if I am a beginner?
Yes. Pick tiny projects. Work in 25-minute blocks. Clean up after each block. You will finish more than you think.
What if my paint is old?
Test it first. If it smells sour, has skin on top, or will not mix smooth, do not use it. Follow local rules for disposal or a drop-off site. Latex is often safe to dry out before trash. Oil-based paint is hazardous and needs a special drop-off. Check your city site and the EPA page on safe handling of household hazardous waste.
Do I have to organize my whole room?
No. Only set up a small work spot and a few labeled bins. If you want more help on how to organize your craft supplies, start with one shelf or one drawer and keep sessions short. For ideas you can see, try these simple room tips and art-supply storage examples from The Spruce.
Keep the momentum after the week
- Schedule one “stash day” each month.
- Keep your Try This Week bin on your desk.
- Do a 10-minute “reset” after you craft.
- Track what you finish.
- Share a photo with a friend to cheer each other on.
If you want more planners, checklists, and fast project ideas, visit our hub at trustiasg.com. You will find budget-friendly sewing and crafting guides that help you plan first, then buy only what you need. Your craftstash becomes a source of joy, not stress.