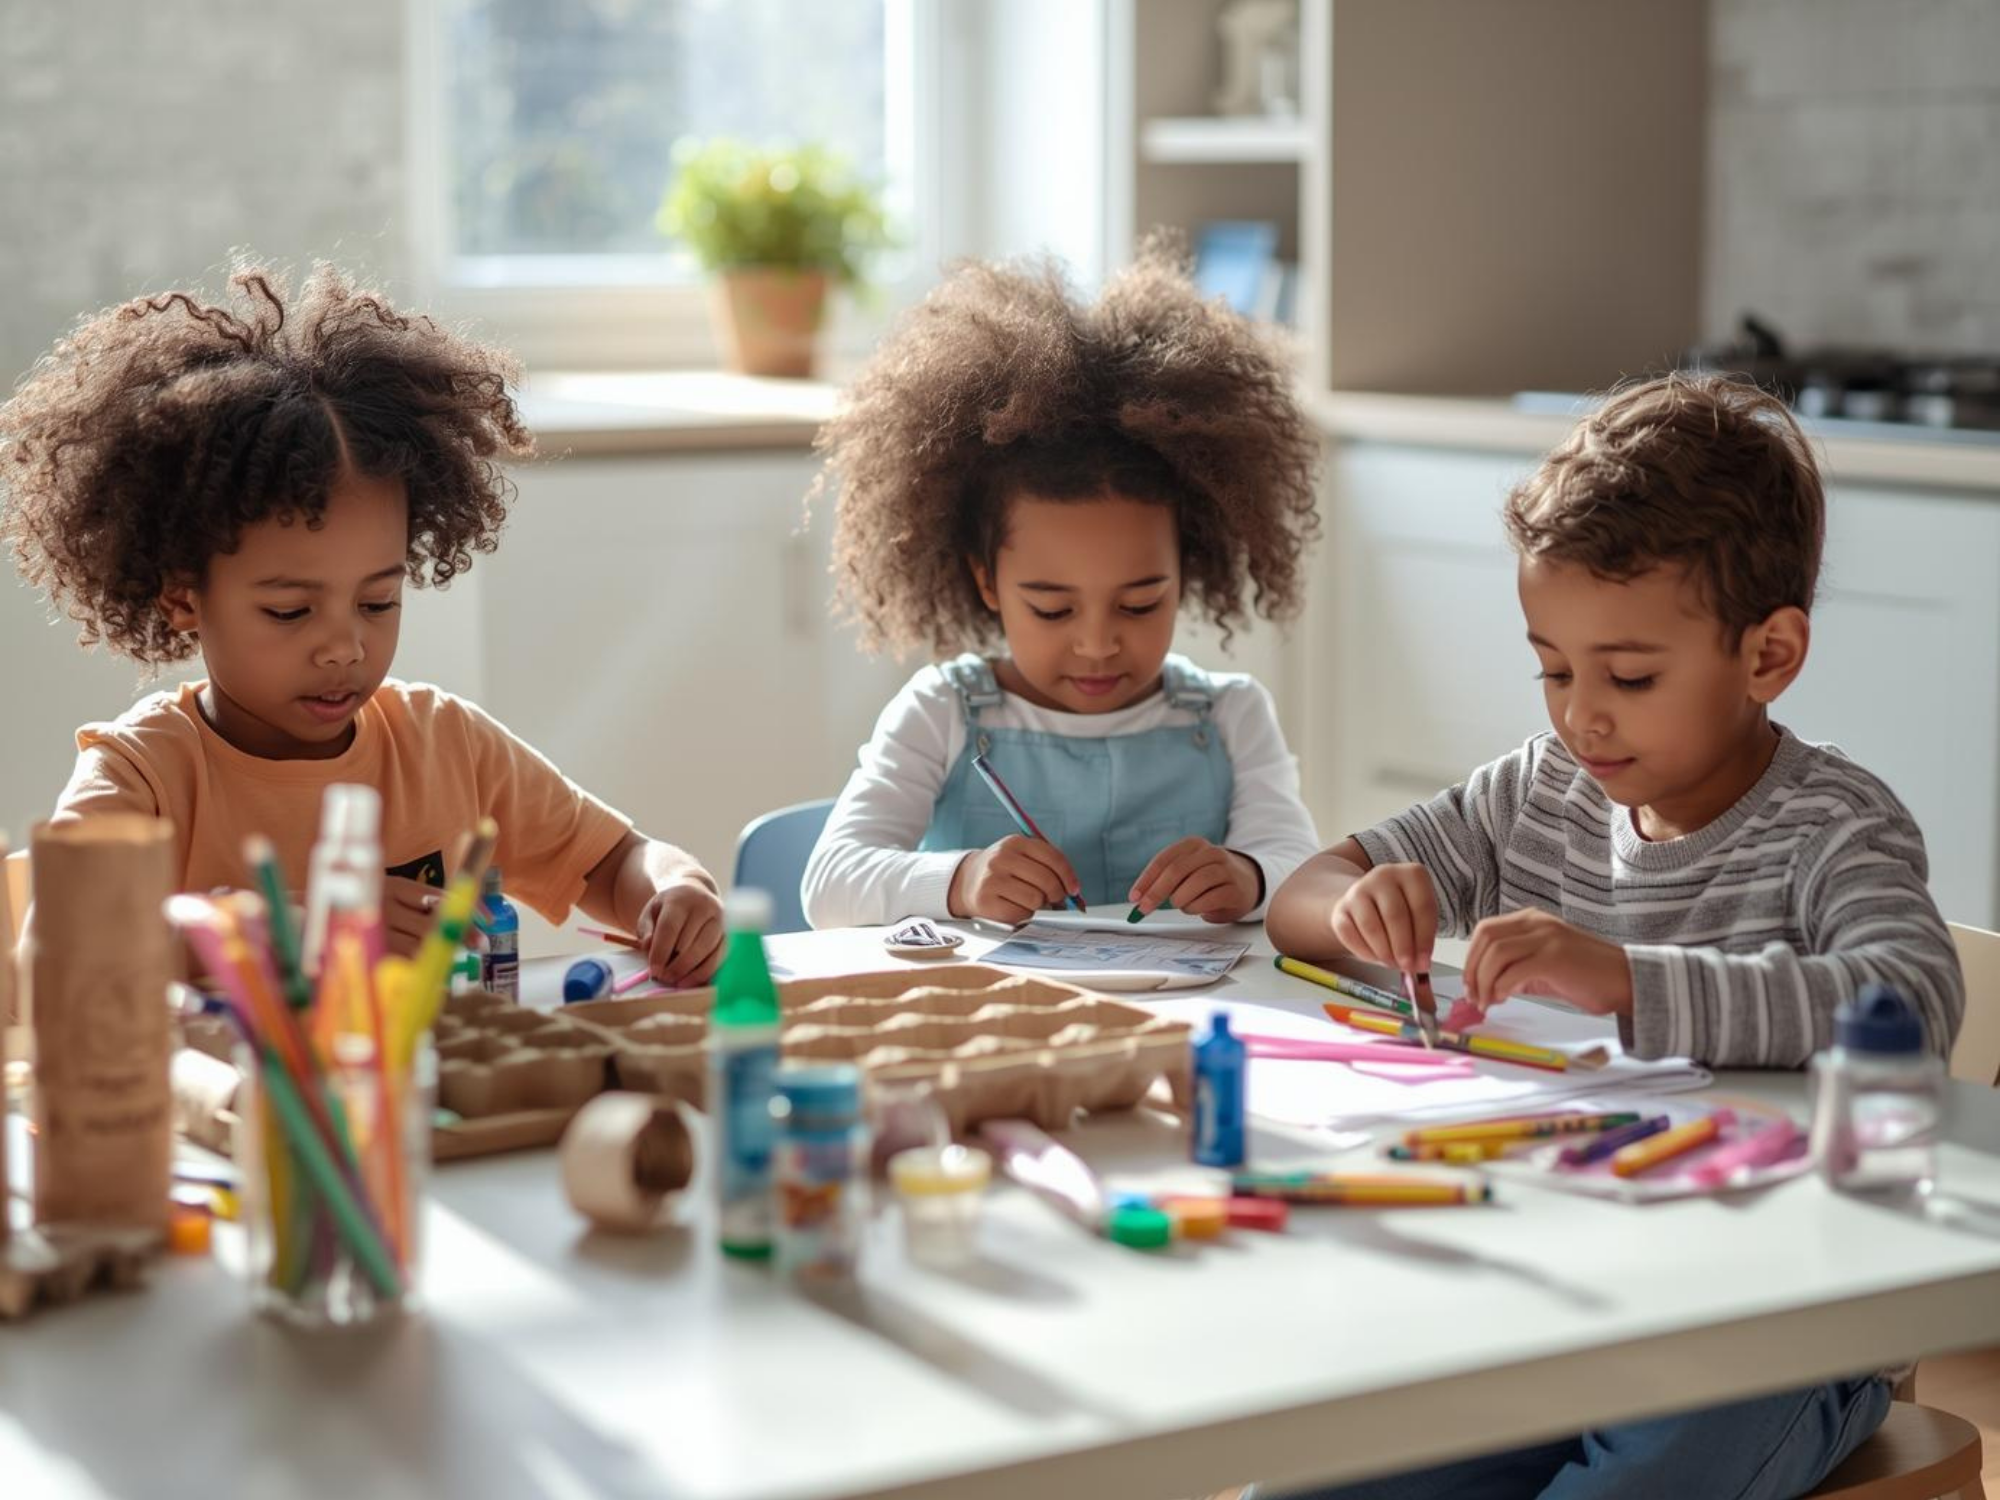
Keeping kids busy on a tight budget can feel hard. I get it. That is why I love cheap kids crafts that use recyclables and basic supplies you already own. In this guide, you will find simple, low cost ideas that work at home or in a classroom. Every project is beginner friendly, uses easy steps, and costs just a few dollars or less.
Why Cheap Crafts Work So Well
Cheap does not mean boring. When we give kids a little structure and a short list of supplies, they get more creative. Most of these cheap crafts for kids use paper, cardboard, plastic lids, string, tape, and a bit of glue. You can set them up fast. They are easy to clean up. And you do not need special tools.
If you are a teacher, these also make great classroom crafts. You can prep parts ahead of time, split students into stations, and finish within one class block.
Starter Supply List
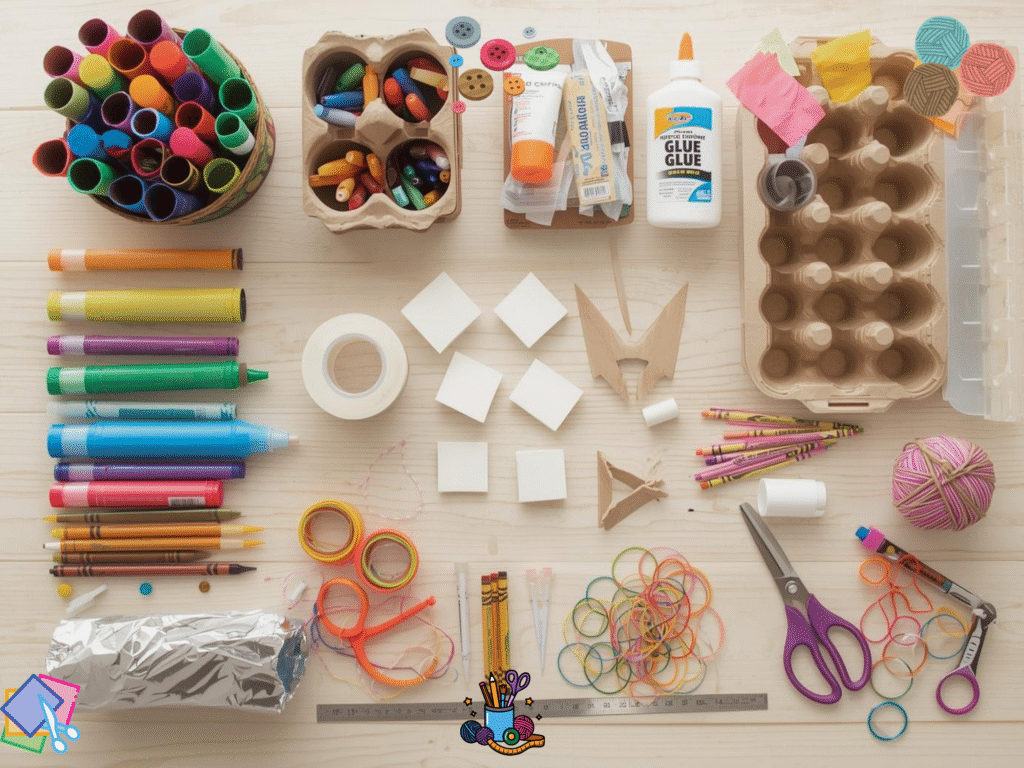
Use what you have first. Then add only a few basics.
- Recyclables: cardboard tubes, cereal boxes, egg cartons, bottle caps, paper bags
- Paper: printer paper, scrap paper, old magazines
- Adhesives: glue stick, white glue, tape
- Color: crayons, colored pencils, markers, watercolor set
- Tools: child scissors, ruler, hole punch
- Extras: yarn, string, rubber bands, aluminum foil
Safety note: help younger children with cutting and hole punching. For tips on safe reuse, check out this simple recycling overview from the EPA.
Project 1: Cardboard Tube Creatures
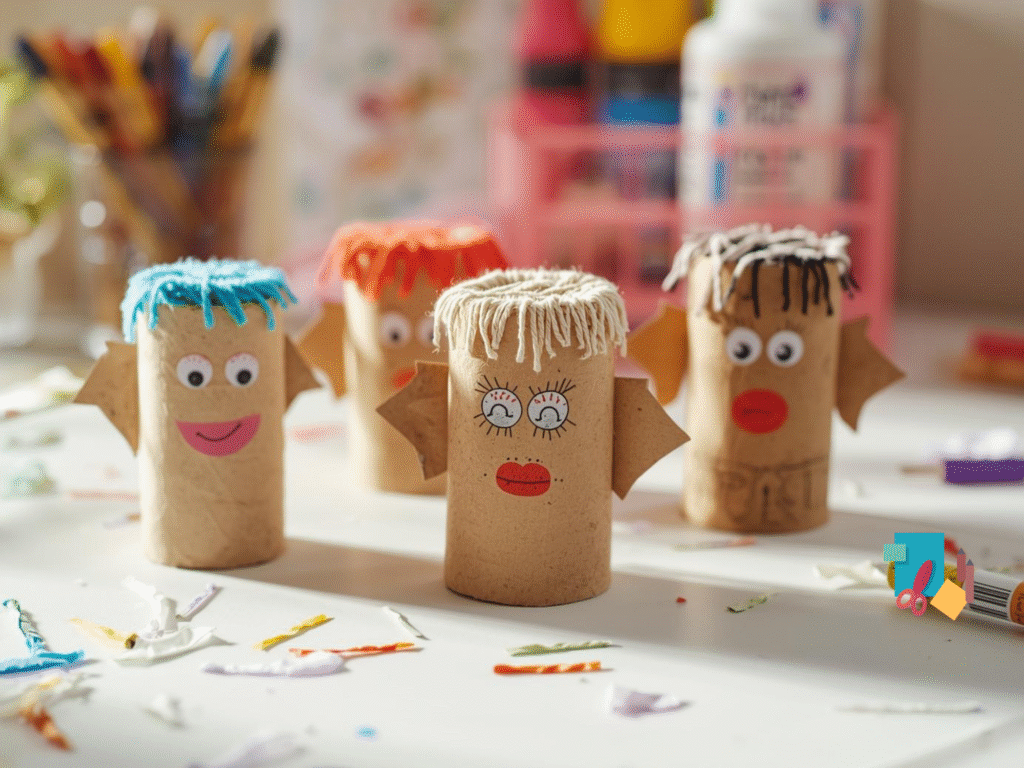
Best for: ages 4 to 9
Cost: free if you have tubes and crayons
- Save a few toilet paper or paper towel tubes.
- Wrap each tube with scrap paper or paint it.
- Draw eyes and a mouth. Or glue on paper eyes you cut out.
- Cut small paper arms, ears, or wings and tape them on.
- Add yarn hair by taping short pieces inside the top.
Classroom tip: pre-cut arms and ears and place in bowls for quick grab.
Project 2: Cereal Box Sketchbooks
Best for: ages 6 to 12
Cost: about one dollar for glue and string
- Cut the front and back from an empty cereal box to the same size.
- Stack 10 sheets of paper between the covers.
- Punch three holes on the left side.
- Tie with string or yarn.
- Decorate the cover with magazine cutouts.
Want a simple paste option for paper projects like this or paper mache? See this quick how to on making paste at home: How to Make Paper Mache Paste.
Project 3: Lid Tops and Bottle Cap Spinners
Best for: ages 5 to 10
Cost: free with recyclables
- Gather flat plastic lids and a few clean bottle caps.
- Poke a hole in the center of each lid with a push pin or hole punch. Adults should help.
- Push a toothpick or short pencil through the hole to make a stem.
- Spin and test. Trim the stem if needed.
- Decorate the top with markers in rings to see color bands when it spins.
Science talk: ask kids which shape spins longer and why.
Project 4: Magazine Mosaic Animals
Best for: ages 6 to 12
Cost: glue stick only
- Draw a simple outline of an animal on paper.
- Tear magazine pages into small pieces.
- Glue the pieces inside the outline like a mosaic.
- Add a background using bigger paper pieces.
This is a good quiet center for classrooms. It teaches patience and color matching.
Project 5: Homemade Playdough
Best for: ages 3 to 8 with supervision
Cost: a few pantry items
- Mix 2 cups flour, 1 cup salt, 1 cup water, and a spoon of oil.
- If needed, add more water a small splash at a time until dough forms.
- Knead until smooth.
- Store in an airtight container.
For more playdough variations and step by step photos, see this simple guide: How to Make Play Dough.
Project 6: Egg Carton Mini Garden
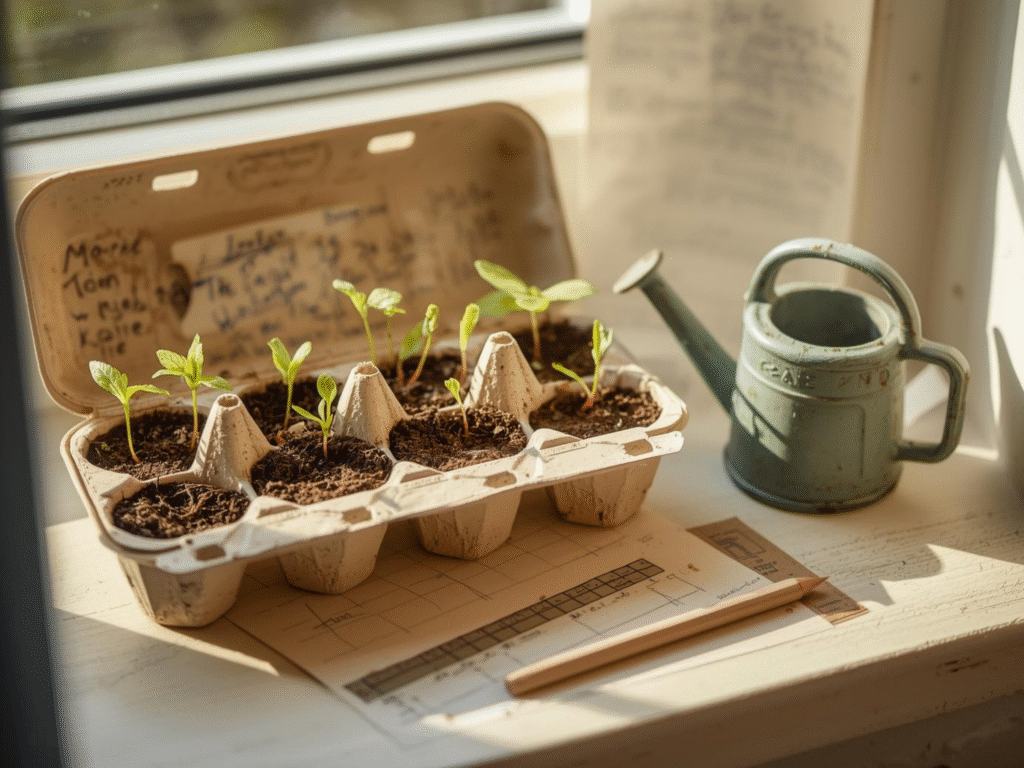
Best for: ages 5 to 12
Cost: a few seeds and soil
- Cut a paper egg carton in half to make a tray of six cups.
- Poke a small hole in the bottom of each cup.
- Fill with potting soil.
- Plant herb or flower seeds.
- Water and place in a sunny window.
Kids love to chart growth. Tie in math by measuring height each week and making a bar chart.
Project 7: Paper Bag Puppets
Best for: ages 4 to 9
Cost: free with bags and crayons
- Flip a paper lunch bag so the flap is on top for the mouth.
- Draw eyes on the flap.
- Add a paper nose, ears, and teeth.
- Put on a puppet show for family or the class.
You can guide story time by giving a theme. For example, a puppet that learns to share art supplies.
Project 8: String and Straw Bracelets
Best for: ages 6 to 12
Cost: about one dollar
- Cut old plastic straws into small beads.
- Thread them on yarn or string.
- Tie a knot to close the bracelet.
This is a fast win station during a party or a classroom celebration.
Project 9: Foil Boats and Sink or Float
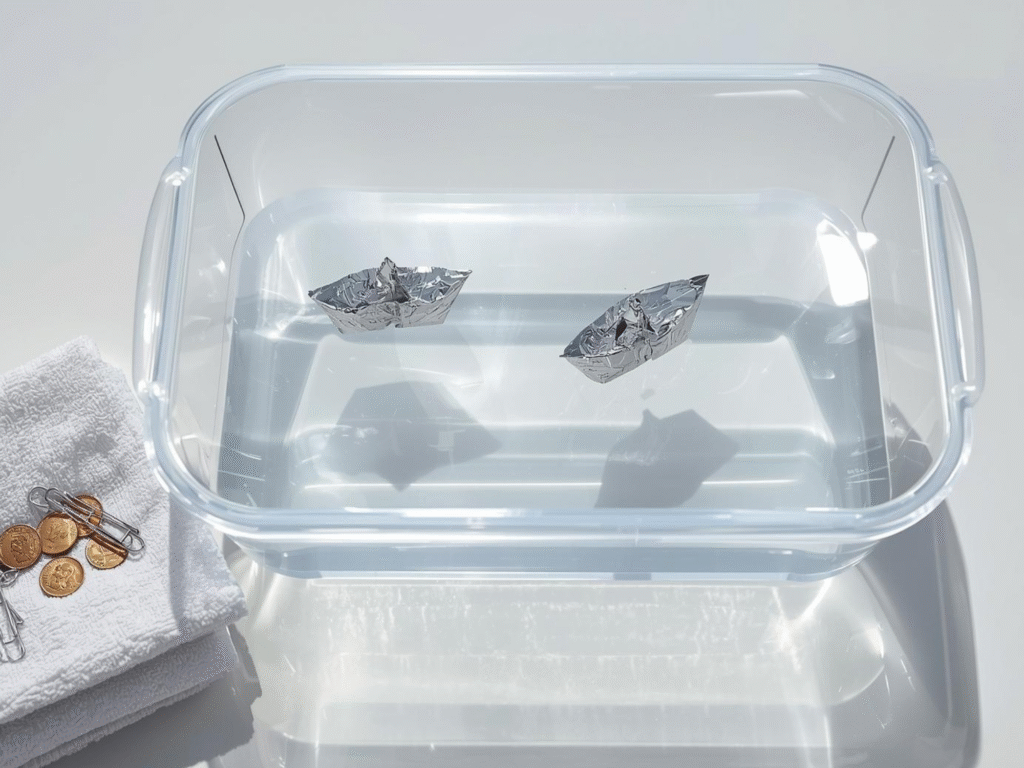
Best for: ages 6 to 12
Cost: pennies or paper clips for weights
- Cut squares of aluminum foil.
- Fold and shape a small boat.
- Float it in a bin of water.
- Add pennies or paper clips to see how many it can hold.
- Try new designs to beat your best number.
This blends science and fun. Ask kids to predict how many weights their design will hold.
Project 10: Paper Airplane Flight Lab
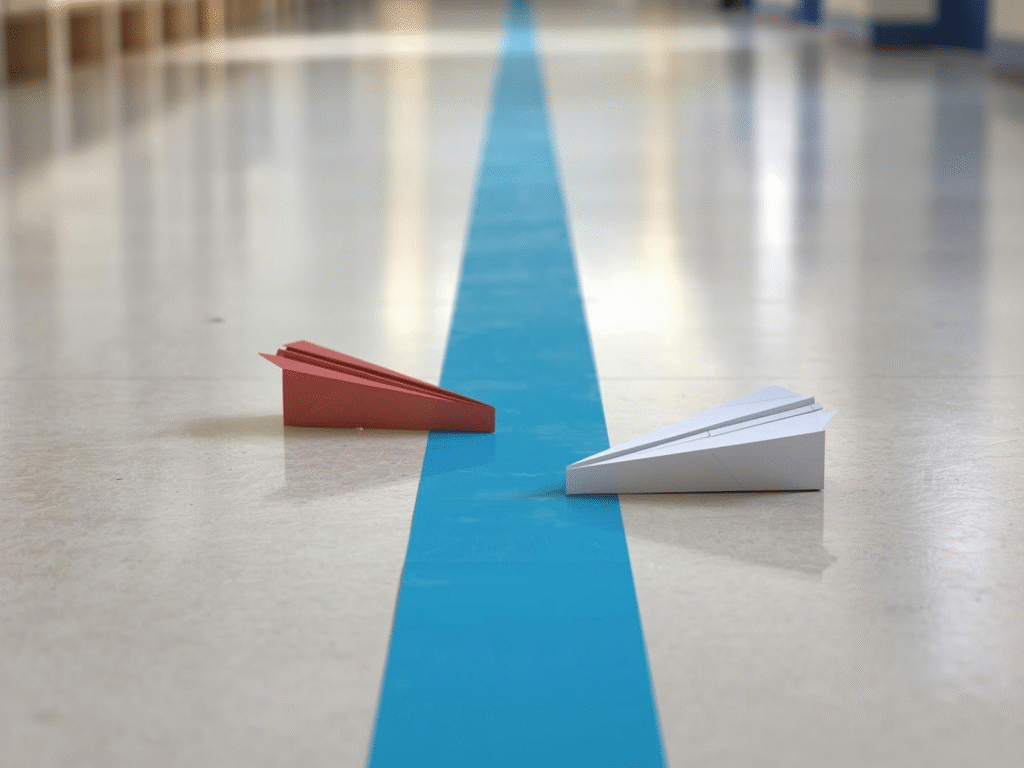
Best for: ages 6 to 12
Cost: free with paper
- Fold two airplane designs.
- Fly each five times.
- Record the distances.
- Change one thing such as wing width or nose shape.
- Test again and compare.
For design ideas, see this helpful overview of paper airplane styles: Paper Airplane.
Setup Tips That Save Time and Money
- Use stations. Place each craft in a tray with tools and supplies.
- Pre-cut where possible. Younger kids can focus on assembly and coloring.
- Batch cleanup. Keep a small bin for scraps and a damp cloth at each table.
- Set a timer. Most projects above fit in 15 to 30 minutes.
- Display the wins. Hang a clothesline with clips to show finished art.
Teachers can combine projects to meet standards in art, science, and math. For example, do foil boats for a science tie in, then chart results for math.
How To Use Household Items Wisely
Many crafts for kids with household items work best when you prep the recyclables. Flatten boxes. Wash lids and caps. Remove any sharp bits from cans or foil.
If you need ideas for setting up a budget craft space at home, try these storage tips and planners on our site: Craft Organization Ideas.
Budget Breakdown
You can run a full week of cheap activities for kids for the cost of one craft store trip.
- Free: cardboard, paper bags, tubes, lids, magazines
- Under two dollars: tape, glue sticks, yarn
- Under five dollars: watercolor set, extra paper, seeds
One small restock can power many sessions. If you want more ways to stretch your supplies, I share storage and reuse ideas on Trusti ASG.
Classroom Management Ideas
- Put finished work in a labeled tray per group.
- Assign roles such as cutter, gluer, organizer, cleaner.
- Use picture cards to show steps at each station.
- Keep a “quiet choice” bin for early finishers with sketch prompts and maze sheets.
- Send a simple supply request note home. Ask for clean cereal boxes, tubes, and caps.
These low cost systems help you run cheap craft ideas again and again without stress.
Free Cheap Kids Crafts Interactive Template
Download the free, easy-to-use template in the link below to make life a little easier for you as you start your fast crafting journey:
Wrap Up
You do not need pricey kits to make something special. With boxes, tubes, string, and paper, you can build a whole month of cheap kids crafts that are fun, creative, and easy to set up. Try a few of the projects above this week. Start with the supplies you already have.