Starting to sew is exciting. But setting up your first sewing space can feel confusing. You might have a small desk or just one corner of a room. That is enough. In this guide, I show you how to create a simple sewing room setup that keeps tools close, cuts clutter, and helps you start strong. We will cover the first storage pieces to buy, where to place them, and how to organize sewing supplies so you can sew more and stress less.
Goal: a small, calm space that makes it easy to start and easy to clean up.
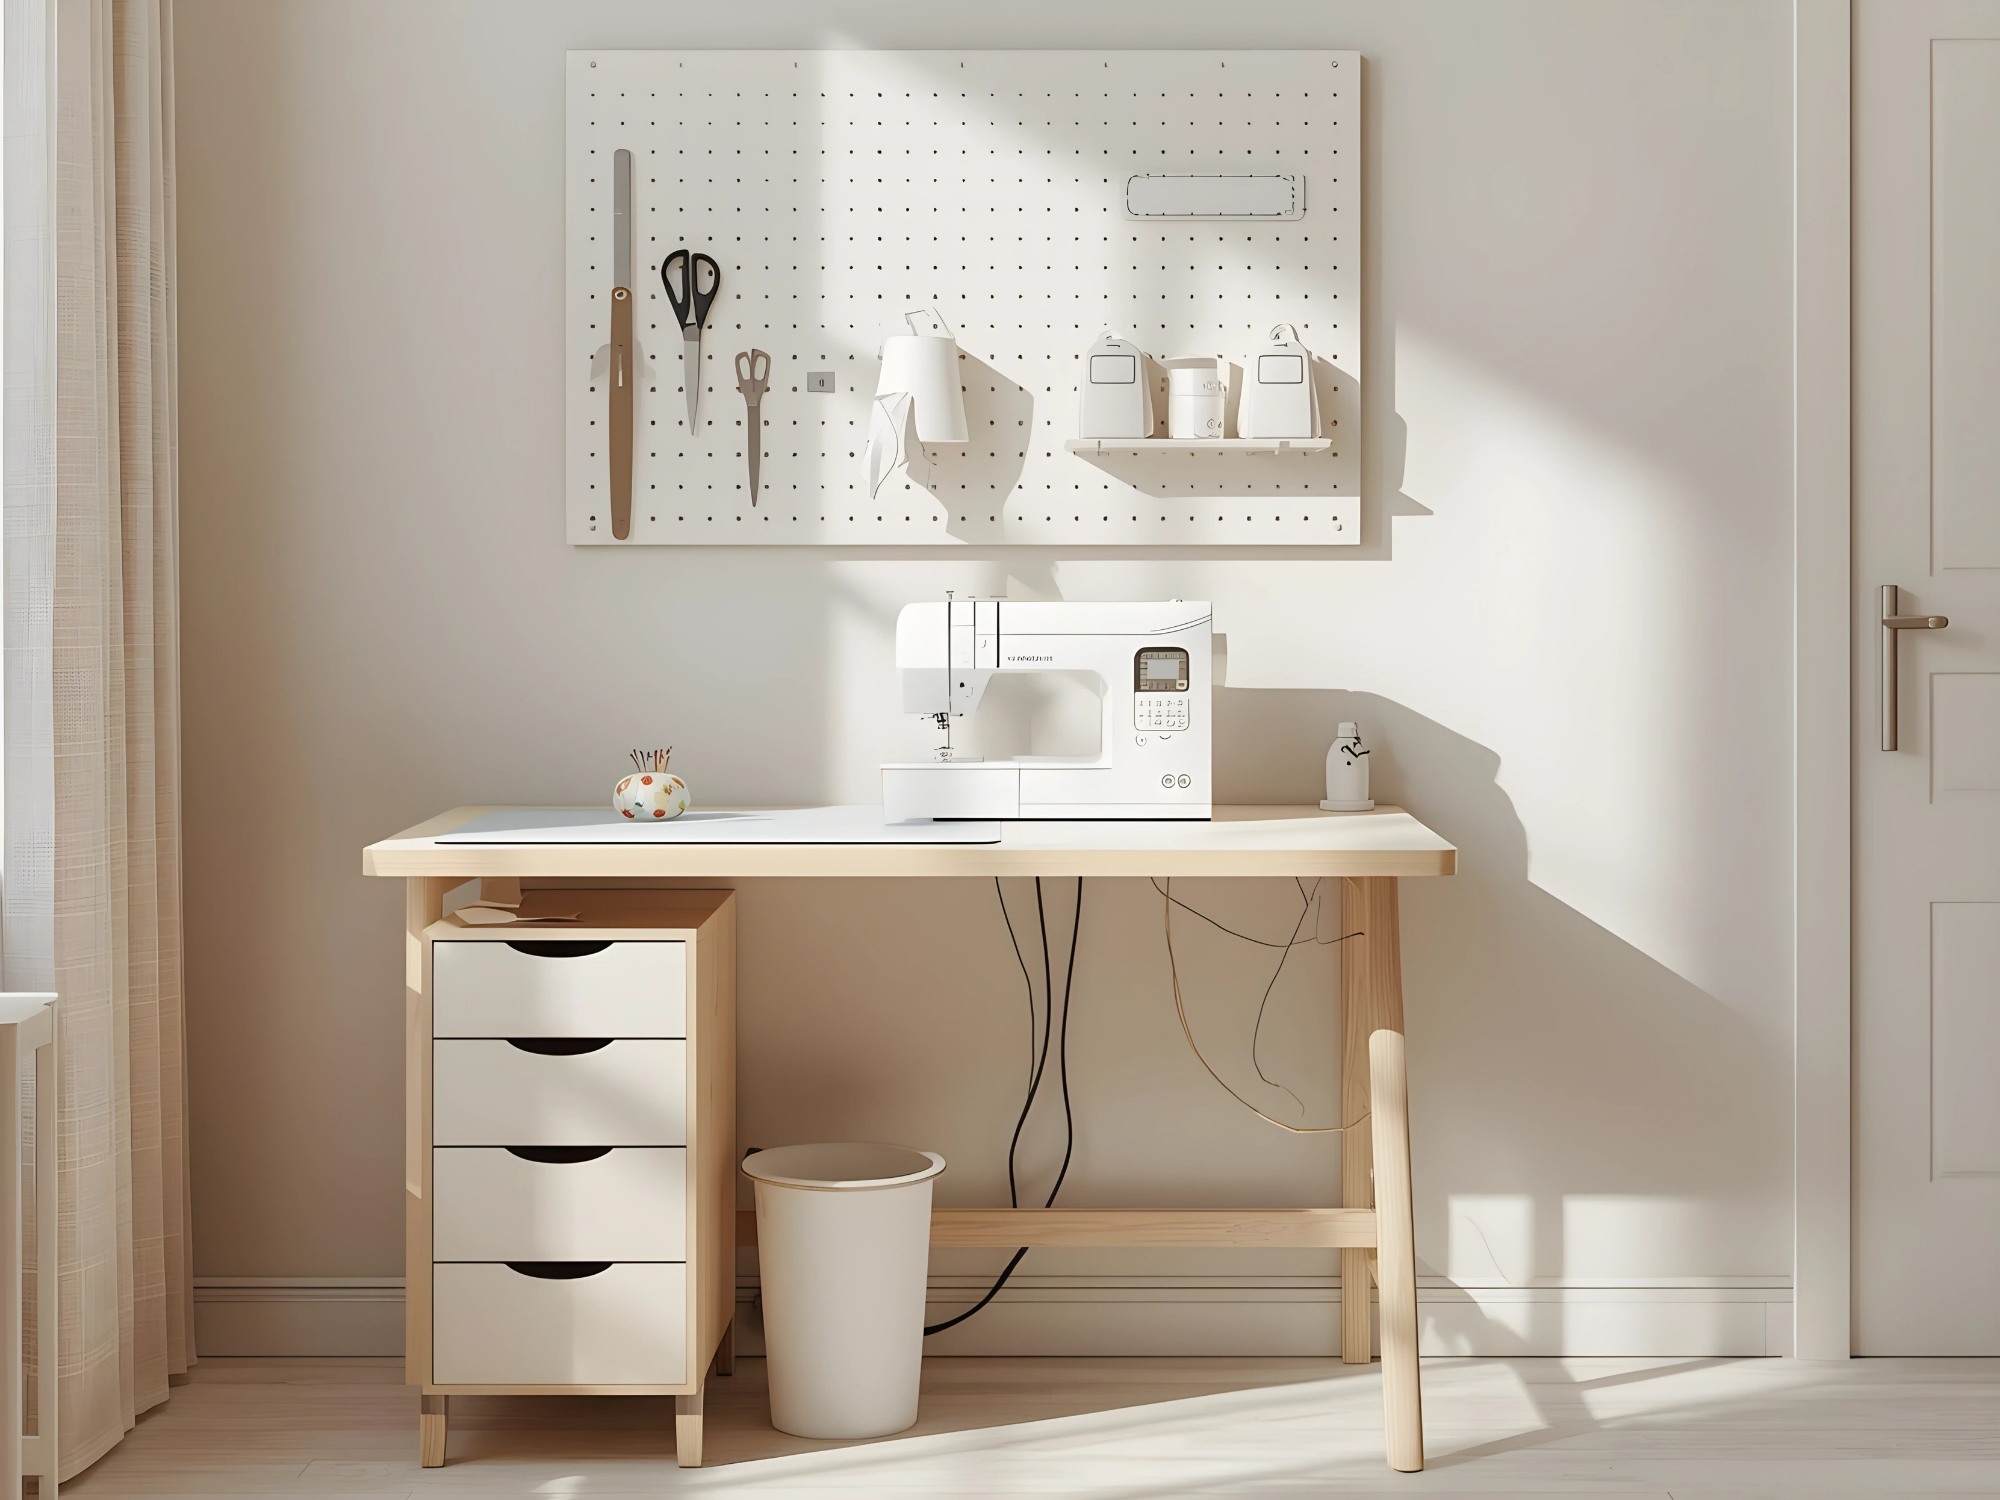
Pick a Home Base
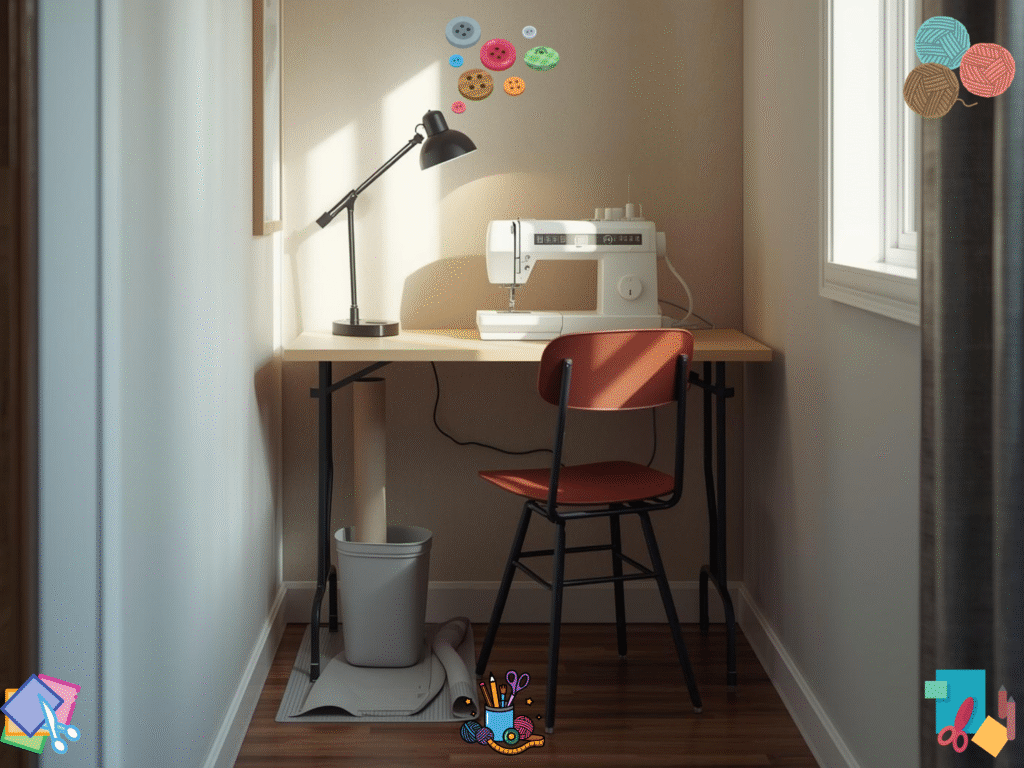
Choose one flat surface for your machine and cutting. A sturdy desk or table is perfect. If the space is tight, use a foldable table. Keep the table against a wall and leave room on the right side of your machine for fabric to rest. Place a small trash bin under the desk for thread tails and scraps. This simple start is the base for your sewing room organization.
Quick wins
- Table or desk that does not wobble
- Chair that lets your feet sit flat
- A small bin under the table for easy clean up
For small space inspiration, see our beginner-friendly posts on sewing and storage ideas.
Buy These First Organizers
When you are new, you do not need a lot. Start with a few items that work hard and fit in a tiny space.
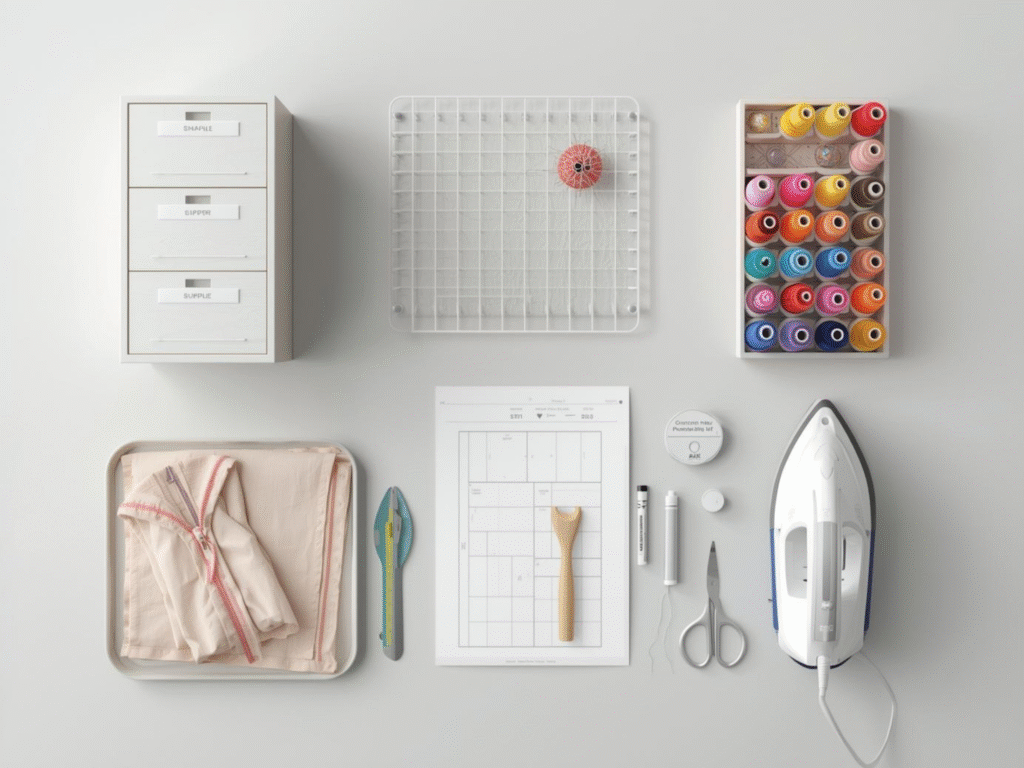
- Small drawer unit for notions
A three to five drawer unit holds your seam ripper, bobbins, extra needles, clips, elastic, snaps, and chalk. Label each drawer. Start with broad labels like Needles, Measuring, Cutting, and Closures. You can get stacking drawers or a desktop cabinet. If you like wall storage, a pegboard system such as the IKEA pegboard line can hold bins, hooks, and shelves in one place. - Pin cushion and magnetic dish
A soft pin cushion beside the machine is great. A magnetic dish catches pins fast while you sew and press. Put it near your iron so pins do not end up on the floor. - Thread rack
A small wall rack keeps spools visible and easy to grab. Put it above your drawers or to the left of your machine. You can also store extra spools in a bin with dividers. If you plan to mount a rack, browse simple options from craft stores like JOANN thread racks. - Project tray or basket
Use one tray per project. Keep the pattern, cut pieces, zipper, and matching thread together. This one habit stops piles from taking over your desk. - Pressing tools
A basic iron and a small ironing board or pressing mat that fits the table. Keep the cord safe and away from your sewing path.
Start with these. Add more only when you feel a true need. That is how you organize sewing supplies from day one without clutter.
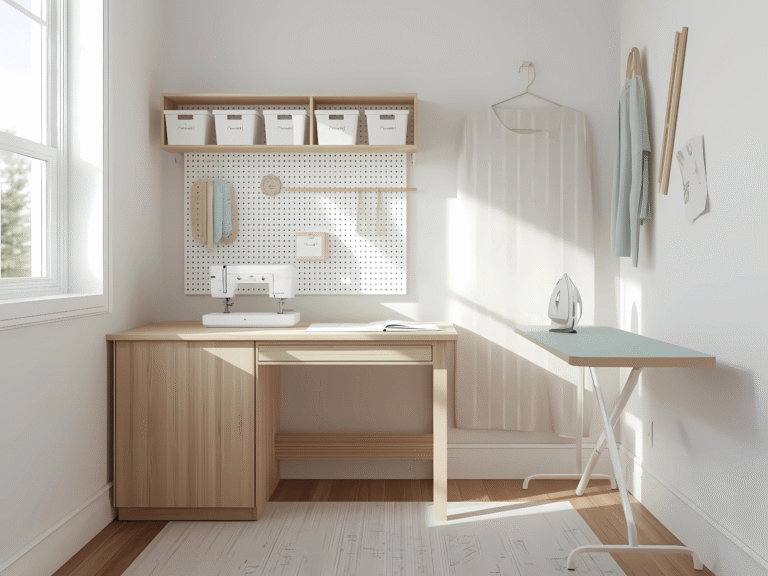
A Simple Layout That Works
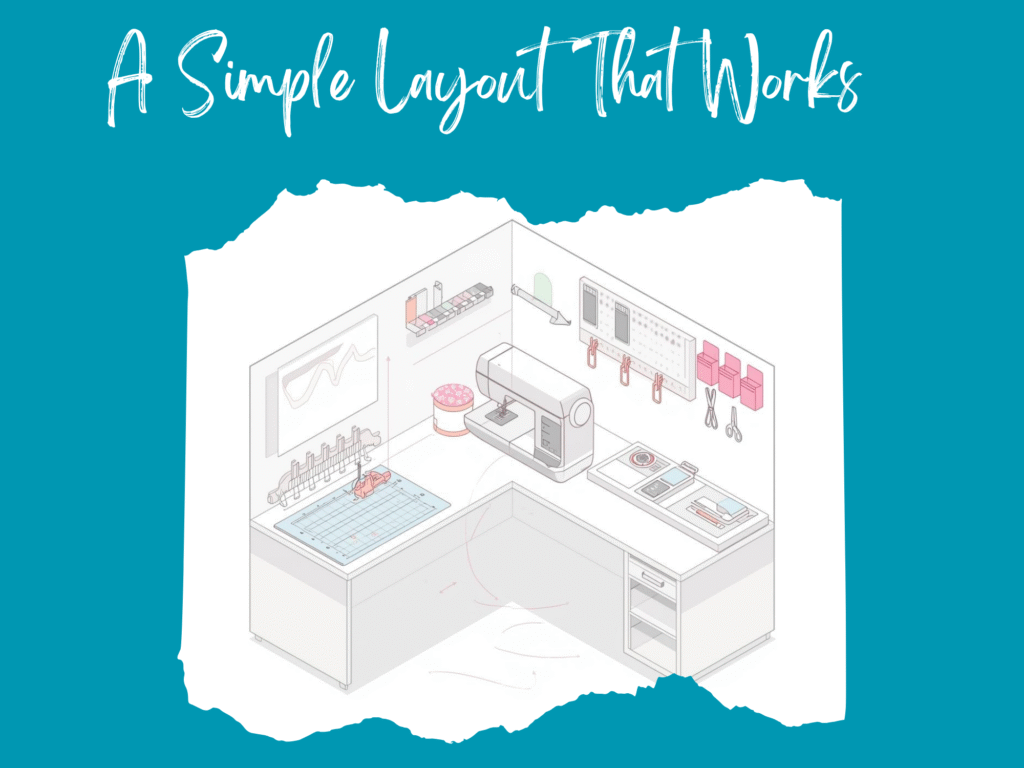
Picture a U shape. Sit at the machine in the center. On your left, place cutting and measuring tools. On your right, place pins, clips, and current project parts. Above or beside you, mount the thread rack and a few pegboard hooks.
Place it like this
- Machine front and center so your body stays square
- Cutting mat slides under the machine when not in use
- Drawer unit on your non-dominant side so you reach across less
- Pin cushion on the side where your hand naturally lands after sewing a seam
- Trash bin within one step
This is one of the best sewing room setup ideas for tiny spaces because everything is close and has a home.
What Goes Where in the Drawers

Keep like items together. Use small boxes or muffin tins as dividers inside each drawer.
- Top drawer: seam ripper, snips, chalk or marking pens, hand needles
- Second drawer: extra machine needles in cases, bobbins, bobbin clips, needle threader
- Third drawer: measuring tape, clear ruler, small square, hem gauge
- Fourth drawer: zippers, elastics, bias tape, closures
- Fifth drawer: glue stick, Fray Check, pattern weights, extra feet
Label each drawer with big, simple words. Labels stop the “where did that go” hunt and make clean up fast.
Thread, Needles, and Bobbins
Match the needle size and type to your fabric. Keep a small card on your wall that lists which needle to choose. If you want a quick refresher, this guide on how to choose sewing machine needles explains sizes and uses in clear steps.
Store bobbins by color or project. A bobbin case or foam insert keeps them from unwinding. Put used needles in a labeled container so you do not mix them with new ones.
Light, Safety, and Comfort
Good light helps you sew straight and protects your eyes. Use a bright desk lamp that you can aim at the needle and at the cutting area. Sit so your shoulders are relaxed and your elbows are close to your body. If your chair is too low, add a firm cushion. If your table is too high, raise your chair and use a footrest so your feet stay flat.
A Five Minute Reset
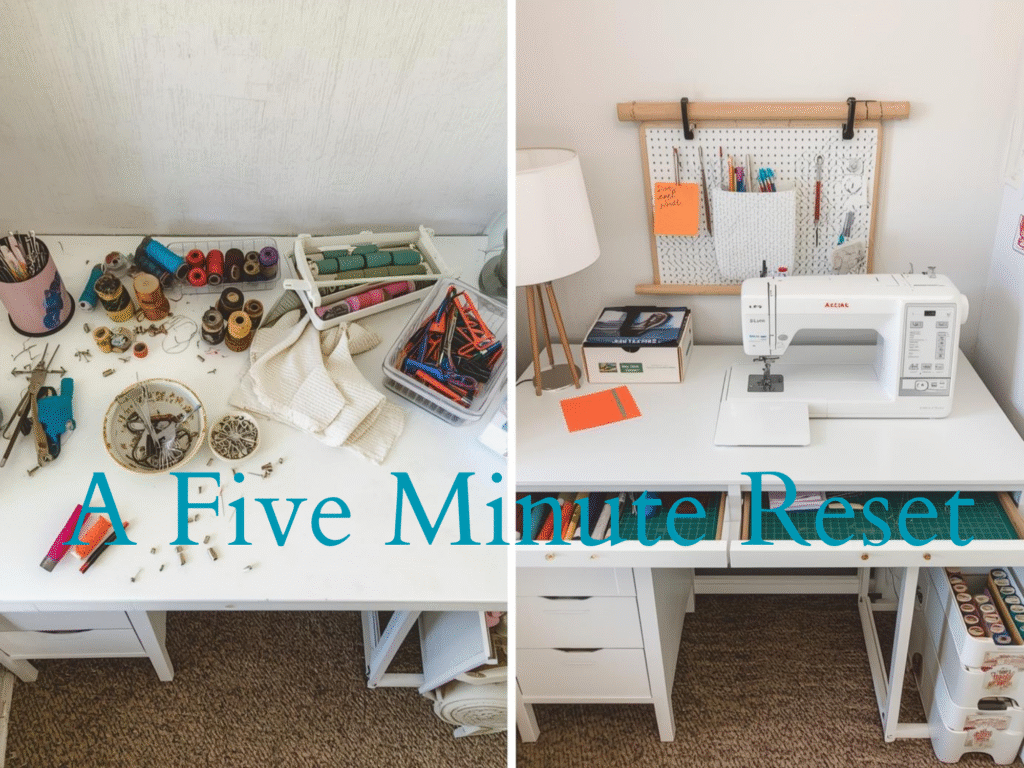
End each sewing session with the same short routine. This builds order into your day.
- Toss thread tails and scraps
- Put tools back in the right drawer
- Wind one bobbin if the next project needs it
- Add a sticky note for the next step
- Cover the machine
This tiny reset keeps your sewing room organization strong. It also makes it easy to sit down and sew the next time.
Smart Upgrades as You Grow
You can keep your corner simple for a long time. When you are ready, these add-ons help without taking much space.
- Pegboard over the desk to hang scissors, rulers, and small bins
- Rolling cart to hold fabric, pressing tools, and your project tray
- Clear bins for fabric by type or color
- File box to store patterns in clear sleeves
If you want more ideas, explore our beginner guides and checklists on Trusti ASG. You can also search our site for quick wins like thread storage tips or small space hacks.
Simple Rules for Buying Supplies
It is easy to buy too much and feel stuck. Use these rules so your sewing room setup stays calm and useful.
- Buy a tool only when a project needs it
- Choose one home for each item before you buy it
- Prefer small, stackable storage
- Label everything the day it arrives
- Keep your current project in a tray so the desk stays clear
A Starter Checklist You Can Use Today
Core setup
- Sturdy desk or table
- Comfortable chair and small footrest if needed
- Small trash bin under the table
- Good lamp pointed at the needle
First organizers
- Three to five drawer unit for notions
- Pin cushion and magnetic dish
- Small thread rack or divided bin
- One tray or basket per project
- Pressing mat and iron
Basic tools
- Fabric scissors and small snips
- Seam ripper and hand needles
- Measuring tape, clear ruler, hem gauge
- Chalk or washable pens
- Extra machine needles and bobbins
Print this list and check off what you have. Then plan one small shopping trip. Keep the receipt in case you want to swap sizes on the drawer unit or bins.
Free First Sewing Corner Planner
Download the free, easy-to-use template in the link below to make life a little easier for you as you start your fast crafting journey:
Keep Learning and Keep It Simple
A good sewing room setup is not about size. It is about flow. Tools live where you use them. Projects stay together in a tray. You reset in five minutes. That is it. If you want to add a neat wall system later, a pegboard can grow with you, and you can mix shelves, hooks, and cups to fit your tools. See what that looks like with the flexible IKEA pegboard system.
When you are ready for your next steps, we have more beginner guides and templates to help you organize sewing supplies and plan your projects. Explore our free resources on Trusti ASG and keep building your skills one small win at a time.
Final Word
You can start small and still feel like a real sewist. Choose one table, a few key organizers, and a layout that keeps your most used tools within easy reach. Follow the five minute reset at the end of each session. Use simple labels. This beginner path gives you a clean, calm space that supports steady progress. It also sets the stage for smarter sewing room setup ideas later as your skills and stash grow.