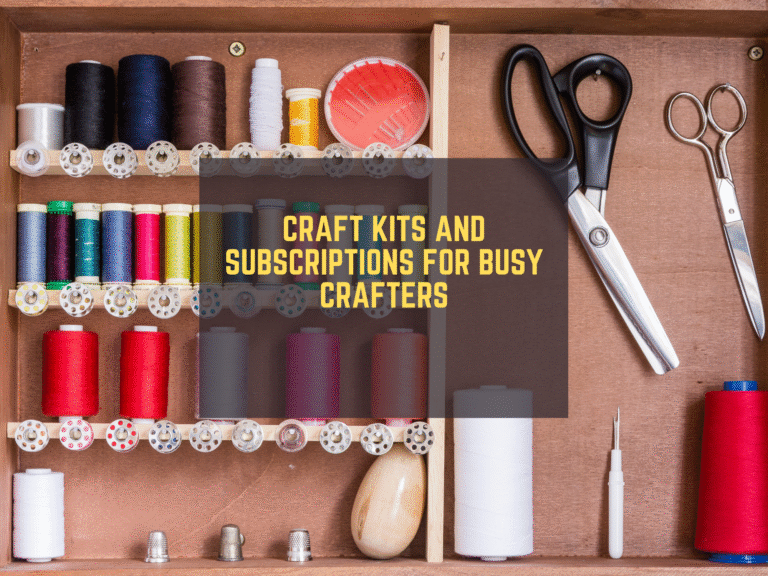
If you love crafting and sewing but feel stuck because your table is buried in stuff, you are not alone. A messy stash steals time and drains energy. When I declutter craft supplies and set up easy systems, I start projects faster and finish more. In this beginner-friendly guide, I’ll show you how to organize craft supplies in a way that saves time every single session.
Along the way, I’ll share quick steps, smart storage ideas, and gentle rules that make decisions easier. I’ll also link to helpful resources and more tips on Trusti ASG and Trusti ASG craft storage ideas.
Why clutter costs you time
Clutter hides your best materials and buries your tools. You spend minutes hunting for scissors, that one roll of ribbon, or the perfect needle. Those minutes add up. When you craft declutter and set up simple zones, you stop wasting energy and get right to the fun part. A clear work area also sparks new ideas. You see what you have and use it.
Goal: Make it easy to start. Make it easy to put away.
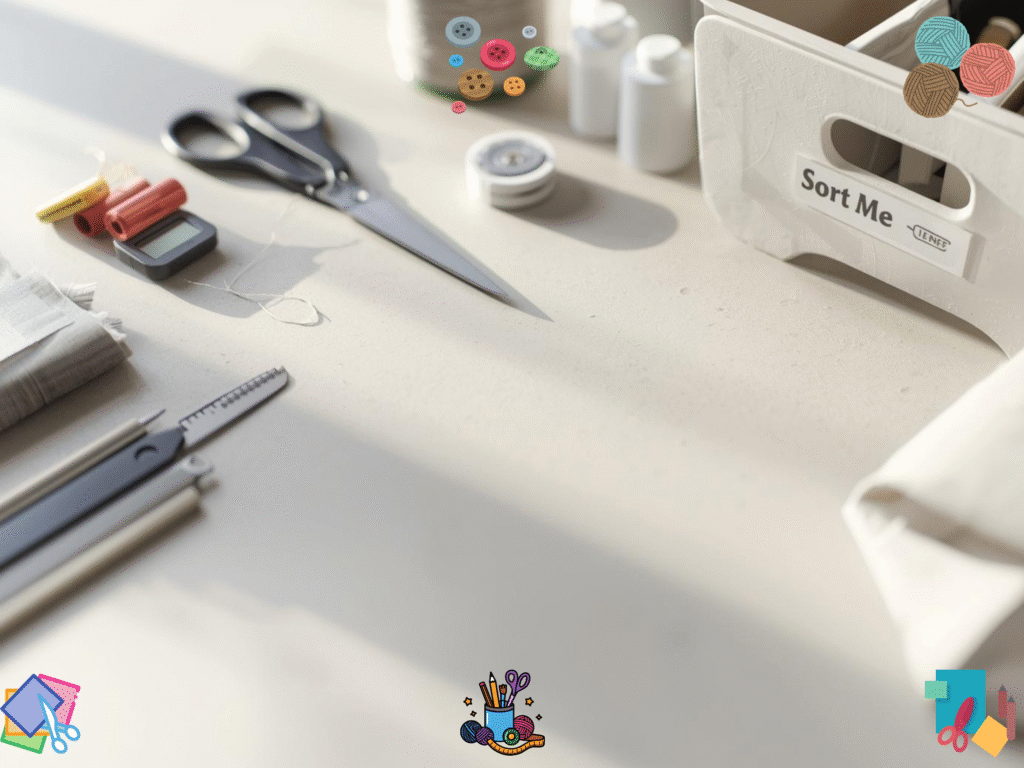
Start with a 15-minute sweep
You do not need a whole weekend to begin. Try this quick win:
- Set a timer for 15 minutes.
- Clear only your main work surface.
- Move anything that does not belong there into one bin labeled “Sort Me.”
- Wipe the surface. Put scissors, rotary cutter, thread, and a small trash cup within arm’s reach.
Now you can craft today. The “Sort Me” bin will be handled in the steps below.
Sort by simple categories
Dump the “Sort Me” bin on a table and sort fast. Do not overthink. Use big, plain groups:
- Paper and stickers
- Fabric and sewing notions
- Yarn and needlework
- Glue, paint, and finishes
- Tools and cutting
- Miscellaneous
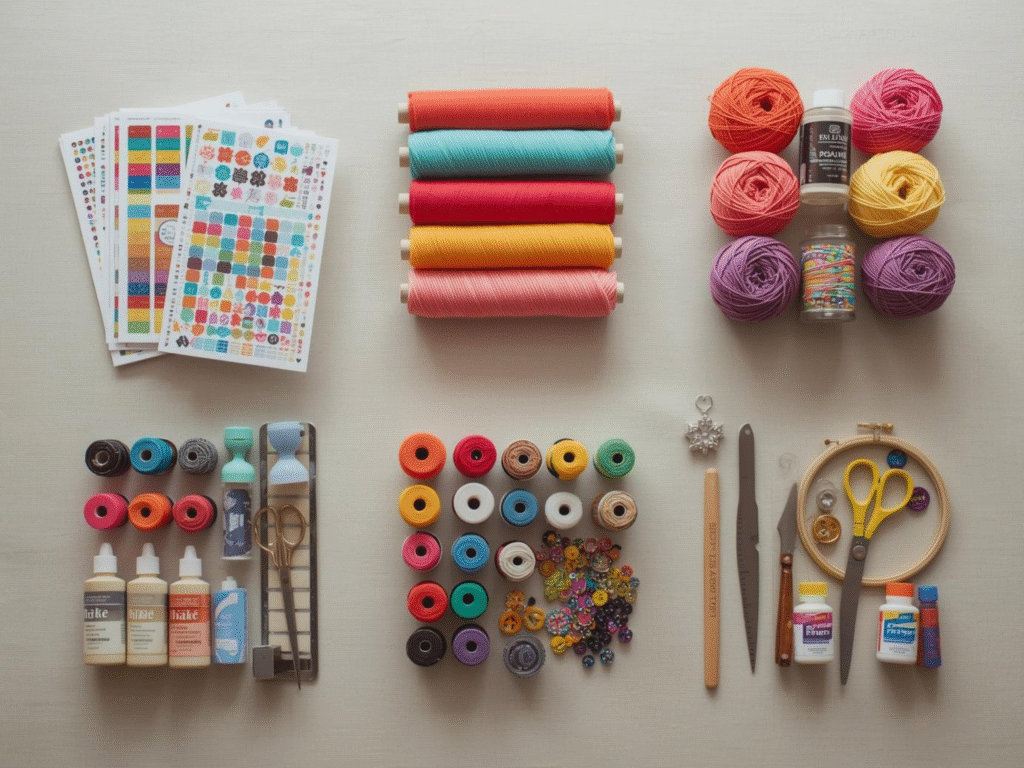
As you sort, toss any obvious trash. If something is broken beyond repair, let it go.
Use quick decision rules
Decision rules help you move fast and avoid getting stuck.
- Use in 90 days: If you can name a project you will start in the next 90 days, keep it.
- One year no-touch: If you have not used it in a year and cannot name a project, donate it.
- Duplicates: Keep your favorite one or two. Donate the rest.
- Scraps: Keep only the sizes you actually sew or craft with. Set a small limit, like one shoebox for “scraps worth keeping.”
For donating, check local guidelines. Many locations accept fabric, yarn, and craft tools when they are clean and in good condition. See Goodwill donation pages for examples of what is accepted and what is not: Goodwill DC acceptance list and Goodwill Sacramento accepted items. For general reduce and reuse tips, the U.S. EPA has a helpful overview: EPA Reducing and Reusing Basics.
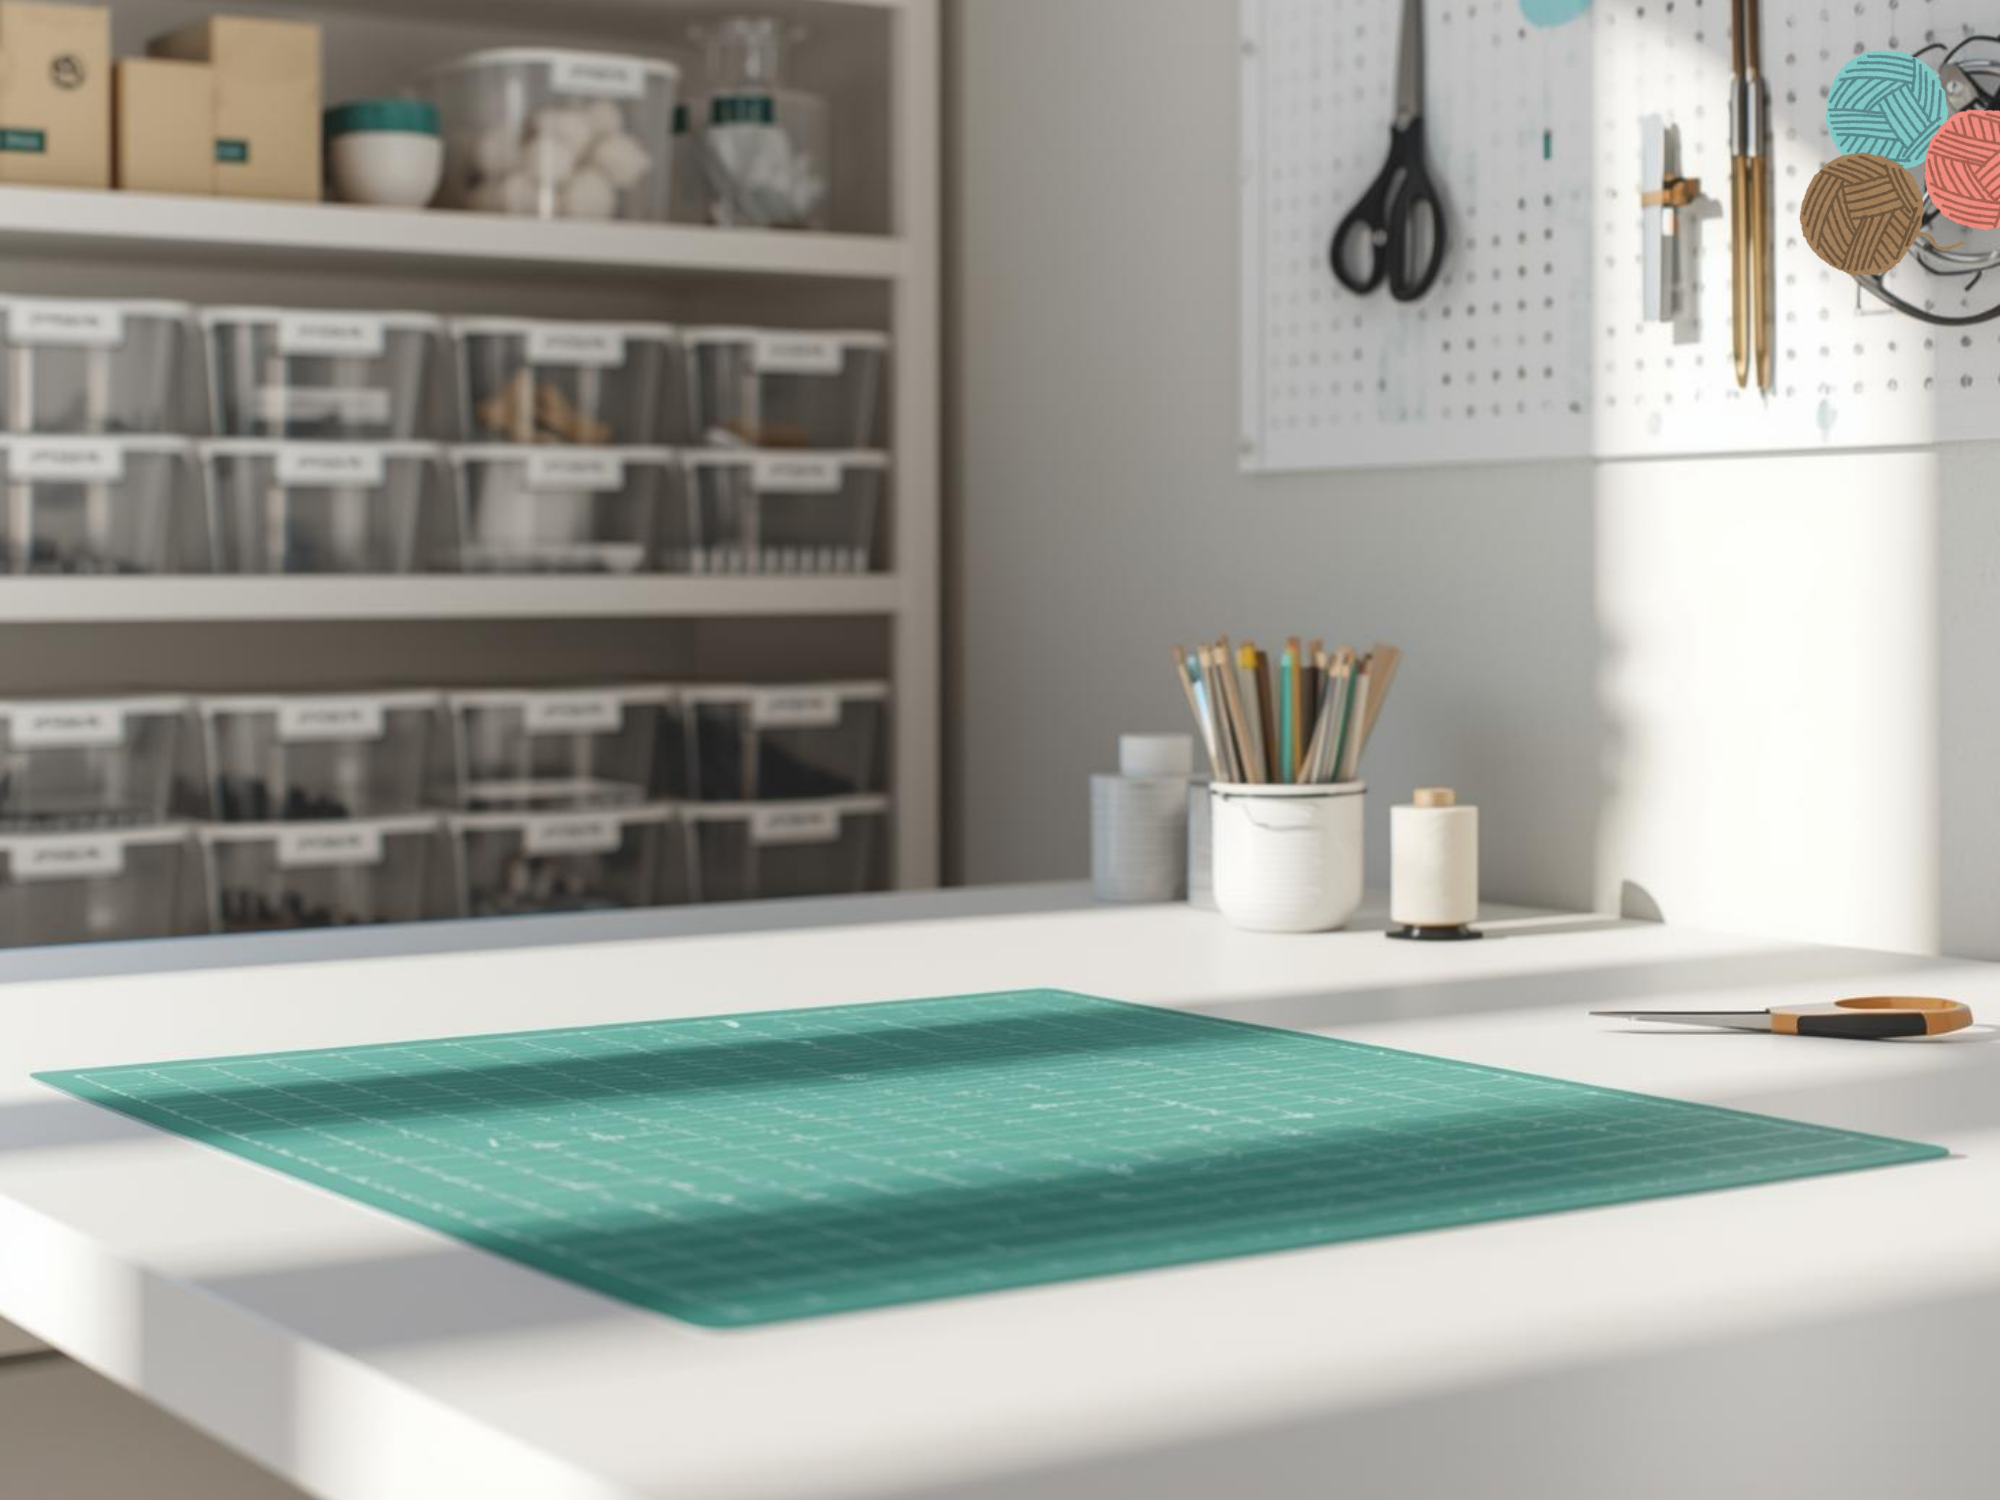
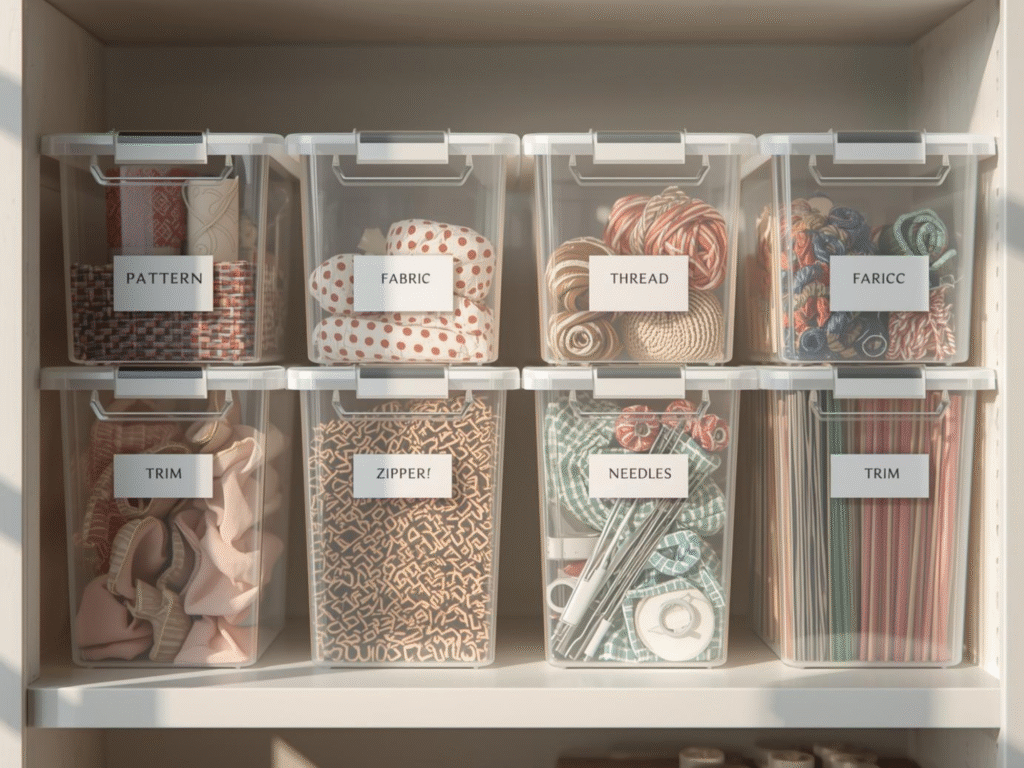
Pick clear, simple storage
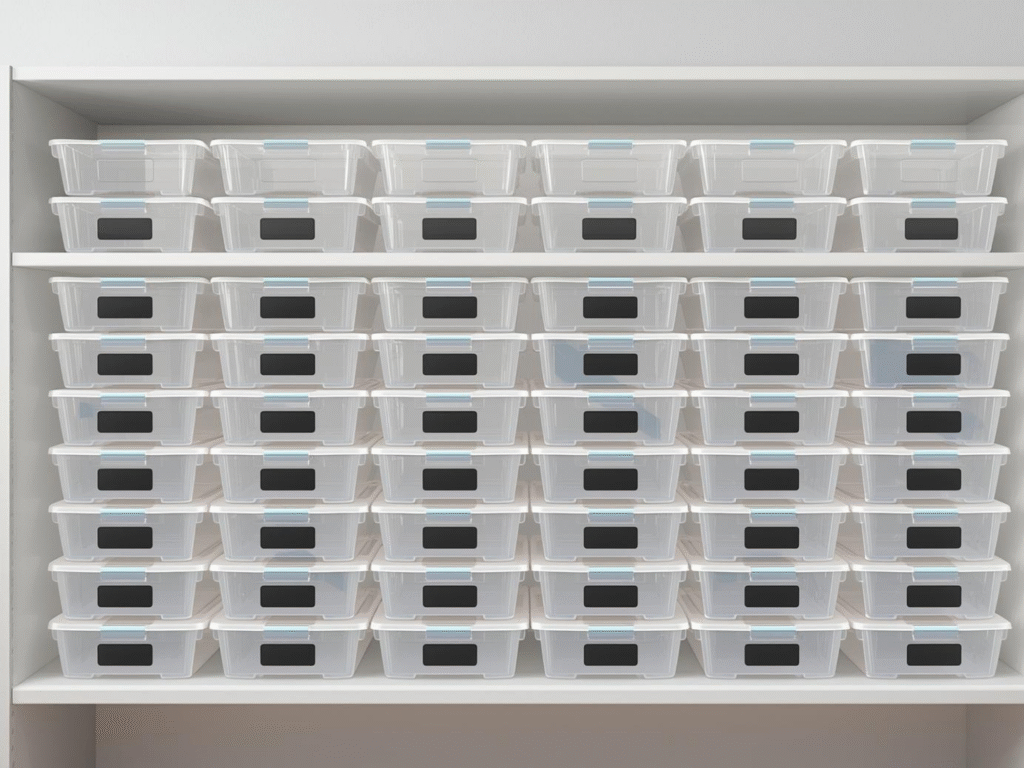
You want to see what you own at a glance. Clear bins with lids make that easy. Sturdy, stackable options save space and help you group like with like. Browse ideas here: Container Store clear storage bins or ArtBin craft bins. Pegboards keep tools visible and off the table. Many crafters like the IKEA SKÅDIS series.
You do not have to spend a lot. Reuse jars, shoe boxes, and tins. Just try to match sizes so they stack well. Clear is best because you can find things fast without opening every lid.
Set up easy-to-reach zones
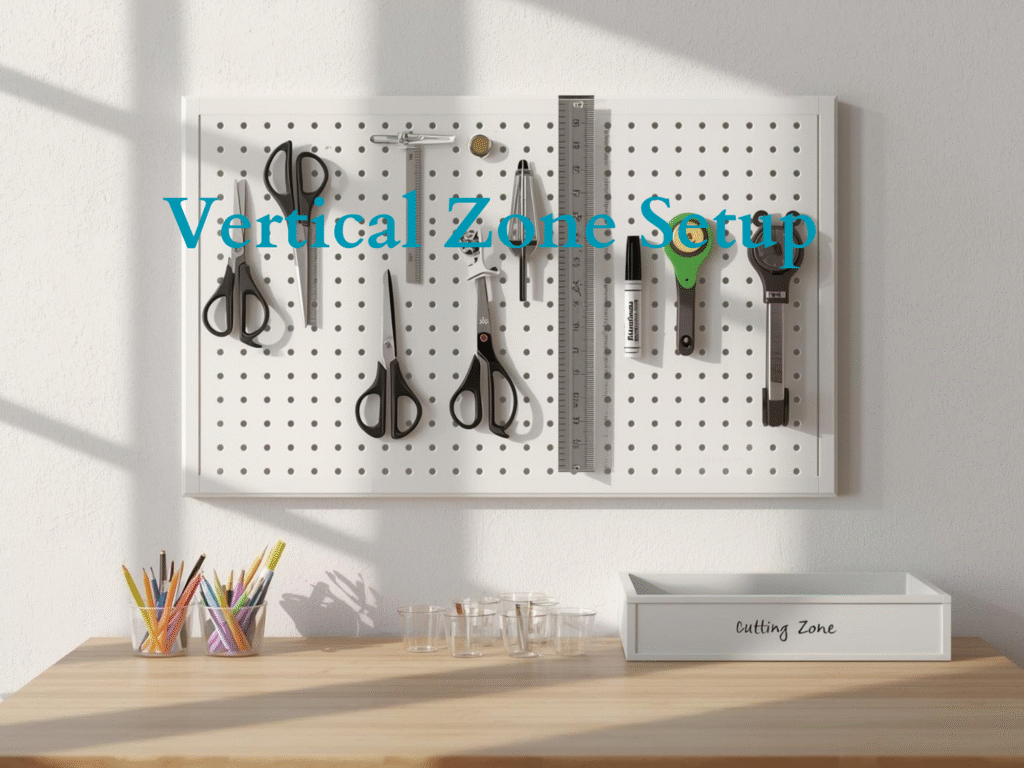
Think about the steps you do most often. Place items where you use them.
- Cutting zone: Cutting mat, rotary cutter, rulers, fabric markers.
- Sewing zone: Machine, needles, bobbins, the five most used threads.
- Paper zone: Paper trimmer, adhesive, top five sticker books.
- Finish zone: Glue gun, glue sticks, paint, brushes, drop cloth.
Use one shallow bin for each zone. Label the front and the lid so you can read it from any angle.
Label like a pro (keep it plain)
Fancy labels take time. Plain wins. Use a label maker or painter’s tape and a marker. Keep labels short and high-contrast:
- “Cotton Fat Quarters”
- “Scrap Ribbon Short”
- “Acrylic Paints Warm”
- “Stickers Alphabet”
If a bin holds many small things, add a mini list inside the lid. Now you can return items to the right place without thinking.
Make project kits
Project kits stop the mess from spreading. Here is how:
- Choose one project.
- Put all required materials in a large zip bag or a shoe-box bin.
- Add a simple checklist: pattern, fabric, thread, zipper, needles, trim.
- Store kits upright in a cube shelf or a small tote.
When you sit down, just grab a kit and start. No hunting. No piles.
Use the “one in, one out” rule
Every time you bring home a new pad of paper, a yard of fabric, or a set of markers, choose something similar to donate or recycle. This keeps your stash at a healthy size and protects your workspace.
If you are clearing out old fabric or clothing, learn what can be reused or recycled in your area. The EPA shares background on textile waste and reuse: Textiles: Material-Specific Data. If an item is not donation-worthy, look for textile recycling options near you or repurpose it as cleaning rags.
Daily 5-minute reset
End each session with a short reset:
- Toss tiny scraps.
- Return tools to hooks or the top drawer.
- Put materials back in their labeled bin.
- Wipe your surface.
Five minutes now saves fifteen minutes tomorrow. Over a month, that is hours returned to making.
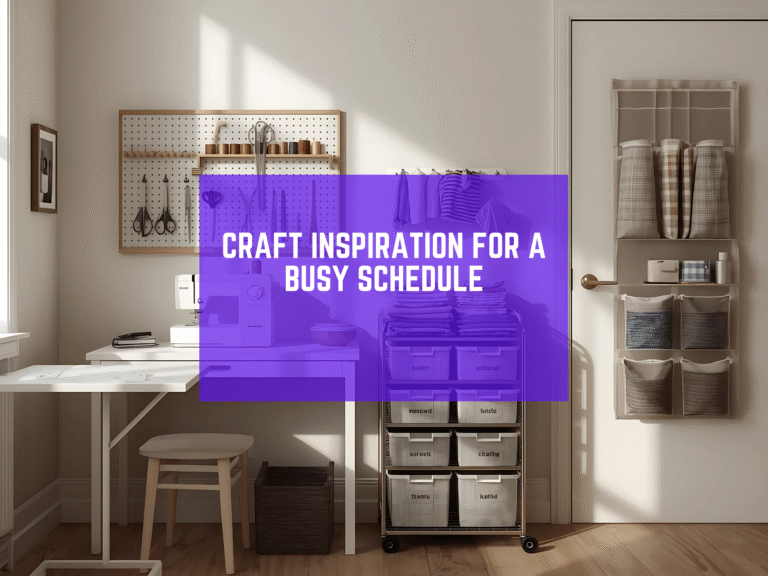
Simple layout ideas for small spaces
If you craft at the kitchen table or in a corner, try this:
- Vertical first: Add a pegboard or a rail with hooks above your work spot. Keep tools visible.
- Rolling cart: A three-tier cart holds your current project kit, your top tools, and a mini trash bin. Roll it away when you are done.
- Under-table bins: Store rarely used items below in lidded totes. Label the fronts.
- Clear lids only: You should be able to see inside without opening.
For more small-space ideas, explore our guides on Trusti ASG.
Step-by-step checklist to declutter craft supplies
- Do a 15-minute work-surface sweep.
- Sort everything into simple categories.
- Apply the 90-day and one-year rules.
- Donate clean, usable items. Check local rules: Goodwill acceptance example.
- Choose clear, stackable bins and label plainly.
- Create zones and project kits.
- Do a daily 5-minute reset.
- Use one in, one out for every new purchase.
Free Declutter Craft Supplies for Faster Crafting Template
Download the free, easy-to-use template in the link below to make life a little easier for you as you start your fast crafting journey:
The payoff: more time to make
When you declutter craft supplies and organize craft supplies in clear, labeled homes, you save time every time you sit down. You stop digging and start doing. You also rediscover forgotten gems, like that perfect trim or the last sheet of your favorite paper. A tidy, pared-down stash is not about having less. It is about using more of what you love.If you are ready to go deeper, browse more guides and templates on Trusti ASG. Start small today. In one week your space will feel lighter, your projects will move faster, and your creativity will breathe.