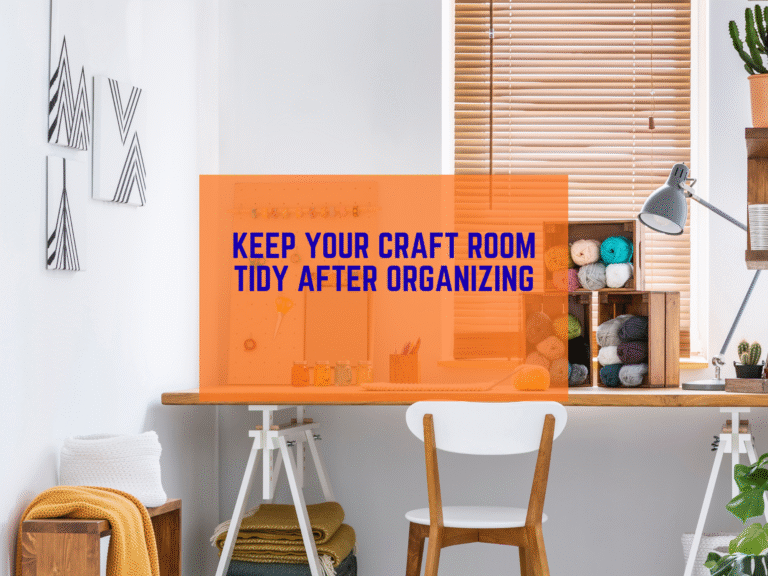
If your craft room feels like a pile of fabric and glue sticks, you are not alone. Many crafters hit a wall when the stuff takes over the space. I have been there too. This easy craft room cleaning guide will help you start small, make clear choices, and set up simple homes for the supplies you love. We will follow a four step plan. First, clear surfaces. Second, group items. Third, purge craft supplies you do not use. Fourth, assign storage that fits your space. By the end, you will know how to organize a cluttered sewing room and keep it under control.
Step 1: Clear the Surfaces so You Can Work
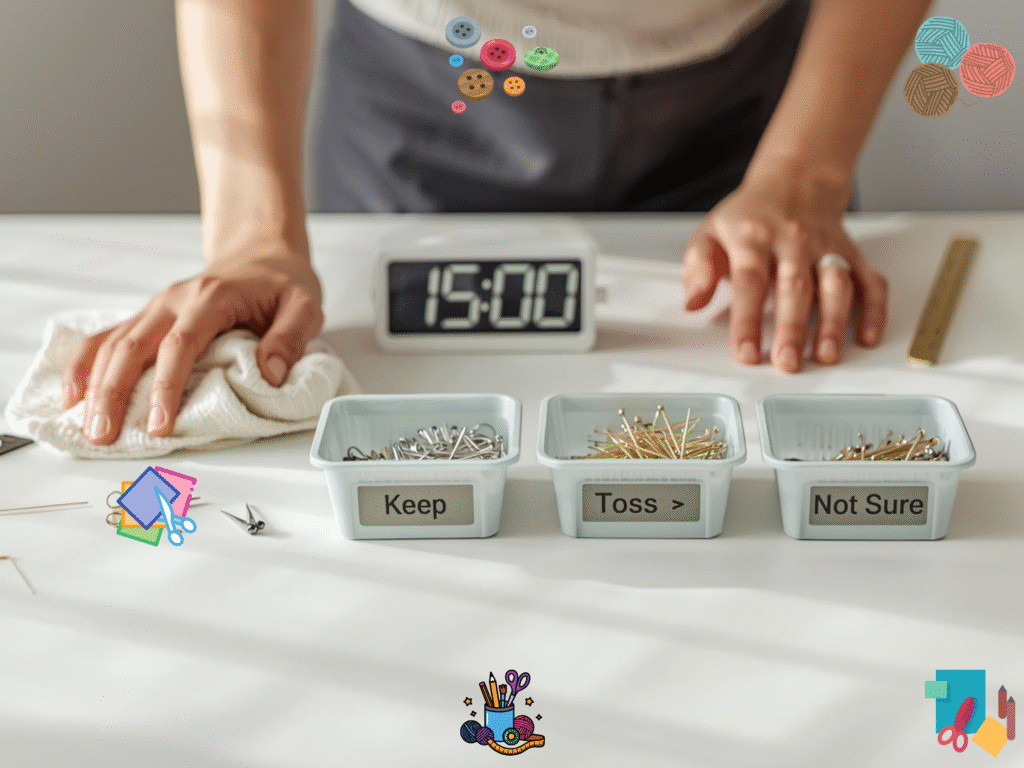
We start with the tables, the cutting area, and the sewing desk. You need a clean landing spot to sort and make decisions.
- Set a 15 minute timer.
- Take everything off your main work surface.
- Put items into three quick bins: Keep, Toss, Not Sure.
- Wipe the surface. Put back only the tools you use every week.
If you sew often, your weekly tools may be your machine, thread snips, seam ripper, pins, and a small ruler. If you craft with paper, that might be a basic trimmer, adhesive, and your favorite pens. Keep just the everyday tools at arm’s reach. Everything else will get a home later.
Step 2: Group Like With Like

Now we sort. Sorting helps you see what you own, where you have too much, and where you are missing basics.
Make wide, clear groups:
- Fabric by type or project use
- Notions like zippers, elastic, and bias tape
- Tools and hardware
- Patterns and books
- Paper, vinyl, and adhesives
- Paint, brushes, and finishes
- Kids craft supplies
- “Work in progress” projects
Use large bags or boxes if you have them. Label each pile with sticky notes. Keep the sorting rules simple. For fabric, you can sort by type first, then by color later. For paper, sort by size first, then pattern or color next. If you need a walk through on setting up pegboards or drawer units, this guide is great for ideas: IKEA SKÅDIS pegboard overview
Sorting can be tiring. Work in short rounds. Stop when the timer rings. Take a short break. Then come back fresh. Little steps add up.
Step 3: Purge What You Do Not Use
This part is hard, but it is where we win back space. We will purge craft supplies with four easy questions:
- Did I use it in the last 12 months?
- Do I love it for the work I do now, not the work I used to do?
- Do I have a clear plan to use it in the next 90 days?
- Could someone else use it more than me?

If the answer is no, it goes to Donate, Recycle, or Trash. Keep the decisions kind and simple. You are not wasting money by letting go. You are buying back space, time, and a calm mind.
For safe donation choices, check what your local center accepts. Many places welcome fabric, yarn, and tools. See general tips here: Goodwill donation guidelines
For items that are used up or worn out, toss them if they are not safe to donate. If you have paint, glue, or chemicals to discard, read safe rules in your area. This article explains common steps for household materials: EPA household hazardous waste basics
If you need a simple script for letting go, try this:
- “I learned a lot from this fabric. It is not my style now. I will donate it so it can be used.”
- “I have three of these rulers. I keep one, and the other two go to the guild.”
- “This paint is old and not safe. I will dispose of it the right way.”
Still stuck? Use the “one shelf challenge.” Limit each category to what fits on one shelf, one bin, or one drawer. When it is full, that is the cap. Extras go to Donate.
For a printable checklist that walks you through each choice, use our free guide here: trustiasg.com/free-templates
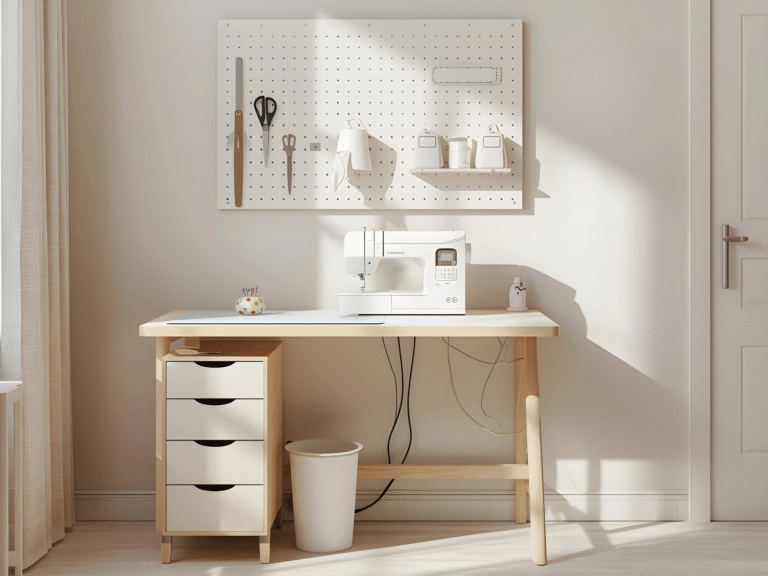
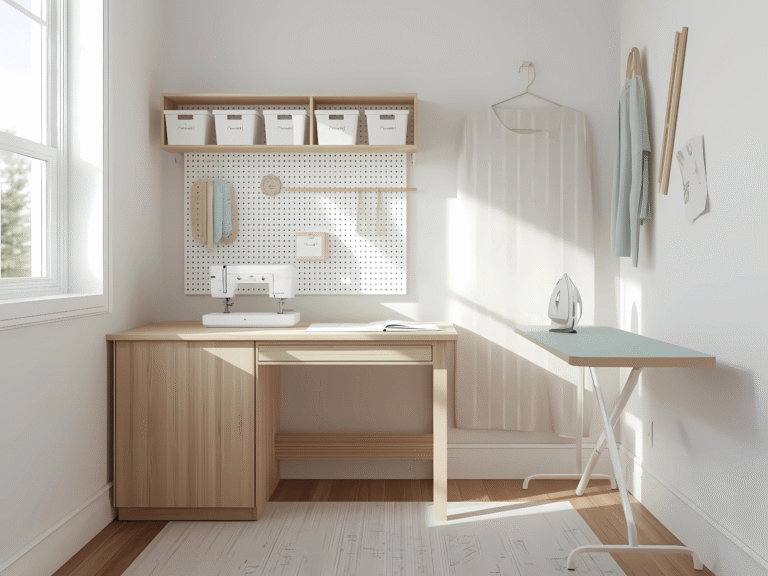
Step 4: Assign a Simple Home for What Remains
Now we give every group a clear, easy home. The homes should be simple to use and simple to put away. Think “one move” storage. If it takes five moves to put a tool back, it will live on the table again.
Here are easy storage wins:
- Clear bins with labels for fabric, notions, and paint
- Shallow drawers for small tools and feet for your machine
- Magazine files for patterns and booklets
- File crates for vinyl or paper by size
- Pegboards for scissors, rulers, and rotary cutters
- Rolling carts for “work in progress” projects
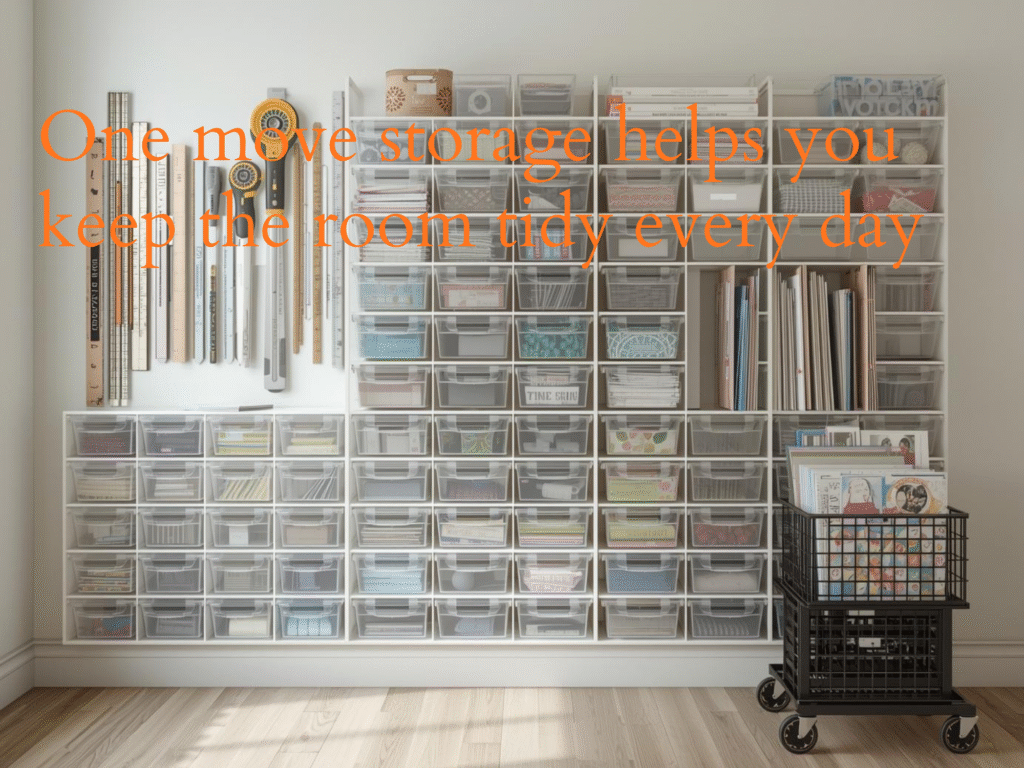
Label in plain language. Big, bold words help you and your family put things back fast. Place the most used items at eye level. Heavy items go low for safety. Rarely used items can go higher.
Need help mapping out your layout so your sewing machine, cutting area, and pressing space flow well? Try this quick plan: trustiasg.com
Keep It Tidy With Five Minute Habits
You have worked hard to declutter a craft room. Now we protect your progress with short daily habits. These little moves prevent the slow slide back to clutter.
Try these:
- End each session with a two minute tidy
- Empty the trash and thread bits every Friday
- Do a quick “return to home” sweep before bed
- Keep one donation bag in the room
- Use a “parking lot” tray for items you are not sure about, and decide weekly
If you like checklists, grab our weekly tidy plan here: trustiasg.com
Beginner Friendly Tips if You Feel Stuck
- Start with the smallest surface. A clear 12 inch square can spark momentum.
- Set a short timer. Ten minutes is enough to make progress.
- Use big categories at first. Fine sorting can wait until later.
- Take photos. Before and after photos show your wins.
- Give yourself grace. You are building a room that serves you now.
When doubt pops up, remember your goal. You want a space where you can sit down and sew or craft without a hunt. You want to feel calm and happy when you walk in. Every small choice moves you toward that goal.
Smart Ways to Handle Special Items
Scraps: Keep only what you will use in the next three projects. Store by size in small clear bags.
Sentimental supplies: Save one small box. Label it “Keepsakes.” Limit it to that box.
Bulk items: If you bought in bulk and it is taking over, split with a friend or donate a portion.
Kids crafts: Give them a small bin they can reach. Teach them to put items back before grabbing new ones.
For step by step fabric folding ideas that fit shelves and comic boards, this tutorial is helpful: The Spruce Crafts fabric storage tips
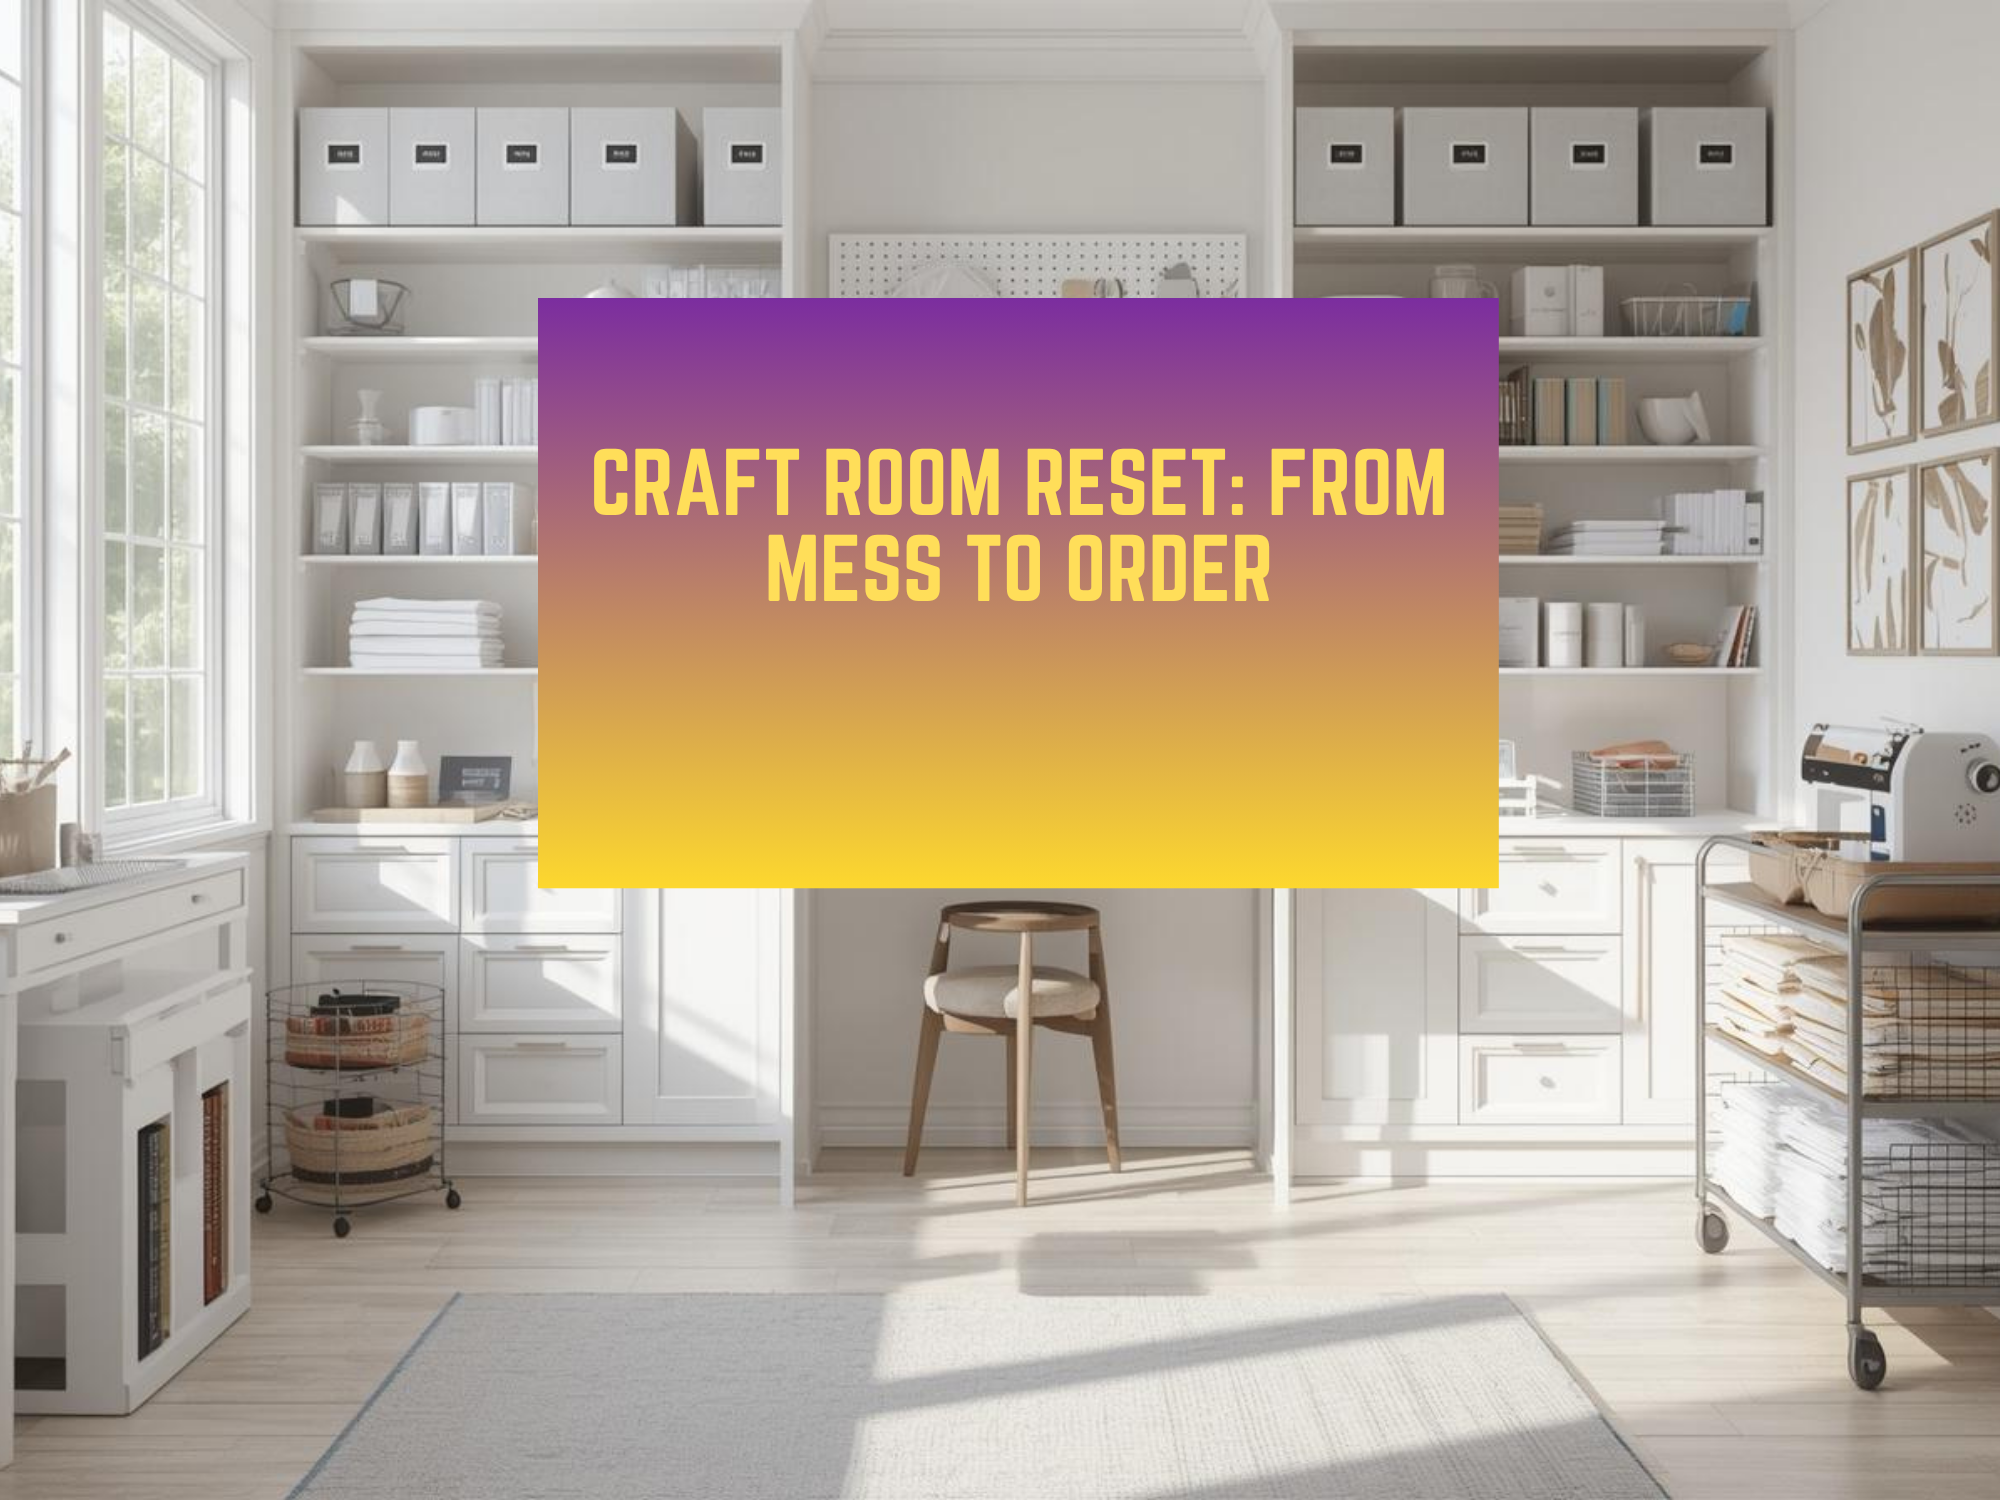
Your Simple Roadmap
Here is a quick recap of the full plan:
- Clear surfaces so you can work right away.
- Group items into wide, easy categories.
- Purge craft supplies with kind but firm rules.
- Assign storage that is easy to use and even easier to put away.
- Protect with habits that take five minutes or less.
Follow these steps and you will see fast wins. The room will feel lighter. You will find what you need. You will finish more projects. Most of all, you will enjoy your space again.
Free Craft Room Reset Interactive Template
Download the free, easy-to-use template in the link below to make life a little easier for you as you start your fast crafting journey:
Final Word
You can do this. You do not need a whole weekend. You do not need fancy bins. Just start small. Pick one surface. Sort a few items. Make one choice at a time. In a short while, you will organize a cluttered sewing room into a calm, useful space that supports your best work.