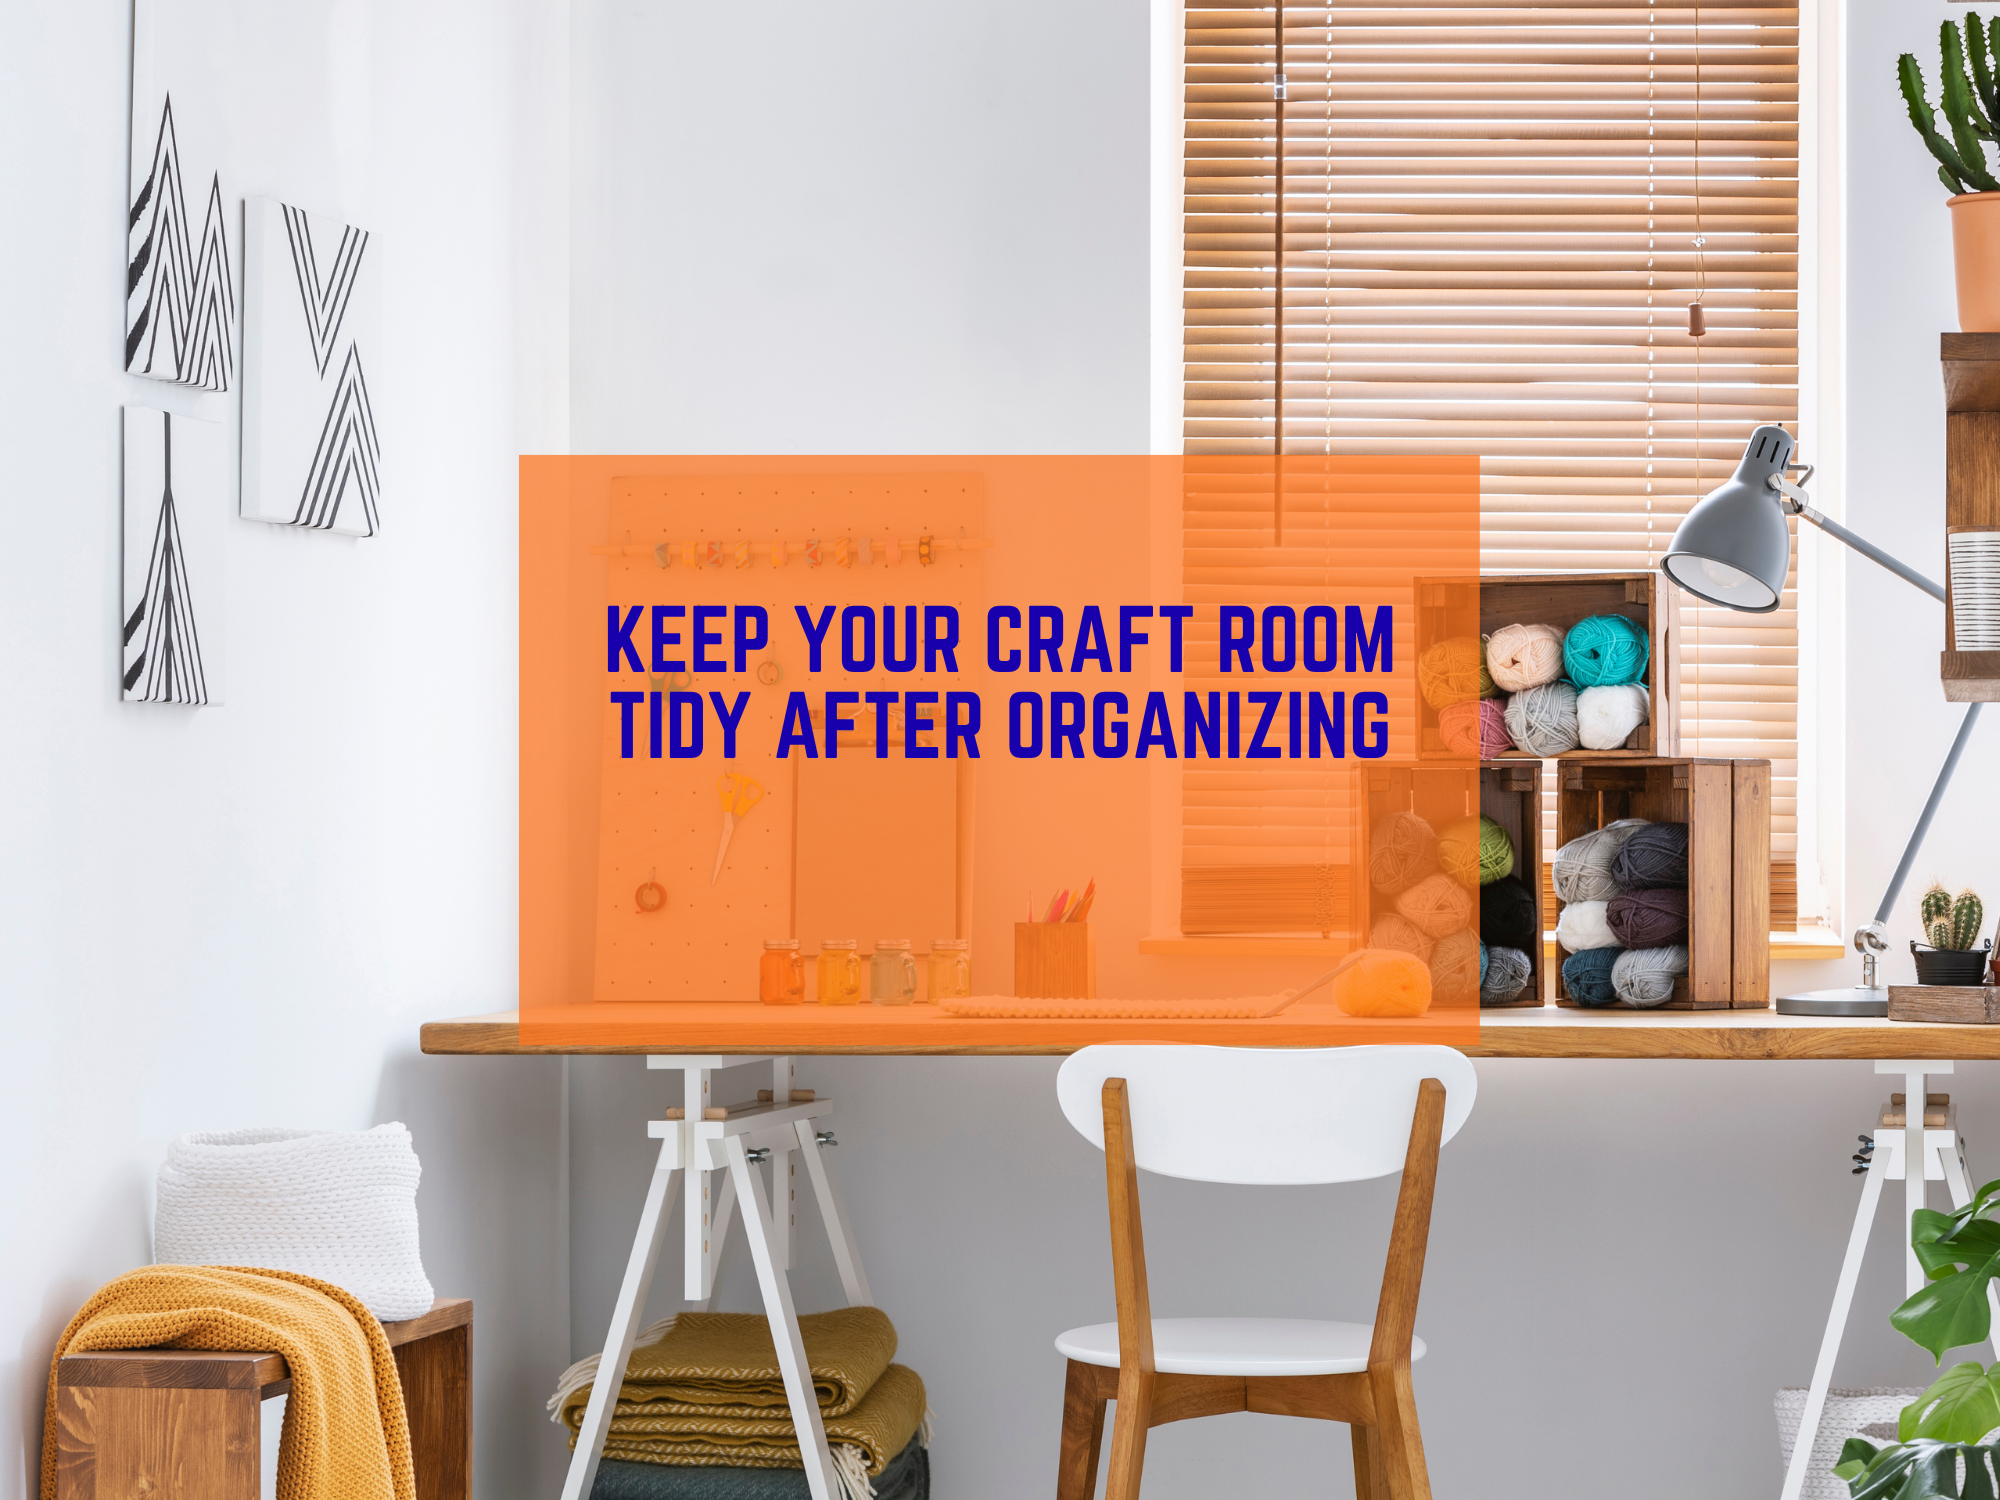
You sorted the bins. You labeled the drawers. For a week, your space felt calm. Then life got busy, and the piles came back. You are not alone. Many makers say, I organize, but it does not last. The secret is not a bigger bin. It is small habits you do often. In this guide, I will show simple steps that help you maintain an organized craft room day after day. We will set up tiny routines that stick, so your space stays clear and easy to use.
I write this for beginners. You do not need fancy tools. You only need a plan you can follow. These are my staying organized tips for crafters who want quick wins and less stress.
Start With a Two Minute Reset
Before you craft, and after you craft, do a two minute reset. Set a timer. Stand up. Put loose items in their home. Close lids. Stack mats. This small act keeps mess from spreading. If you do nothing else, do this. It is the backbone of craft room daily habits.
Tip: Keep a small “catch bin” on the table. During a project, drop stray pieces into it. In your reset, empty the bin into the right spots.
The End of Session Rule
When I finish a session, I follow four steps every time.
- Tools back to their spot. Scissors, rotary cutter, ruler.
- Surfaces clear. Brush threads into a trash can.
- Project parked. Put works in progress in a labeled folder or tray.
- Floor sweep. One quick sweep or vacuum pass.
This routine helps me keep sewing space clean without feeling like a chore. It takes five minutes or less. Short and simple wins.
The Five by Five Method
Mess grows fast when we stash without thinking. The Five by Five method keeps it in check.
- Choose five items that do not belong on the surface.
- Put each one five steps closer to its home.
Sounds silly, but it works. Five things moved five steps often gets them to the right shelf or box. It is easy to start, and it gives you a small win.
Weekly Tidy Power Hour
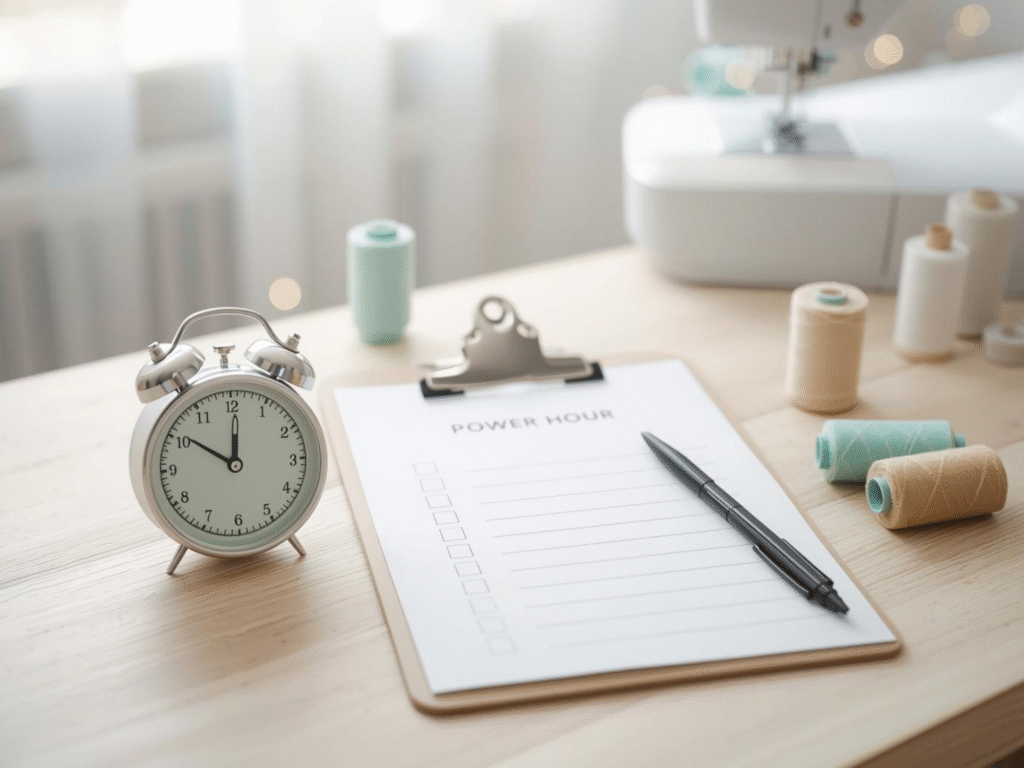
Once a week, do a short tidy session. I like to use a simple plan and a timer. If you want a ready guide, try our Power Hour Planner. It breaks the hour into quick blocks you can follow.
Your weekly tidy can be as simple as:
- 10 minutes sorting scraps by size.
- 10 minutes refolding fat quarters.
- 10 minutes topping up bobbins and trashing dull needles.
- 10 minutes clearing your main table.
- 10 minutes wiping down your machine and pressing station.
- 10 minutes filing patterns or notes.
You will be shocked how much you can do in one focused hour.
Monthly Stash Review
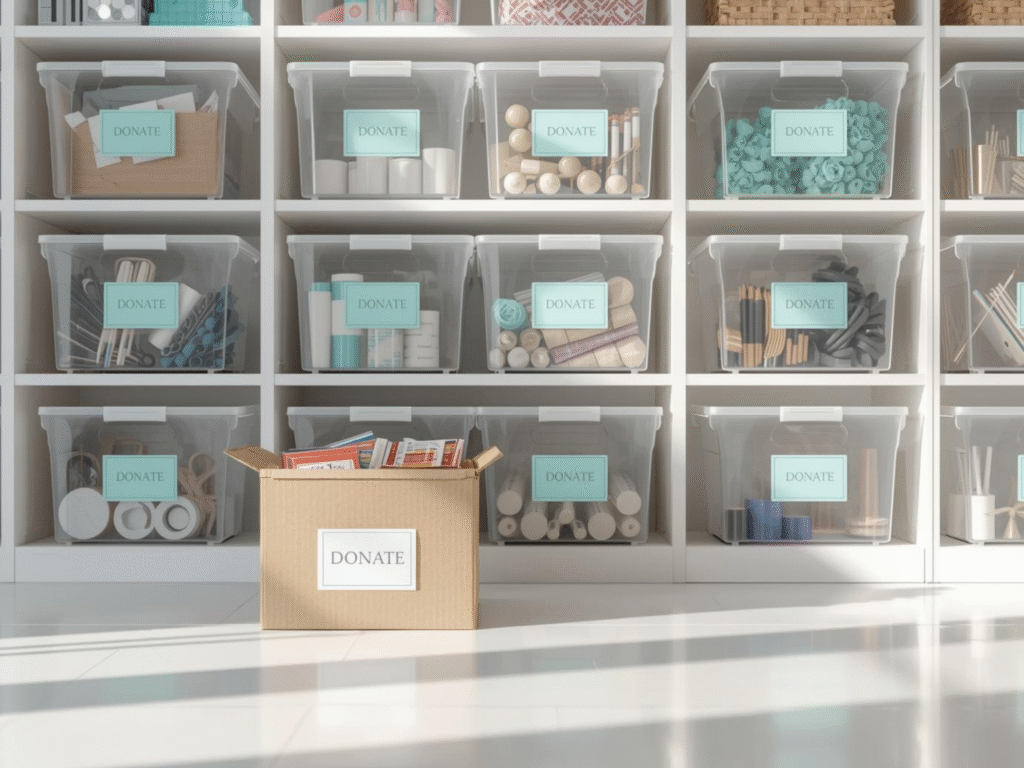
Once a month, open one drawer, one shelf, or one bin. Ask three questions.
- Do I still use this.
- Do I have a plan for it in the next 90 days.
- Would someone else enjoy it more.
If the answer is no to 1 and 2, and yes to 3, set it aside to donate. Many donation centers accept craft supplies. Check local rules before you go. This guide can help you know what many centers take: Goodwill Donation Guidelines.
A regular stash review makes it far easier to maintain organized craft room standards all year.
Simple Buying Rules That Help You Stay Tidy
Clutter often comes from good deals. Sales can be a trap. Use clear rules so you buy with purpose.
- One in, one out. If you buy a new tool, pass one on.
- Shop a plan, not a sale. Buy for a project you already wrote down.
- Use what you have first. Replace only when you run out.
If you want help with planning purchases, try our Bulk Craft Supplies Planner.
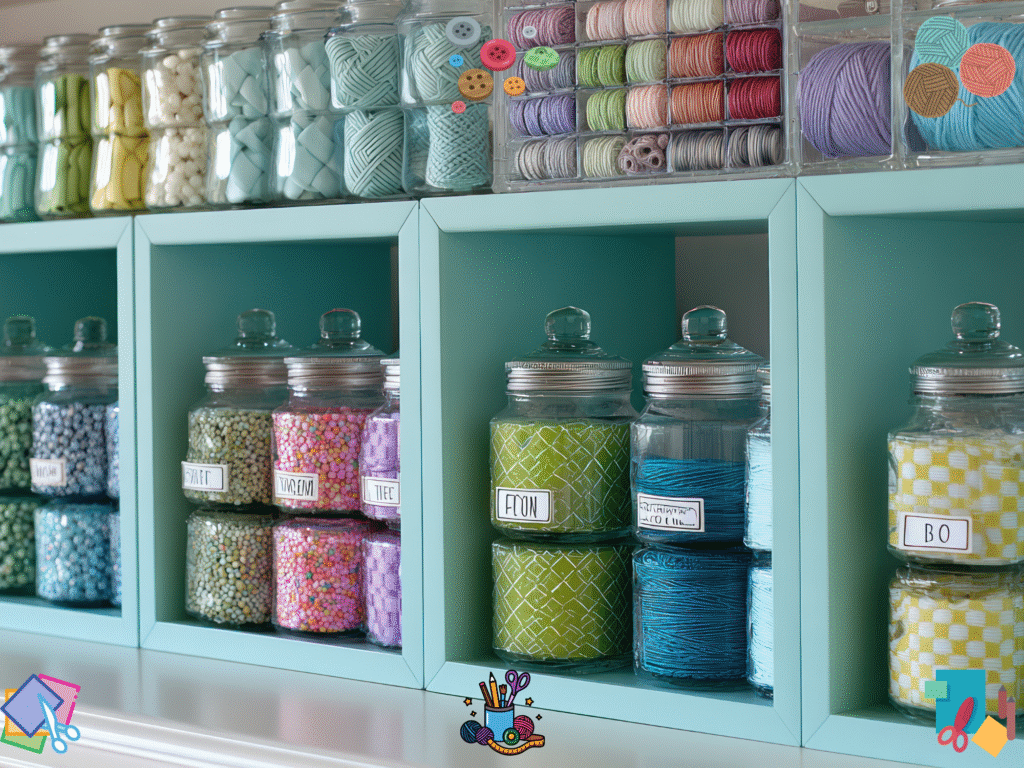
A Home for Every Category
If everything has a home, cleanup is fast. Use broad, simple labels so you can file items in seconds. Try labels like Fabric, Scraps Small, Scraps Large, Thread, Adhesives, Paper, Vinyl, Paint, Brushes, Markers, Hardware. Do not over sort. Clear categories beat perfect systems you never use.
For a quick overview of zone planning that suits small rooms and sewing stations, see this starter guide: The Sewing Triangle Interactive Template.
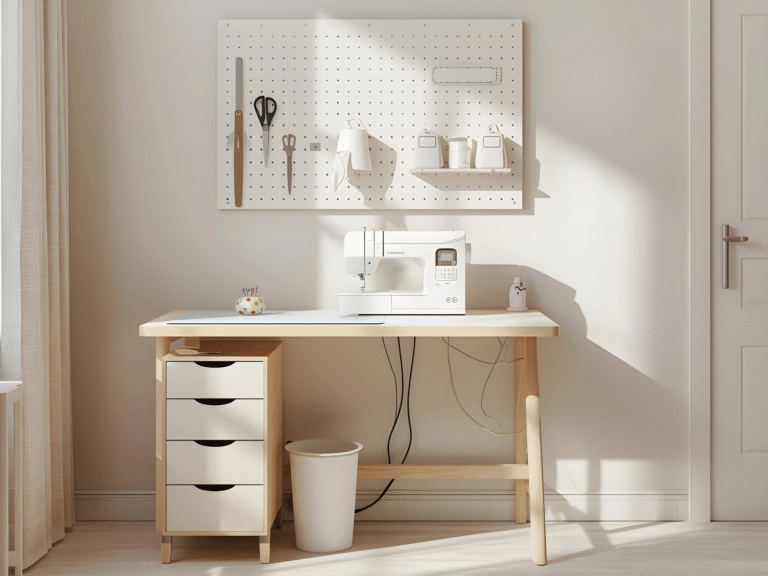
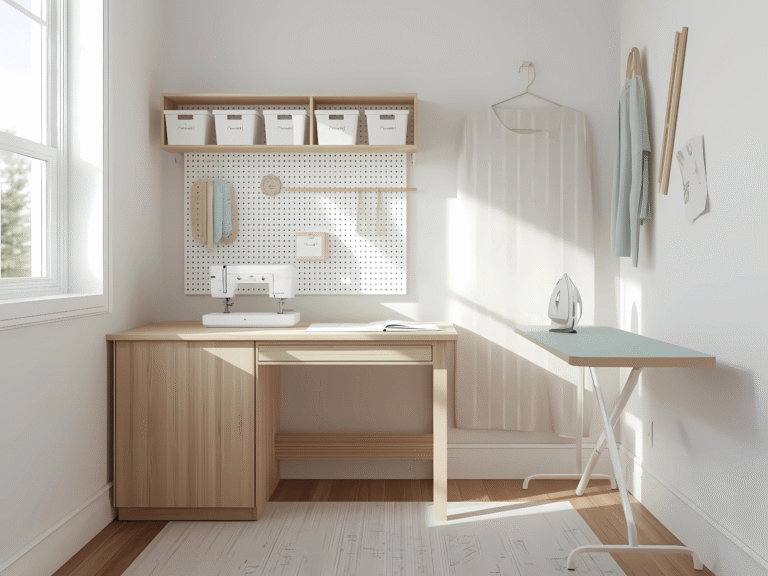
Keep Your Layout Tight and Safe
Check your layout each season. Your cutting station, sewing station, and pressing station should be close. Less walking means less mess drift. Keep cords tidy and well away from paths. Replace dull rotary blades and bent pins. This keeps you safe and keeps surfaces clear.
If you want a simple explainer on safe tool care and a clean work zone check out The Spruce Crafts.
Daily Micro Tasks That Stick
Make tiny tasks part of your craft room daily habits.
- Wind two bobbins before you stop.
- Toss thread nests and empty scrap wrappers.
- Refold one stack.
- File one printed pattern.
- Wipe the needle plate and brush out lint.
Tiny tasks stop small messes from becoming big ones.
The Sunday Reset
Use 15 to 30 minutes on Sunday to set your week up. Look at your project list. Pick one main project and one mini project. Lay out only the supplies for these. Put everything else away. This focus limits spread and helps you finish more.
A Simple Trash and Recycle Flow
Keep three containers within reach.
- Trash. For tiny bits, threads, dull blades in a safe case.
- Recycle. For paper backing, clean cardboard tubes.
- Reuse. For good scraps you will use soon.
If you wonder what can be recycled or reused, the EPA has tips for materials and textiles: EPA Reduce, Reuse, Recycle.
Mindset Shifts That Make It Last
Your space reflects your habits. Here are gentle shifts that help you keep sewing space clean for the long run.
- Done is better than perfect. A quick clear is better than no clear.
- Start small. Two minutes counts.
- Use fewer projects at once. Multitasking spreads clutter.
- Celebrate the reset. Say out loud, I close my station now. This cue helps your brain switch modes.
If your room blows up after a big push, do not give up. Go back to the two minute reset. Then add one small task. Momentum returns fast.
Quick Fixes for Common Problems
- Piles on the table. Add a vertical sorter for current projects. One slot per project. Only three slots.
- Lost scissors. Add a hook by the machine. Always return them there.
- Scraps everywhere. Keep one small bin for current color family. When it fills, sort and store or use for a scrap project.
- Overflowing stash. Pause buying for 30 days. Make three fast makes with what you have.
For a gentle step by step rescue plan when things feel messy again, use this simple room reset guide: Craft Room Reset.
A Short Daily Checklist You Can Print
- Two minute reset before you start.
- Tools back, surfaces clear, project parked, floor sweep after you finish.
- File one thing.
- Toss one thing.
- Wind two bobbins or prep two needles.
Pin this near your table. Check off as you go. These are small staying organized tips for crafters that add up.
Why This Works
This system works because it is simple and repeatable. You do not need to wait for a full weekend to clean. You will maintain organized craft room standards with tiny steps woven into your making. You save time because tools are where you expect them. You save money because you use what you own. You enjoy your hobby more because your space supports you.
If you want more support with work zones and daily flow, this clear layout helper is a good next step: First Sewing Corner Planner.
Free Keep Your Craft Room Tidy Planner
Download the free, easy-to-use template in the link below to make life a little easier for you as you start your fast crafting journey:
Final Word
Your craft room can stay tidy. Use a two minute reset. End each session with four simple steps. Do a weekly tidy and a monthly stash review. Set buying rules that protect your space. Keep your layout tight. Build micro tasks into your day. These craft room daily habits make it easy to keep sewing space clean and happy. With steady practice, your space will work for you, not against you. And when life gets busy, your small habits will hold the line.