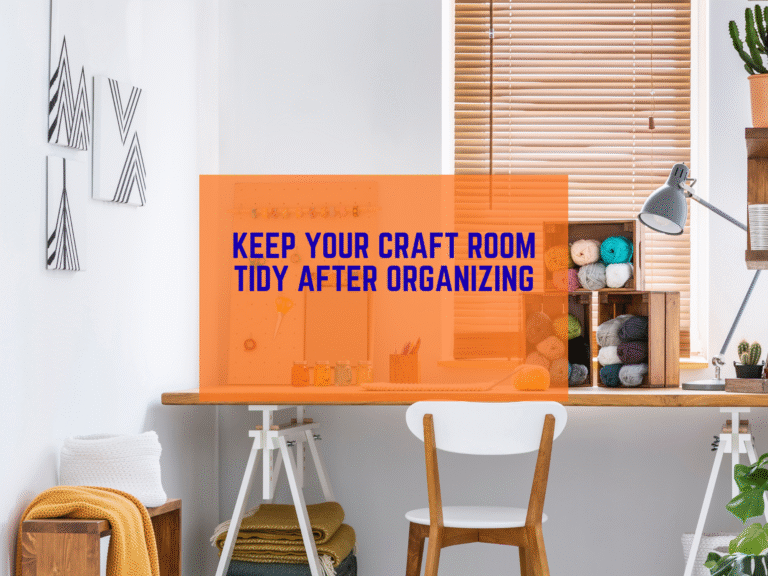
If you love making things but hate the mess, you are not alone. I have felt that stress too. The good news is you can set up craft storage without buying expensive furniture. In this guide, I share diy craft storage ideas that use simple tools and low cost materials. These tips work for small spaces and tight budgets. You will learn easy builds like a washi tape holder from tension rods, a ribbon dispenser from a shoe box, and a pallet turned into a vertical rack. Use what you already have, add a few cheap parts, and make craft room organizers that fit your space.
Before we start, grab our free planning helpers on Trusti ASG. They will help you measure your space, set a quick budget, and stay on track.
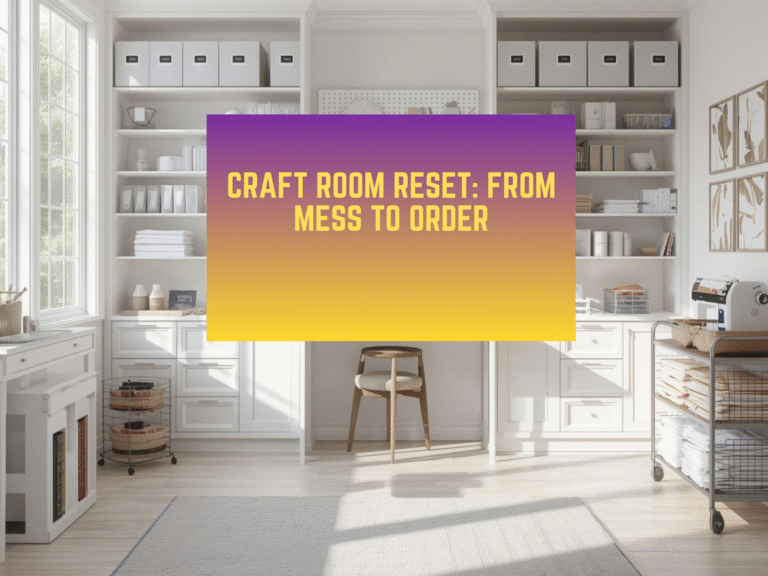
Step 1: Clear and sort by category
A tidy space starts with less stuff. Do a fast sort. Pull out paper, fabric, yarn, paints, and tools. Keep what you love and use. Donate or recycle the rest. If you want a simple way to sort, read about tidying by category from the KonMari Method. It teaches you to group items by type first, not by room, which makes choices easier. You can learn the idea here: Tidy by Category, Not by Location.
Step 2: Make a simple zone plan
Give each hobby a home. Sewing in one area. Paper crafts in another. Paints and brushes in a third. When each group has a spot, you waste less time looking for things. If you need help mapping zones, see our quick guide on setting up a simple craft corner. A zone plan makes organizing a craft room on a budget much easier.
DIY Build 1: Tension rods for washi tape and ribbon
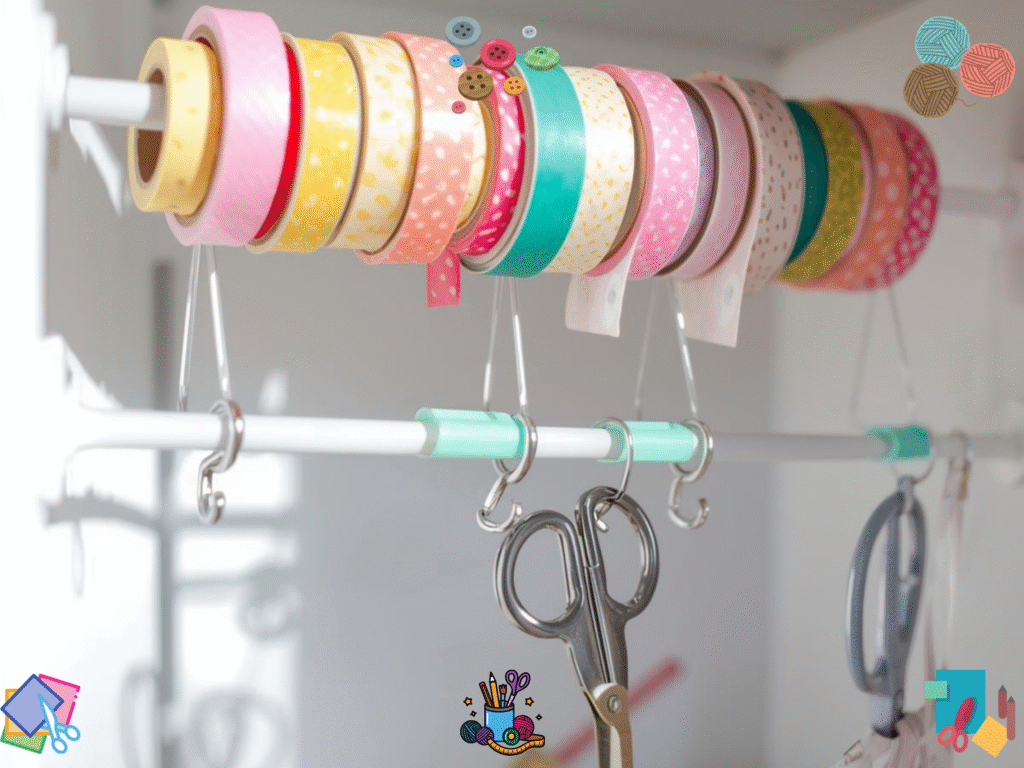
Why it works: Tension rods are cheap and fit inside cabinets, shelves, or a small bookcase. You can slide washi rolls and ribbons right on the rod.
What you need: 2 tension rods, small S hooks if you want to hang scissors or thread.
How to do it:
- Measure the inside width of the shelf or cabinet.
- Twist the rod to fit snug between the sides.
- Slide on washi tape rolls, ribbons, or thread cones.
- Add S hooks to hang small tools.
Want more ideas for tension rods around the house, like drawer dividers or spray bottle racks? See this short guide from The Spruce with creative uses for rod.
This quick win is one of my favorite diy craft storage ideas because it takes minutes and costs less than lunch.
DIY Build 2: Ribbon dispenser from a shoe box
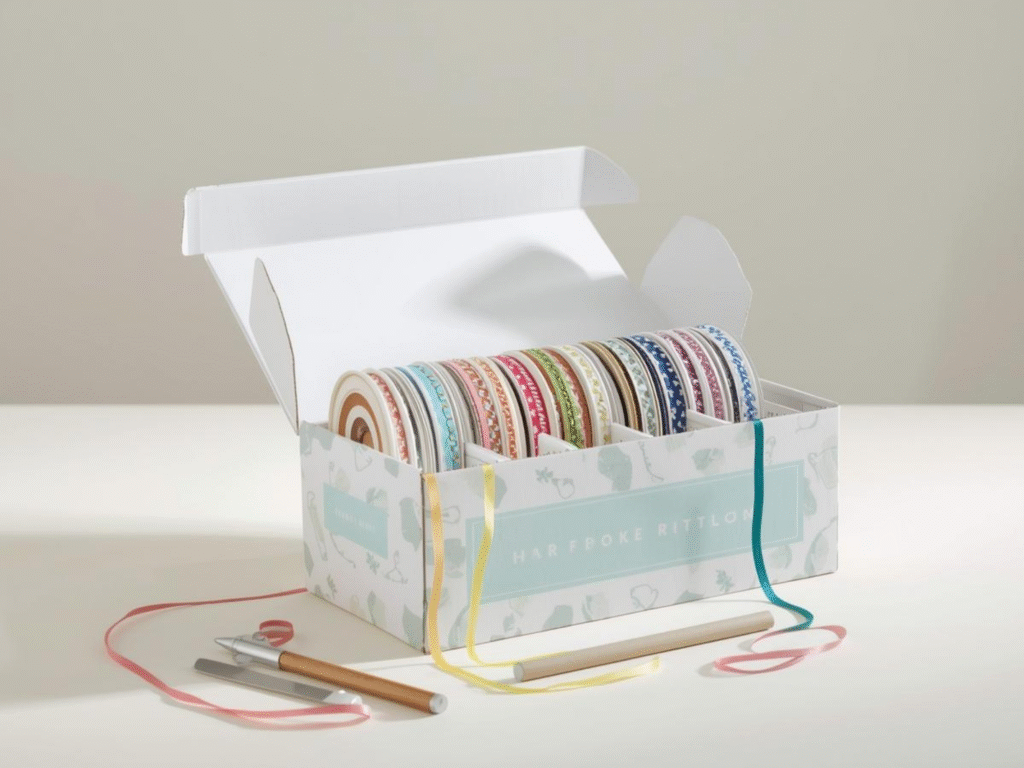
Why it works: A simple box keeps ribbon neat and easy to pull. You can see colors at a glance and cut without the rolls rolling away.
What you need: A shoe box with lid, pencil, craft knife, small dowel or a spare rod, tape.
How to do it:
- Mark dots along one long side of the box where the ribbon ends will come out.
- Use the knife to cut small X slits.
- Put the ribbon rolls on a dowel or rod and set it inside the box so rolls spin freely.
- Feed each ribbon through a slit. Close the lid.
Martha Stewart shared this classic hack years ago and it still works great today. Here is a quick write up that mentions the idea.
DIY Build 3: Pallet into a vertical storage rack
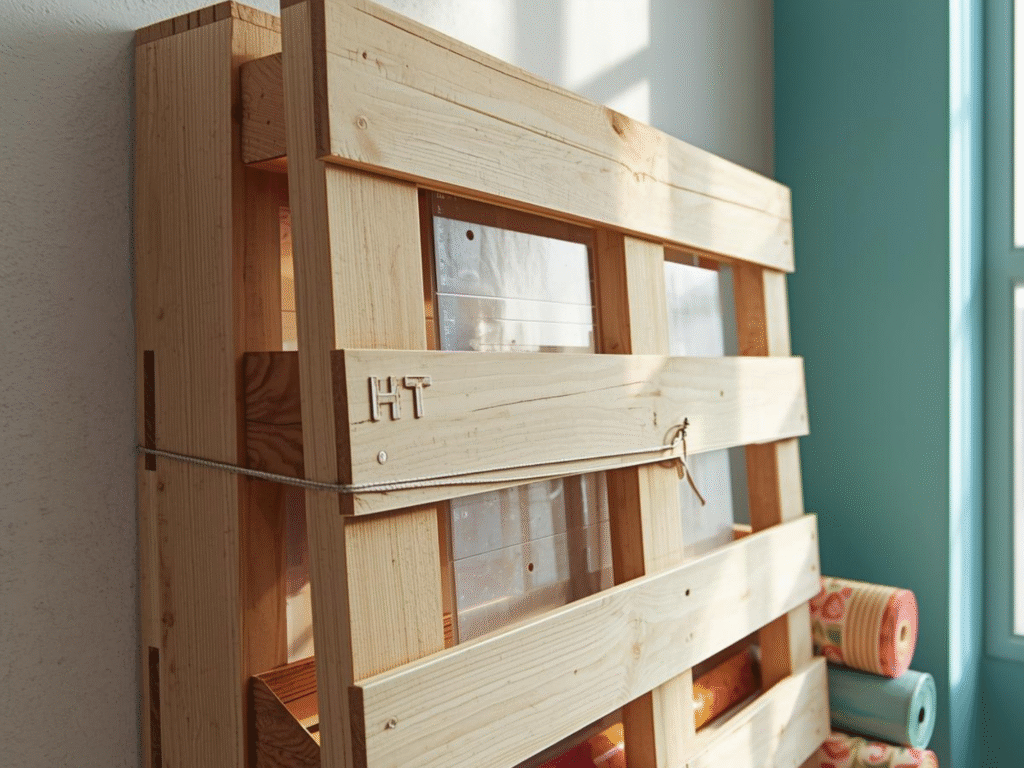
Why it works: A pallet gives you tall storage for cutting mats, large rulers, canvas boards, even rolls of wrapping paper. Stand it upright and you gain storage without taking much floor space.
What you need: One heat treated pallet, sandpaper, screws, L brackets to secure to the wall, optional casters if you want it mobile.
Safety first: Look for the ISPM 15 mark with HT on the pallet. HT means heat treated, not chemical treated. The official mark uses the IPPC logo, a country code, a facility number, and HT. You can see what the mark looks like on the USDA APHIS page about wood packaging rules.
How to do it:
- Sand the pallet so it is smooth.
- Stand it vertically and anchor it to a wall stud with L brackets.
- Slide mats and boards into the slats. Add a small bungee if you need more hold.
This is a strong budget craft room upgrade that costs little or nothing if you find a safe pallet.
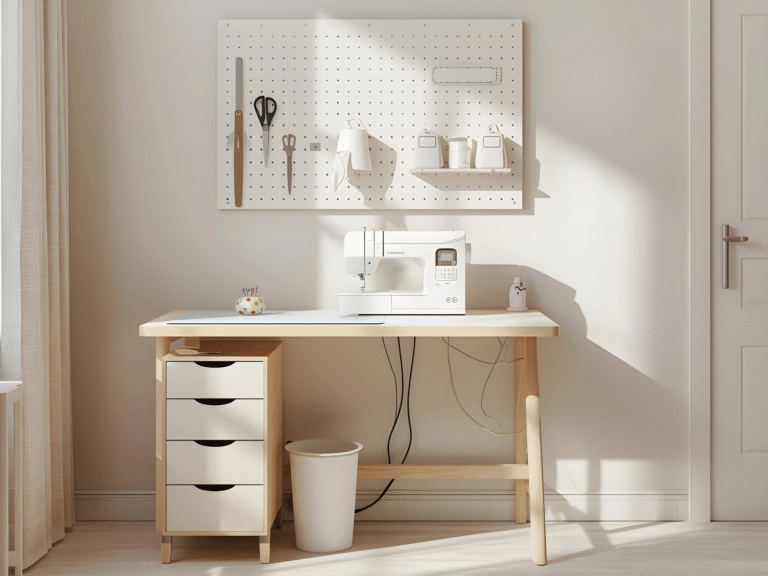
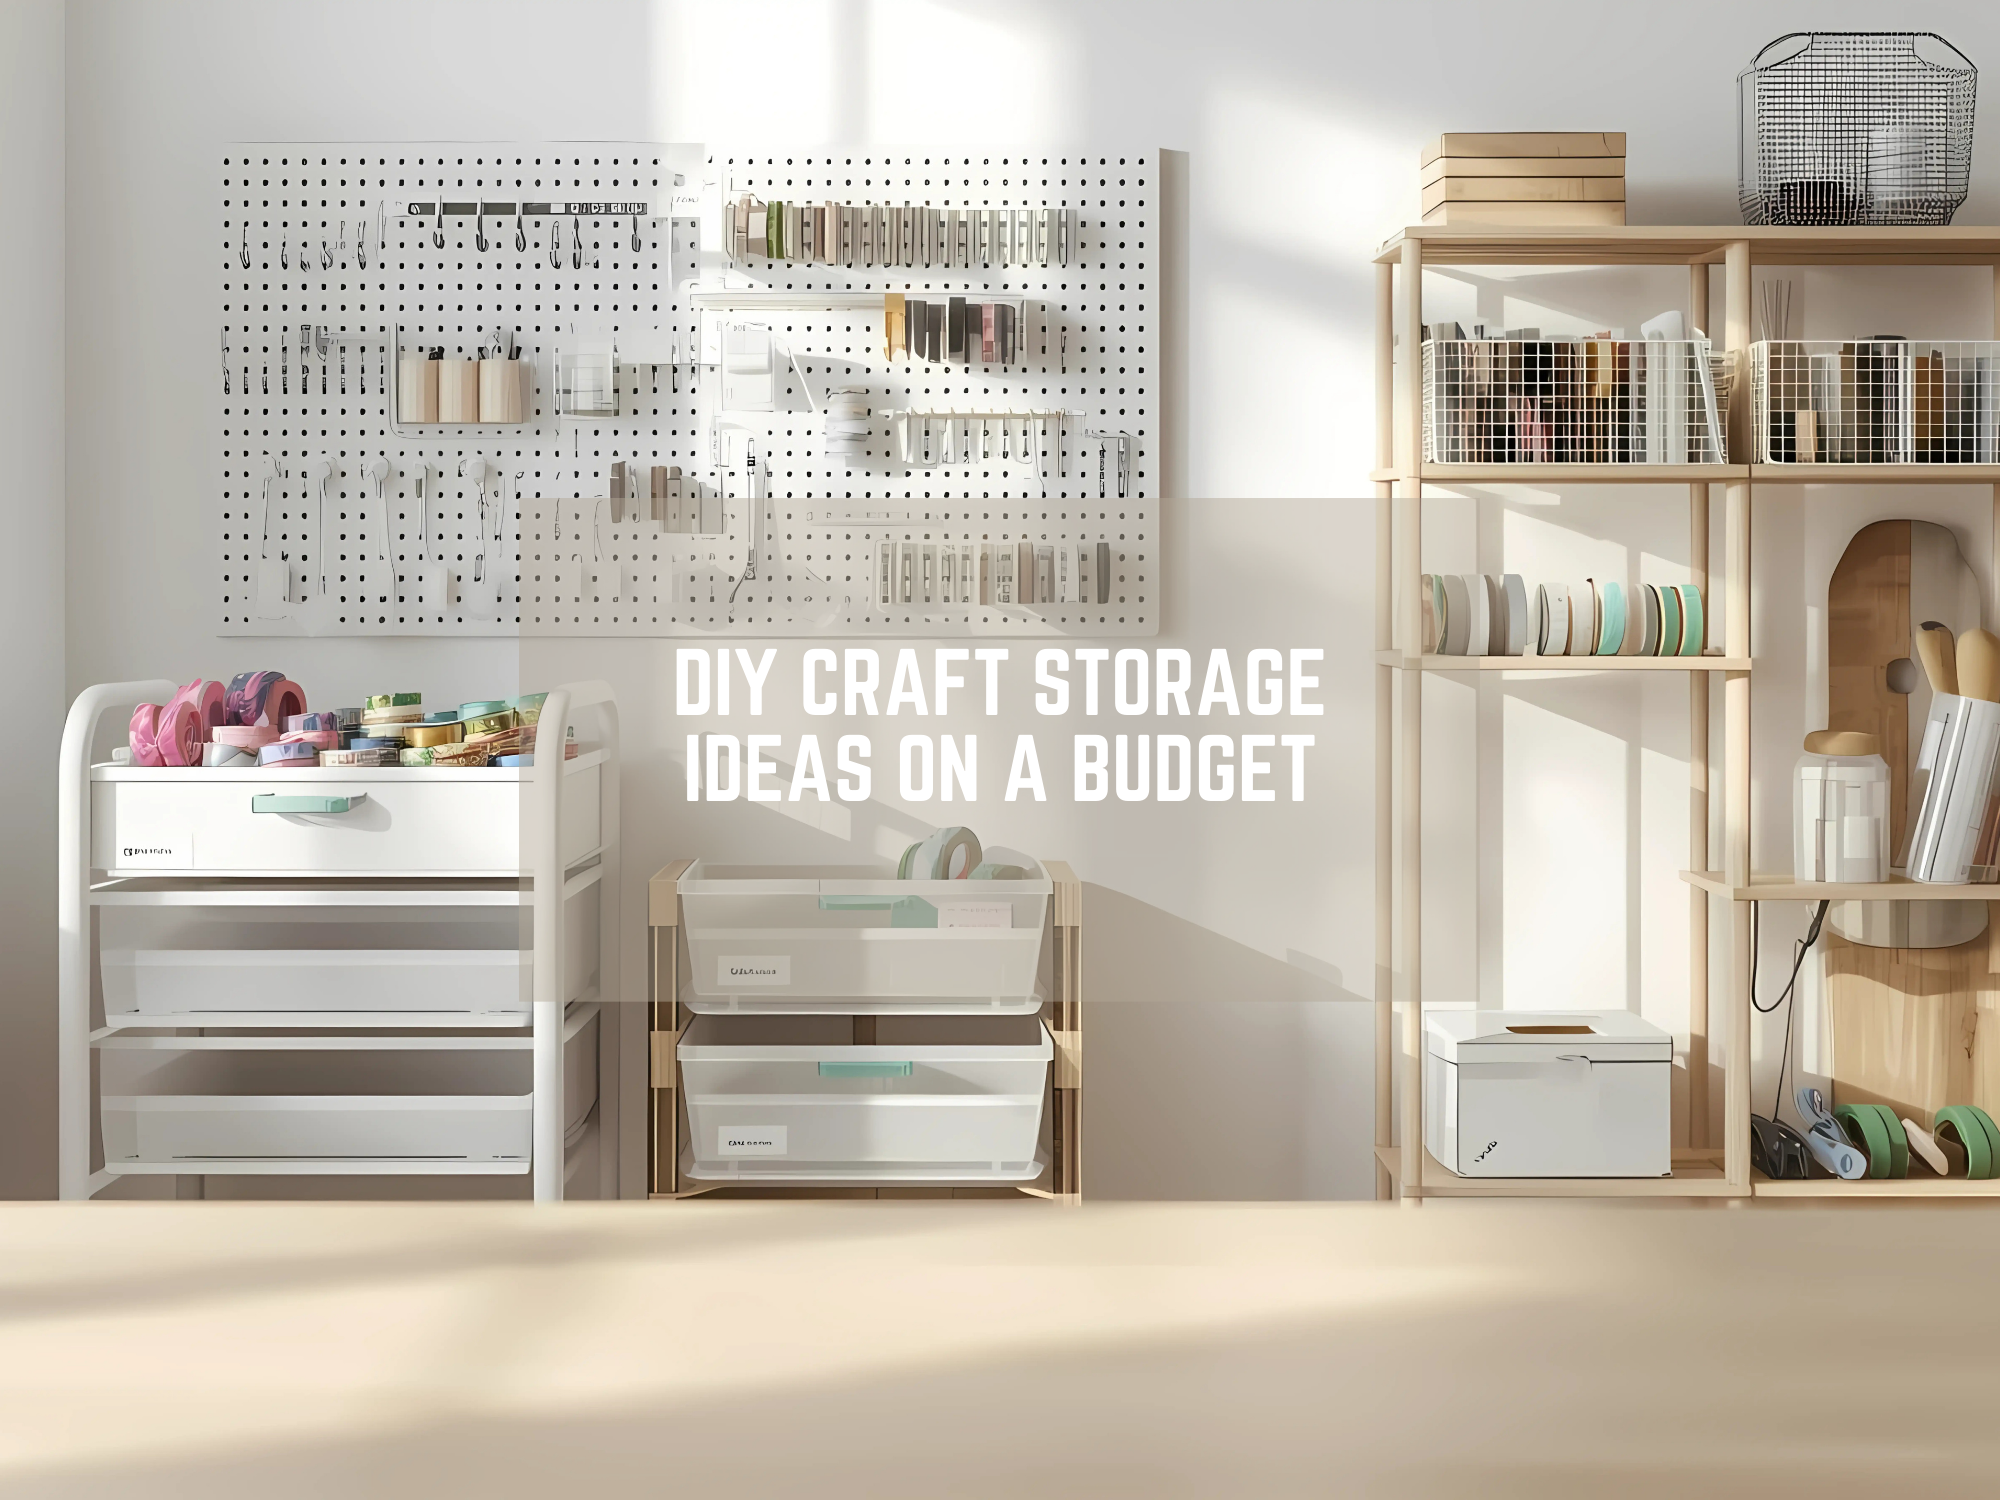
Wall storage that multiplies space
A wall can hold a lot. If you can spare one wall, install a pegboard. Use hooks, baskets, and shelves for scissors, tape, brushes, and rulers.
How to do it: Cut a standard hardboard pegboard to size, mount furring strips to create a gap, then screw the pegboard into the strips. Home Depot has a simple step by step guide here: How to Hang a Pegboard.
Pegboard is a smart core of any budget craft room ideas list. It scales with your hobby as you add more tools.
Rolling cart for a small space studio
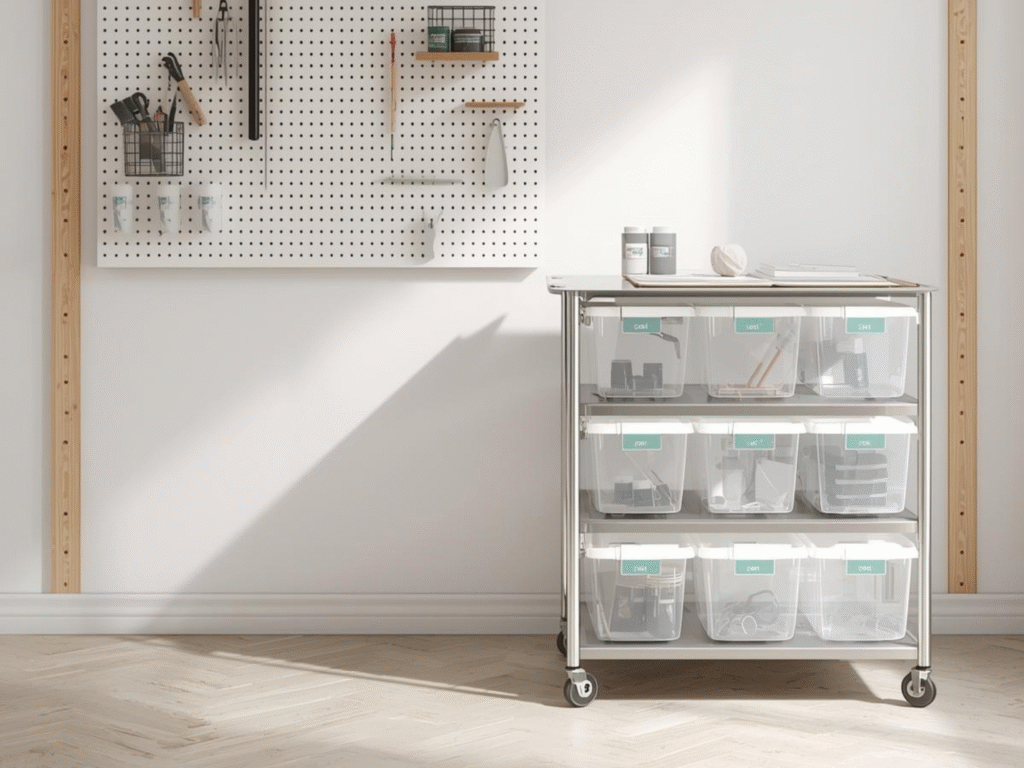
A narrow rolling cart turns any corner into a craft station. Load the top with your current project. Use the middle for tools and the bottom for bins. When you need the table for dinner, roll the cart to a closet.
Many crafters like the compact metal cart from IKEA. It fits in tight spots and moves well. You can see it here: RÅSKOG Utility Cart.
Any sturdy cart with three tiers will do. This is a simple way to add craft storage when you have no room for a big cabinet.
Clear bins and labels that actually help
Clear bins make it easy to see what you have and stop you from buying duplicates. A popular size is the 6 quart box that fits on most closet shelves. Sterilite lists the dimensions and stacking tips on its product page: 6 Qt Storage Box.
Make quick labels with painter tape and a marker. Keep labels short, like “Blue Thread” or “Cardstock.” Group bins by hobby zone. These small wins are core to organizing a craft room on a budget.
Five more diy craft storage ideas you can do today
- Magazine files for fabric and patterns. Fold fat quarters or store printed patterns upright so you can flip and find fast.
- PVC pipe tool caddy. Cut short lengths, glue them inside a shoe box, and stand brushes or crochet hooks in the tubes.
- Over the door shoe organizer. Clear pockets hold stamps, punches, markers, and glue.
- Clipboard wall. Hang a row of clipboards to display current patterns or color swatches.
- Baskets on hooks. Use small baskets on wall hooks for yarn cakes and thread cones. They act like simple craft organizers you can rearrange any time.
Layout ideas for a tiny room
You can build a smart setup in a closet, hallway, or nook. Try this simple plan.
- One wall for vertical storage. Pegboard or skinny shelves.
- One rolling work surface. A cart or a small fold down table.
- One clear bin tower. Pick three or four sizes that stack well.
- A small “in progress” basket. Only one. It keeps your desk clear.
If you want a printable to map your space, use our free worksheet on Trusti ASG. It includes a one page room sketch and a bin checklist. It pairs well with these craft room ideas on a budget.
One hour quick start plan
You can make real progress in one hour. Try this.
Minute 0 to 10: Pick one category like markers or thread. Toss dried markers or empty spools.
Minute 10 to 20: Set up a tension rod for washi and ribbon in a cabinet.
Minute 20 to 40: Build the shoe box ribbon dispenser.
Minute 40 to 60: Put tools on the wall or load a rolling cart.
This short sprint builds momentum. When you see a little order, you will want to keep going.
Free DIY Craft Storage Planner
Download the free, easy-to-use template in the link below to make life a little easier for you as you start your fast crafting journey:
What to buy first when money is tight
Start with low cost parts that do a lot of work.
- 2 tension rods
- 1 pack of S hooks
- 6 to 12 clear 6 quart bins
- Painter tape and a marker
- One sheet of pegboard with a few hooks
These basics support most craft room organizers you need. Add more as your space grows.
Why this saves money
Custom storage can be pricey. These diy craft storage builds let you change your setup as your hobbies change. You only buy what helps today. You make organizers that fit your shelf widths and your tools. You also avoid buying duplicates because you can see what you own. That is the heart of budget craft room planning. Small, clear steps shape a room that works hard for you.
If you want more simple systems, see our budget series on Trusti ASG. It includes checklists, mini planners, and fast tips for weekends.
Final thoughts
Getting organized does not need fancy furniture. With a pegboard, a few rods, clear bins, and a rolling cart, you can build in a way that lasts. Start with one shelf or one wall. Use these diy craft storage ideas to shape a space you enjoy using. Keep your plan simple, your zones clear, and your tools easy to reach. That is how you create craft storage that fits your life and your budget.