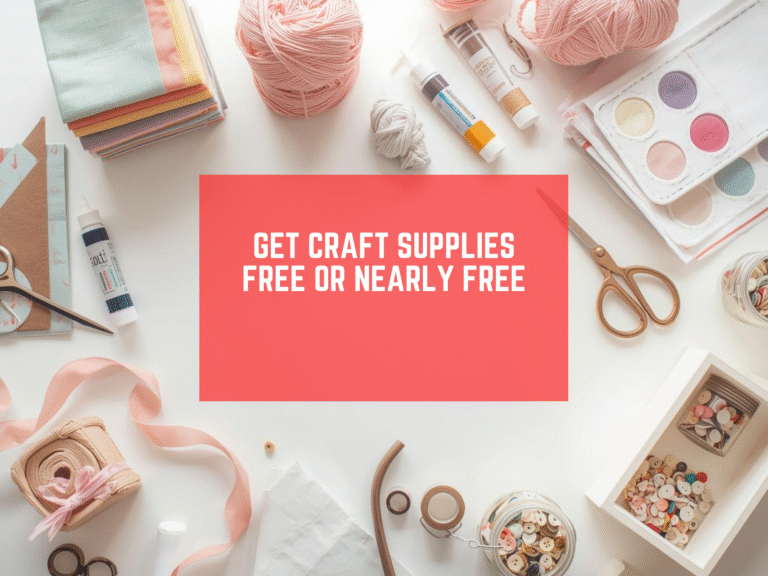
You do not need expensive gear to make beautiful work. I craft and sew in a small space, and I use simple items every day. This guide shows easy swaps for common craft tools, how to set up a cheap craft table, and how to build a tiny diy tool cart. I also share a short list of cheap crafts you can make tonight. My goal is simple. Help you get great results with cheap craft supplies and things you already own.
Along the way, I link to helpful outside resources and to our guides at Trusti ASG so you can keep learning.
Why low cost tools work
Good projects come from clear steps and steady hands, not from price tags. When you understand what a tool does, you can find a simple stand in. A tool presses, marks, cuts, holds, or measures. Many household items can do the same job.
I keep a small kit on my shelf. It holds cheap craft supplies, a few sturdy cutters, and a couple of smart substitutes. I can pull it out fast and put it away fast. This keeps my craft time calm and fun.
Build a cheap craft table in 15 minutes
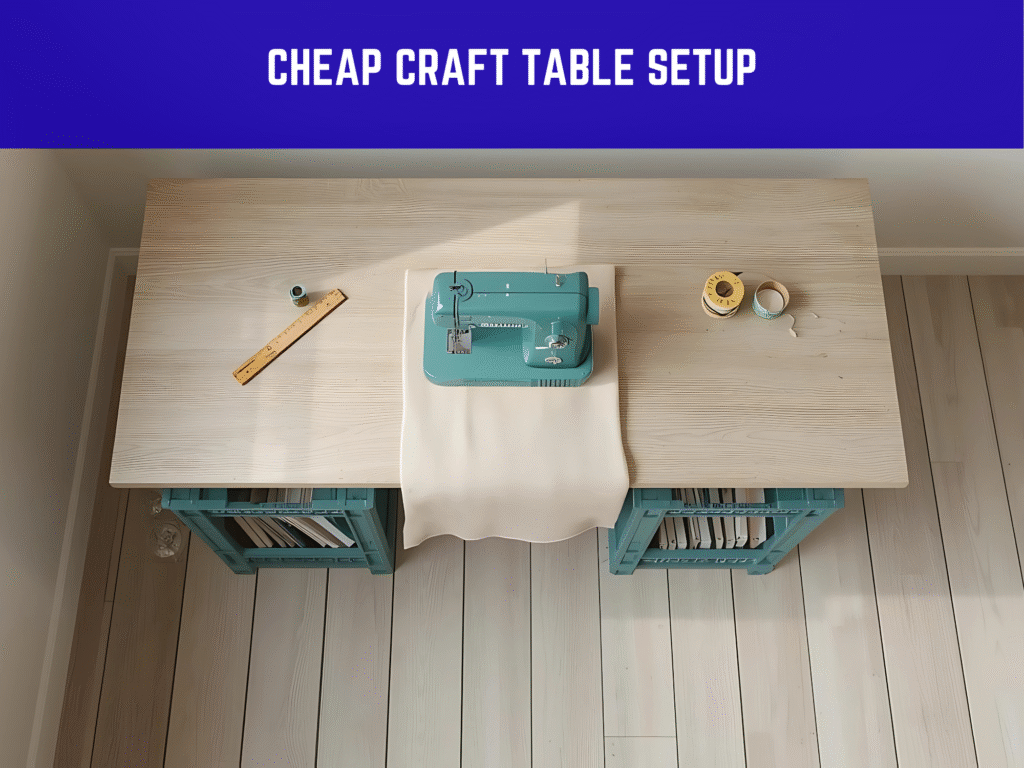
You can set up a cheap craft table with parts from your home or a thrift store.
What you need
- One flat top, like a smooth old door or a large cutting board
- Two stable bases, like plastic crates or short bookshelves
- A mat or old towel to protect the surface
Steps
- Place the bases about two feet apart.
- Set the top across both bases.
- Add the mat or towel on top to reduce slide and noise.
- Sit or stand, and test the height. If it is too low, add books under the top.
You now have a cheap craft table you can take down in minutes. I often find doors, shelves, or crates at a local Habitat ReStore. You can also check thrift shops and yard sales. This setup is strong enough for cutting and gluing. If you sew, put your machine on the center so it does not wobble.
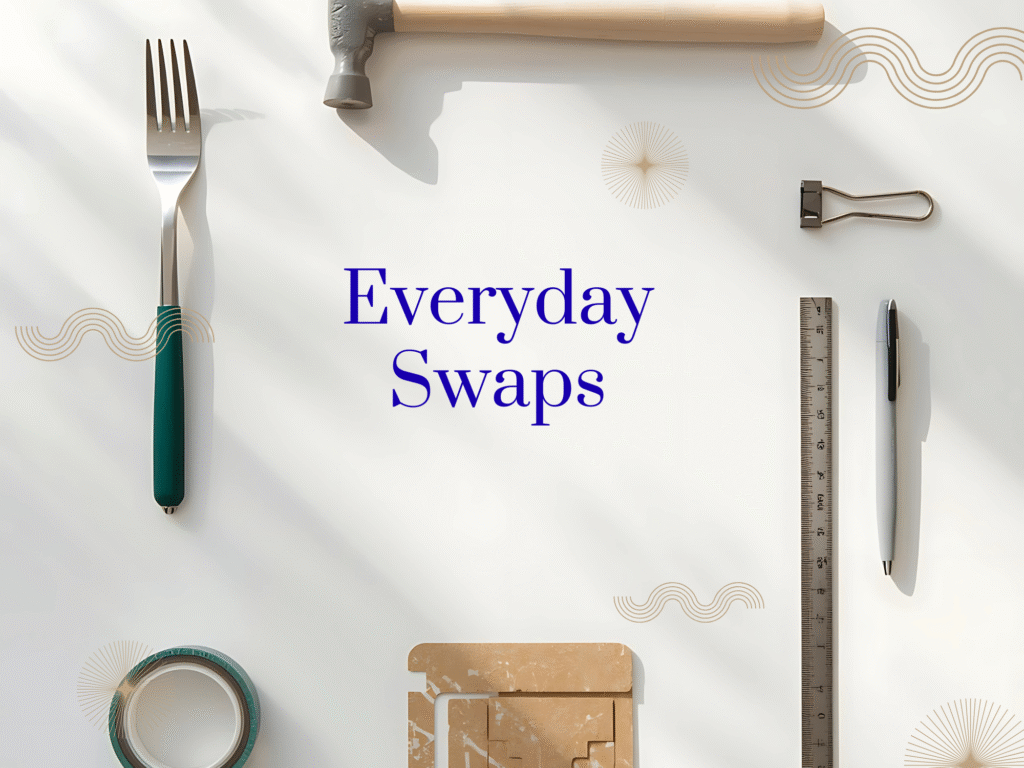
Everyday swaps for common craft tools
These simple swaps save money and still give clean results. Use care and test on scraps first.
- Mark stitch spacing with a fork. Line up the fork tines on your fabric edge and press to mark even dots. For thicker leather or card, a simple awl makes starter holes.
- Use a rubber mallet from the hardware store to press snaps or flatten seams with a pressing cloth. A mallet spreads force in a soft way and protects your work.
- Painter’s tape as a seam or cut guide. Tape is low tack and easy to remove. Place it at the 1 inch line on your machine bed or at a straight cut line on your table.
- Binder clips to hold layers. These grip fabric and foam without leaving holes. Learn about them here: Binder clip.
- Chopstick as a point turner. Turn out corners on pillows or bags with the blunt end. A chopstick is smooth and gentle.
- Old toothbrush as a fabric brush. Lift lint from seams or add gentle texture to painted paper.
- Make a scoring tool with a ballpoint pen that has no ink or use a plastic gift card to crease paper like a bone folder. See how a bone folder is used here: Bone folder.
- Cosmetic sponge as a paint dauber. Dab on crisp stencils without buying special foam tips.
- Cereal box cardboard for templates. Trace shapes again and again without bending.
- Measuring tape and painter’s tape instead of a specialty edge guide. This keeps lines straight on long cuts.
These swaps can stand in for many craft tools. Start with cheap craft supplies you have now. Add a single new item when it truly helps.
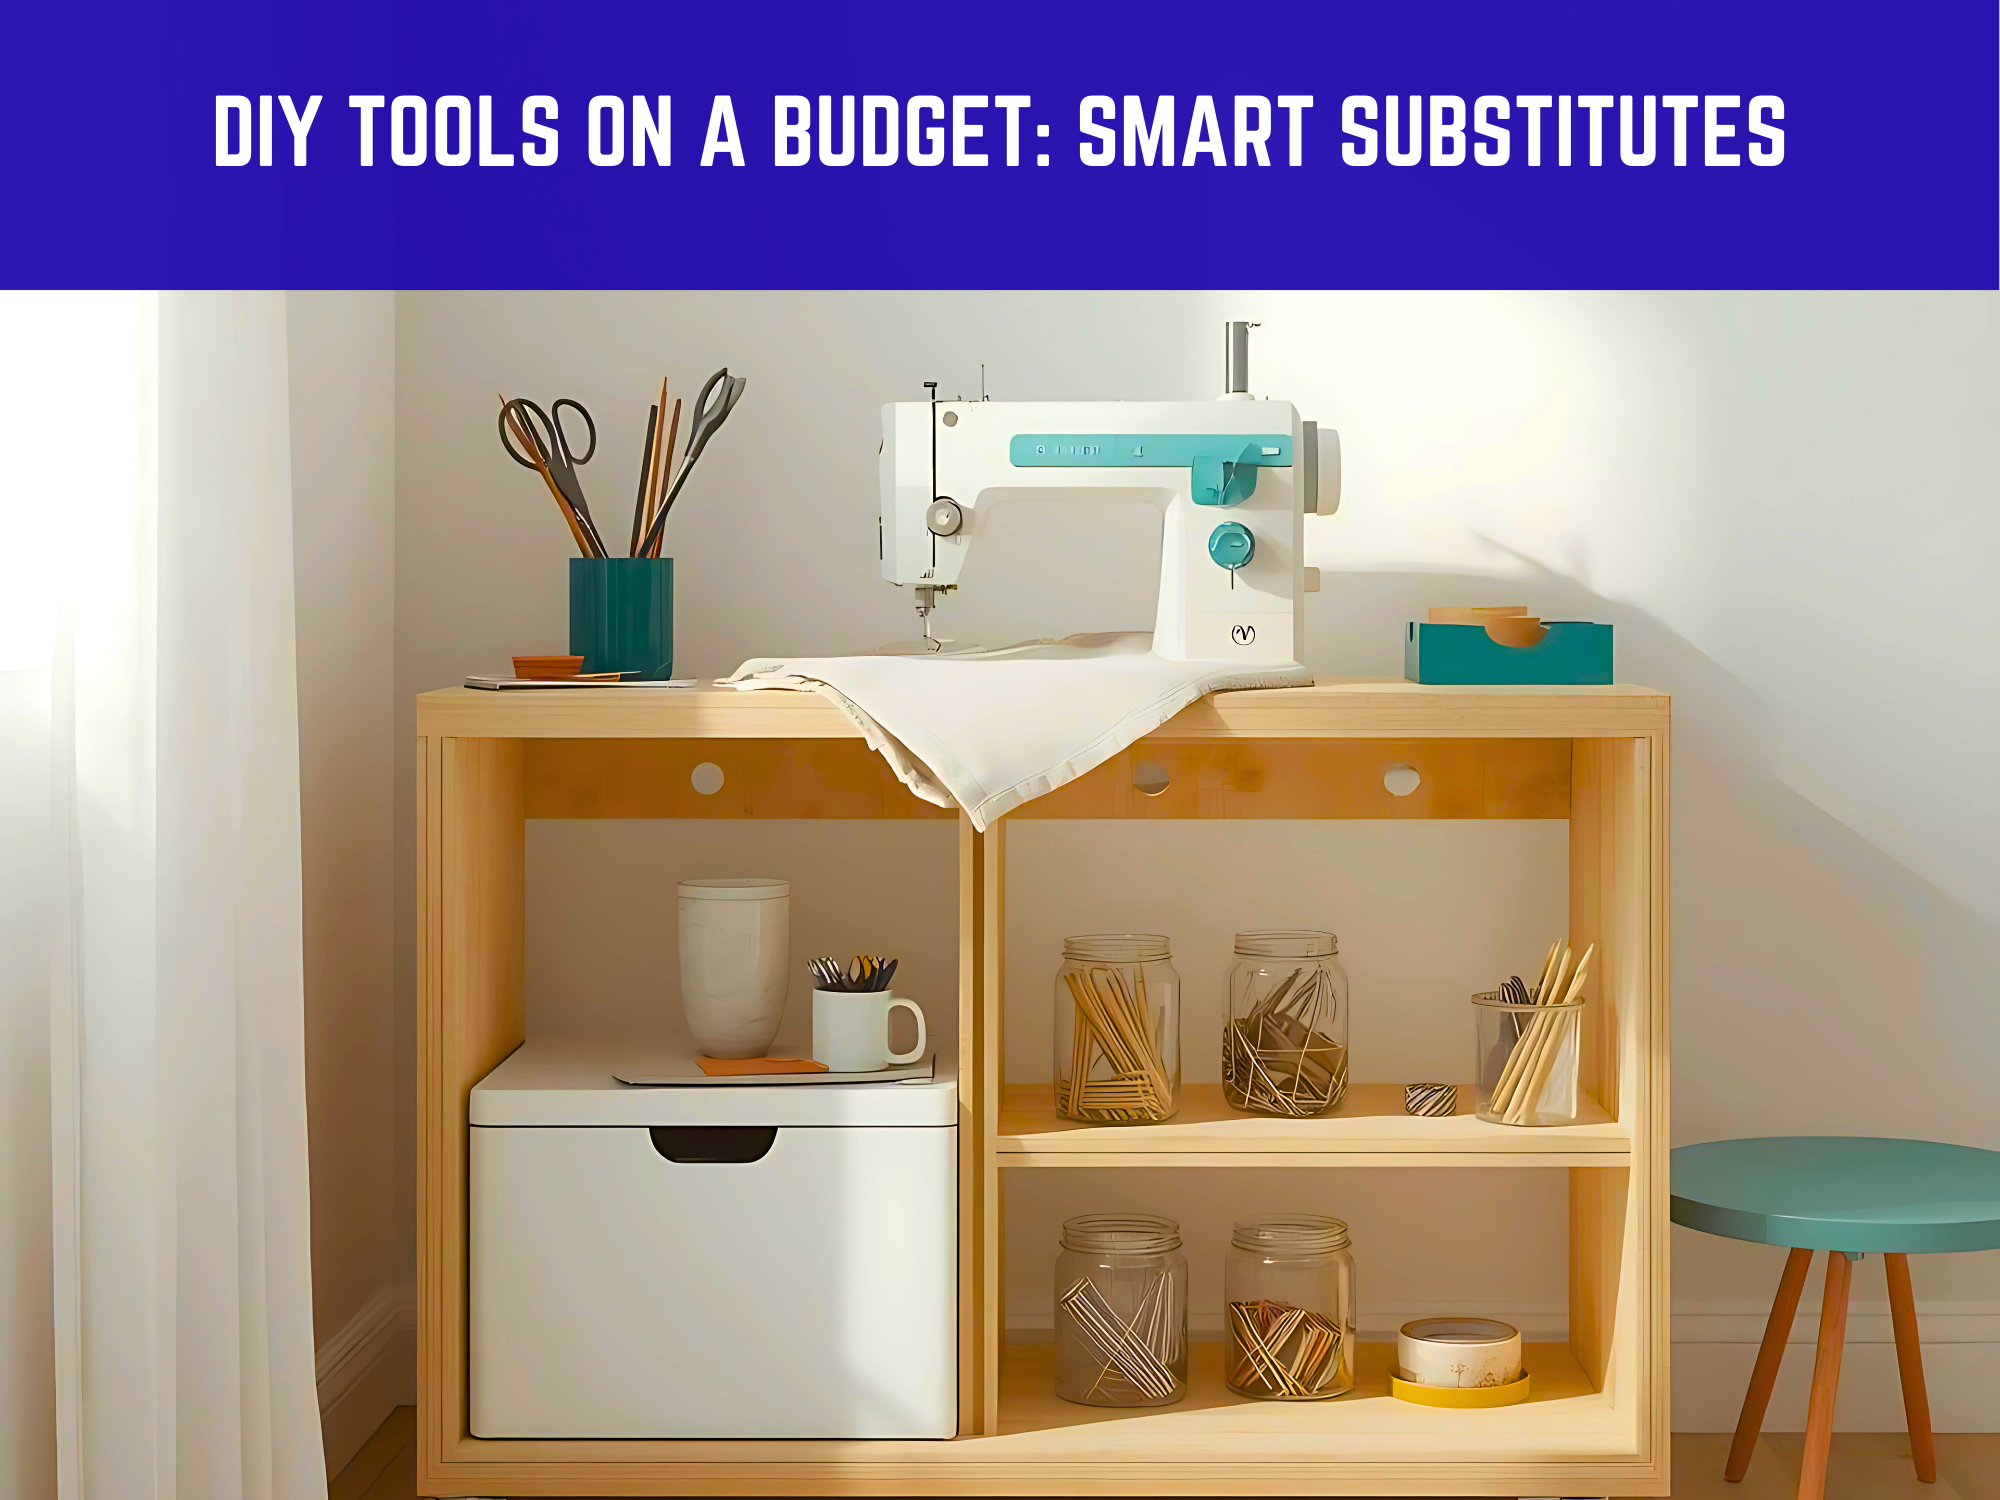
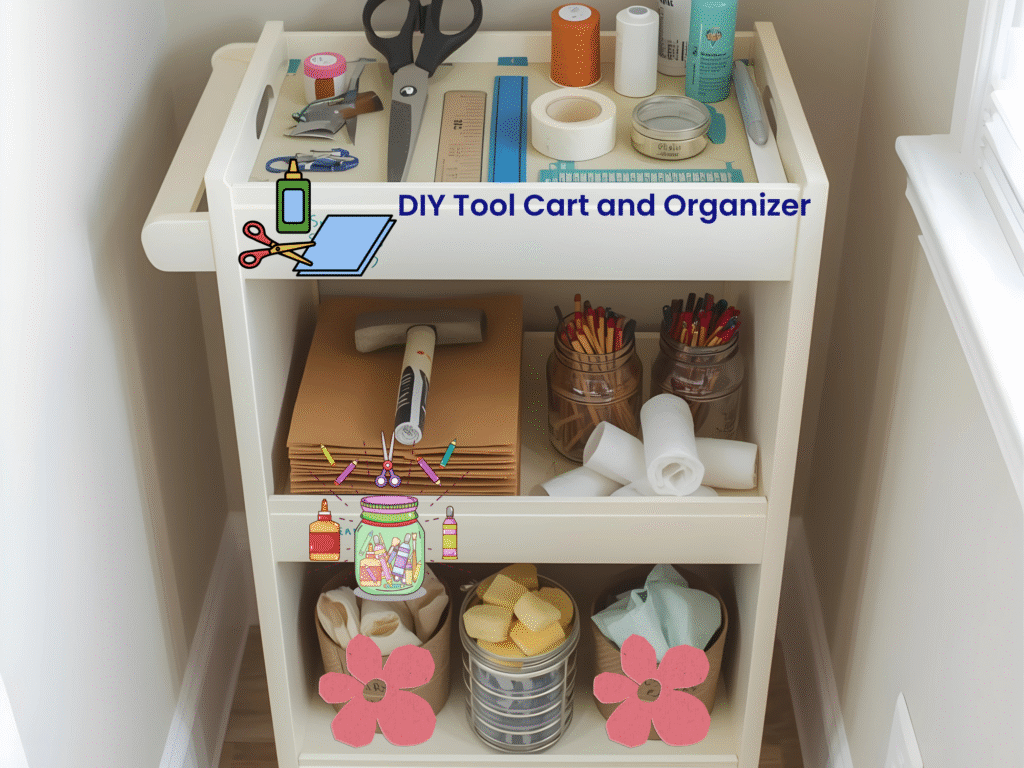
Set up a mini diy tool cart
A small rolling cart keeps your diy tools close and your room tidy. You can make a diy tool cart with a thrifted bar cart or a basic shoe rack on wheels.
What to stock on each shelf
- Top shelf, daily reach. Small scissors, fabric shears, craft knife with fresh blades, pins, needles, thread, painter’s tape, glue stick.
- Middle shelf, marking and measuring. Rulers, fork for spacing, chalk, disappearing pen, binder clips, cosmetic sponges, chopstick.
- Bottom shelf, heavy or messy. Rubber mallet, cutting mat, scrap cardboard, small bin for cleaning cloths.
Use cans, cups, and food jars as a diy tool organizer. Group items by action, not by type. For example, put all marking tools together, even if they came from different parts of the house. Label shelves with masking tape so the family can help put things back.
If you do not have wheels, a tote works. Load the tote in the same order, top to bottom. This simple diy tool organizer style keeps setup time short.
A beginner’s kit for cheap crafts
You can start strong with a tiny kit. Most of these items cost a few dollars. Many are already at home.
- Fabric scissors and a craft knife
- Small self healing mat or thick cardboard
- Painter’s tape and masking tape
- School glue stick and white glue
- Binder clips and paper clips
- Two rulers, one long and one small
- Fork, chopstick, old gift card
- Rubber mallet or small household hammer with a cloth over the head
- Needle set, basic thread colors, straight pins
- Pencil, chalk, and a ballpoint pen with no ink
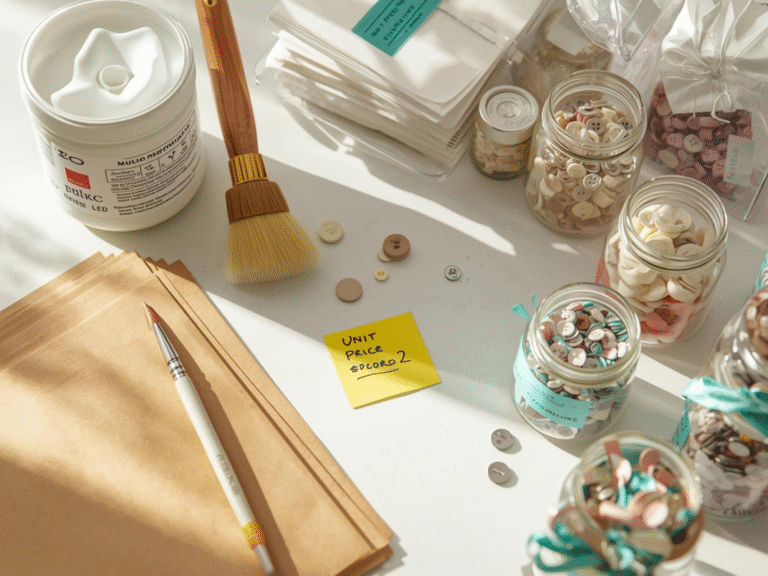
When you need to buy, plan a short list. Buy only what you cannot replace with cheap craft supplies you already have. I keep my list in my phone and shop my home first.
Low cost wins at the sewing machine

You can sew clean lines with a few tricks.
- Tape seam guide. Stick painter’s tape at your seam width, like 5 eighths of an inch.
- Clip instead of pin. Use binder clips on vinyl or leather so you do not leave holes.
- Press without a steam iron. Place a damp cloth and press with a mallet or a heavy book.
- Make a quick edge turner. The chopstick smooths corners and edges.
- Store bobbins in a foam toe separator or on a pipe cleaner loop to stop unwinding.
These tips use common diy tools and give neat results. If you want more small space ideas, visit our guides at Trusti ASG.
Ten cheap crafts you can make tonight
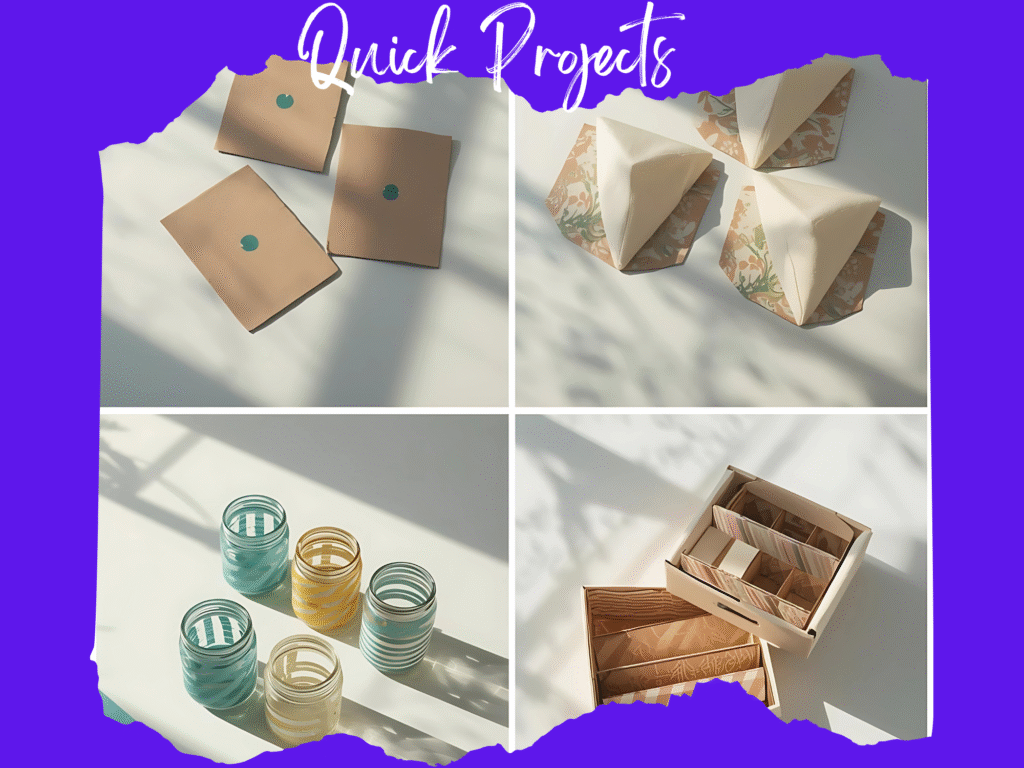
Short on time and cash. Try one of these. They use cheap craft supplies and simple steps.
- No sew fabric coasters. Cut squares, fold edges with glue stick, press with a book.
- Stamped gift tags. Use pencil eraser dots or fork tines for simple patterns.
- Cardboard drawer dividers. Wrap cereal box strips in paper and clip to size.
- Painted jars. Use sponge dabs and painter’s tape stripes.
- Simple tote upgrade. Add a patch or pocket, mark lines with tape first.
- Ribbon bookmarks. Clamp ends with binder clips while glue dries.
- Photo display board. Wrap cardboard with fabric, clip photos with paper clips.
- Stencil tea towels. Dab paint with cosmetic sponges for clean edges.
- Button art. Arrange buttons on cardstock, glue, and frame.
- Felt cord wraps. Cut small shapes, slit the center, and push cords through.
Each project is a cheap craft that builds skill. Pick one and start. You will see how far simple tools can go.
Organize for speed with a Diy tool system
Make your own system so you can craft any day.
- One place rule. Keep your kit in one spot.
- One minute reset. After each session, spend one minute to put items back.
- Label the cart. Use tape and a marker.
- Refill list. Keep a card in your cart for items that run low.
I call this my Diy tool system because it is built by me and for me. You can copy it as is or change it to fit your space.
Free DIY Tools on a Budget Template
Download the free, easy-to-use template in the link below to make life a little easier for you as you start your fast crafting journey:
Safety notes
Use sharp tools with care. Cut on a mat or thick cardboard, not your table. Keep fingers clear of the blade. Tap with a mallet, not a metal hammer on delicate items. Open windows when you use glue or paint. Test on scraps first.
Where to find supplies for less
Start at home. Then check local thrift shops or community sales. You may also find good items at a construction reuse store, like Habitat ReStore. For how a specific tool works, and to learn its real job, I often read simple guides like Awl, Mallet, and Painter’s tape. Knowing the job helps you find a safe stand in.
Final word
You can make more when you spend less. Start with cheap craft supplies at home. Build a simple kit. Try a few swaps for common craft tools and see how well they work. Set up a cheap craft table so you can start fast. Use a diy tool cart with a diy tool organizer so you always know where things are. As you grow, add a tool only when it solves a real problem.