Every crafter hits the same wall. The pile grows. The guilt grows. You want a clean table and a clear mind, but the scraps keep winning. I have been there too. This guide shows how to organize fabric scraps in a simple way that works for beginners. We will sort by size, color, and material. We will store in clear jars or bins. We will also plan small projects, so your scraps turn into wins. When you finish, your scraps will feel like a kit you can use, not a mess you avoid.
Along the way I will share helpful links for quick learning and add a few ideas from our own blog at Trusti ASG.
Quick Plan: Five Steps that Fit in One Afternoon
Here is the short version of how to organize fabric scraps. Set a timer for 15 to 20 minutes for each step. Keep it easy.
- Gather
Bring all fabric scraps to one flat surface. A big bin or laundry basket helps. - Sort by size first
Make four piles:
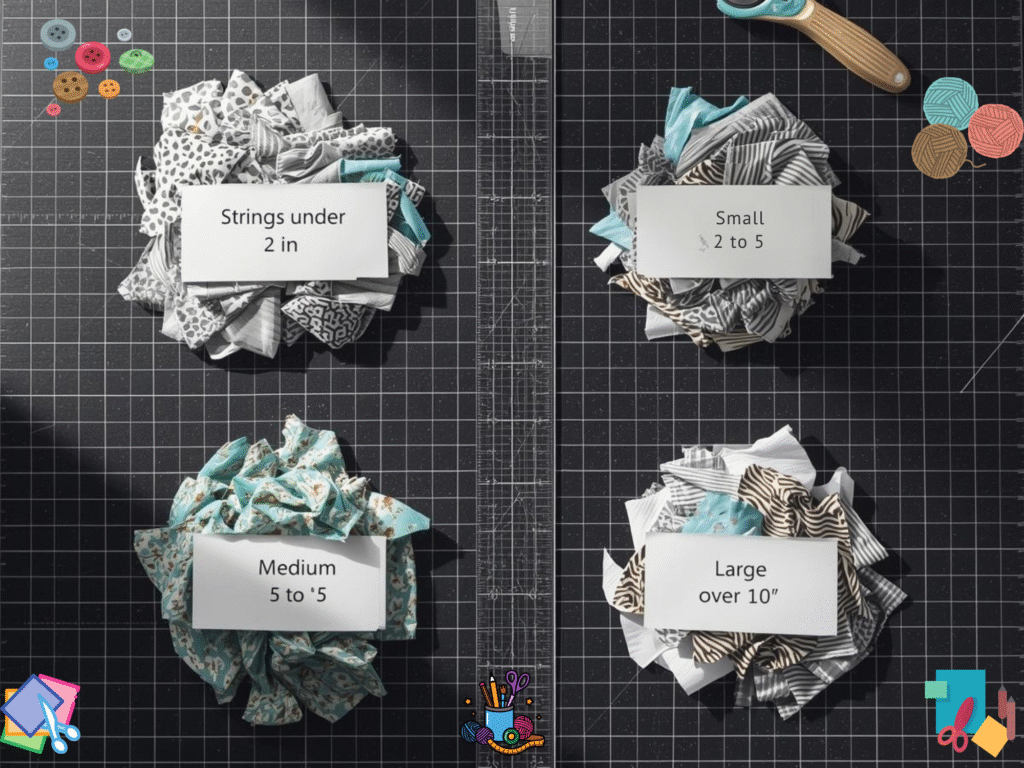
- Strings: under 2 inches wide
- Small: 2 to 5 inches
- Medium: 5 to 10 inches
- Large: bigger than 10 inches or near fat-quarter size
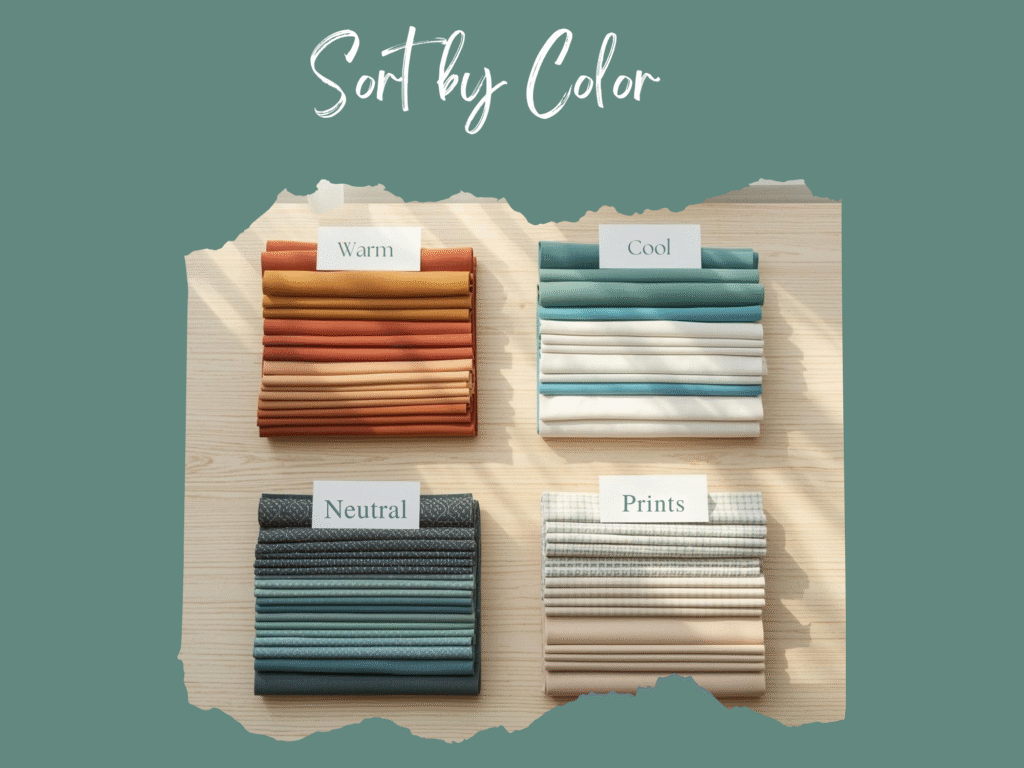
- Sort by color next
Within each size pile, sort into basic color families: warm, cool, neutrals, prints. Do not overthink it. - Sort by material last
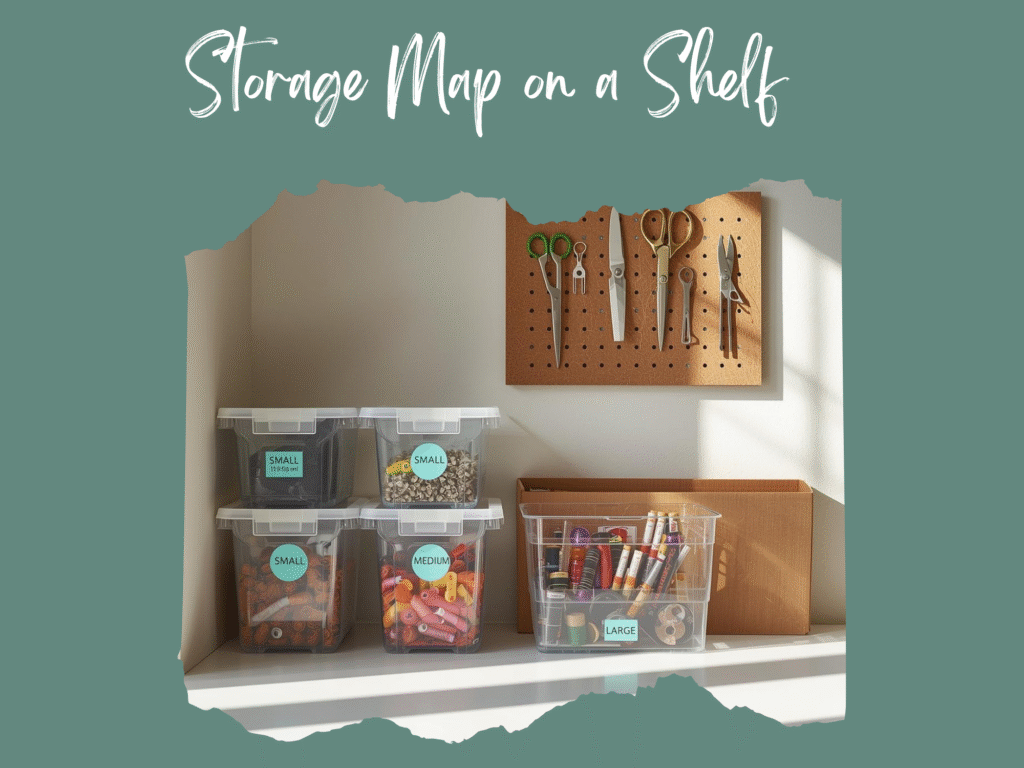
Put cotton with cotton, fleece with fleece, denim with denim. If a piece is a mystery, keep it in a small “unknown” bag until you test or use it. - Store in clear containers
Use clear jars, shoe boxes, or clear bins. Label the front with size and color. This makes shopping your scraps fast.
If you need small space ideas, try our post on craft storage that uses clear containers and labels. It is beginner friendly and shows what to keep on hand.
The Mindset Shift: From Guilt to Ready
Scraps can feel like a mess because they have no plan. When you give them a plan, they turn into ready parts. Think of each bin as a mini kit. “Red strings for a coaster.” “Blue medium squares for a pouch.” This is the heart of organizing fabric scraps. A clear system lowers stress and helps you start fast.
If your sewing area is tiny, this post on small sewing room organization shows how to use shelves, doors, and labels in a smart way.
Label Once, Win All Year
Make simple labels you can read in one glance:
- Size: String, Small, Medium, Large
- Color: Warm, Cool, Neutral, Multi
- Material: Cotton, Fleece, Denim, Knit, Unknown
Write the label like this: “Small Cool Cotton.” If you use jars, stick the label on the side, not the lid, so you can see it on a shelf. For a full craft closet tune-up, see Stop Searching, Start Making.
Prep Your Scraps for Sewing
A little prep saves time later.
- Press flat. Quick steam makes pieces easier to cut.
- Square up. Trim wavy edges into usable shapes.
- Test for color bleeding on strong colors. A quick colorfast test can stop sad surprises in a quilt. Better Homes & Gardens explains a simple home test with water, a tiny bit of detergent, and a white cloth. Read the steps here. Better Homes & Gardens
If you plan to prewash scraps or remove stains, the American Cleaning Institute has basic laundry and stain guides for safe care.
Storage That Sparks Ideas
Choose what fits your space and budget.
- Clear jars for strings and tiny bits. They look good on open shelves and make colors easy to grab.
- Shoebox bins for small and medium. Add a divider card if the pile gets sloppy.
- Magazine files for large pieces. Fold to file like folders.
- Zip bags for projects in progress. One bag per idea with a note inside.
If you want fast wins with limited time, peek at our list of quick DIY crafts in 30 to 60 minutes. Many of those projects are perfect for scraps.
What To Do With Scraps of Fabric: 20 Easy Uses
You sorted and stored. Now let us sew. Here are fabric scraps ideas that are easy and fun:
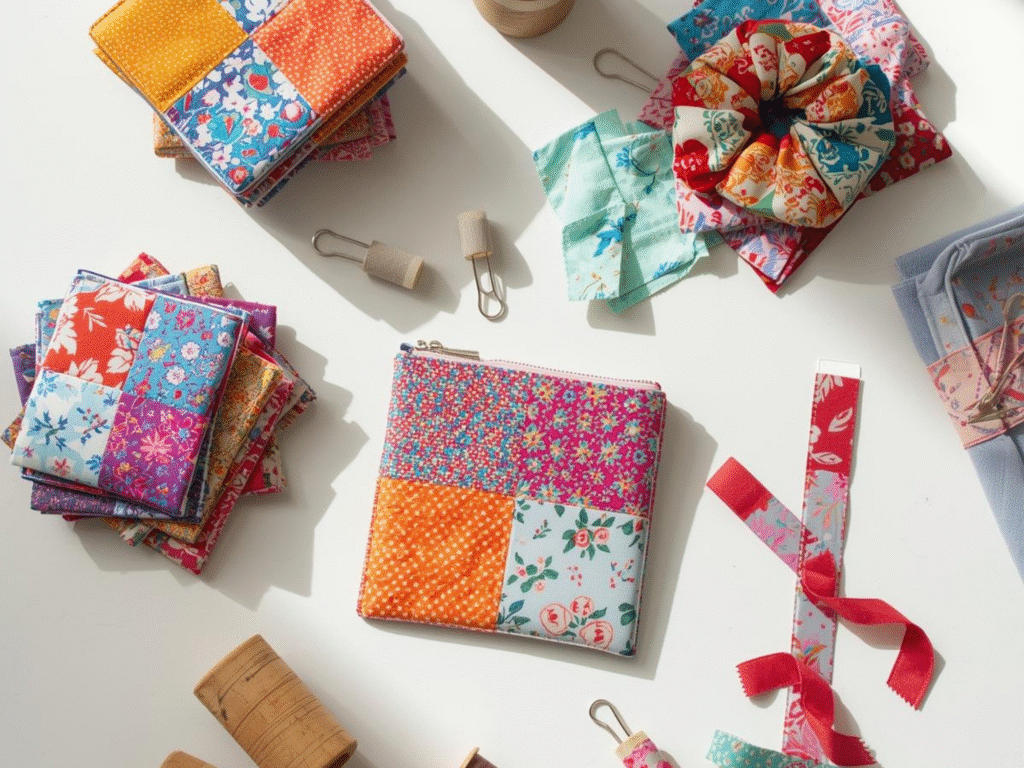
For strings and very small pieces
- Patchwork coasters
- Key fobs
- Tiny drawstring sachets
- Appliqué shapes on tea towels
- String pieced quilt blocks. Missouri Star has beginner friendly videos on string blocks if you want a visual walk through. YouTube
For small and medium pieces
- Zip pouches
- Pencil cases
- Scrunchies
- Fabric bookmarks
- Patch pockets for aprons or totes
For large pieces
- Pillow covers
- Simple tote bags
- Baby burp cloths
- Reversible placemats
- Easy quilt blocks. You can learn a basic star block here and swap in your scrap colors. YouTube
Use as filling
- Stuff a pet bed with clean cotton scraps inside an old pillowcase.
- Pad a tailor’s ham or pressing tools with tightly packed scraps.
If you enjoy project roundups, The Spruce Crafts keeps beginner friendly lists you can browse for more ideas.
Make a Simple Scrap Workflow
Here is a tiny routine that keeps the pile small:
- During each project: toss offcuts into a counter bin.
- End of the day: move bin contents into your labeled containers.
- Once a week: choose one bag of scraps and make one small item.
- Once a month: cut a set of standard squares or strips. Keep a card with your go-to sizes to save time.
If you love batching, our guide on batch crafting techniques shows how to stack steps so projects move faster.
Free Organize Fabric Scraps template
Download the free, easy-to-use template in the link below to make life a little easier for you as you start your fast crafting journey:
Donation and Recycling Options
If a fabric does not fit your style or you have more than you can use, you still have good choices.
- Donate finished items. Project Linus accepts handmade blankets for kids through local chapters. Check their national FAQ and local size notes before you sew
- Recycle worn textiles. Use the Earth911 locator to find a textile drop off near you. This helps keep fabric out of landfills
Example Setups You Can Copy
- Drawer system: top drawer strings, second small, third medium, bottom large.
- Jar wall: eight jars by color family for strings and tiny pieces.
- Shelf bins: four clear bins for Small Warm, Small Cool, Medium Warm, Medium Cool.
- Project box: one lidded box with a mix of pre cut 2.5 inch squares ready for coasters and pouches.
See how we group supplies, use labels, and pick containers in our post on fast craft setup.
Troubleshooting
- I do not know the fiber. Keep a small “unknown” bag. Sew tests first, or pair unknown with non precious projects like pouches. If you want to learn how makers identify fibers, FabricLink explains the classic burn test used in textiles. Use caution and test tiny snippets.
- Colors bled in the wash. Pre test vivid scraps next time. See the colorfastness steps linked above
- Bins look messy. Trim jagged edges into squares or strips during TV time. A few minutes each week keeps bins neat.
Wrap Up: You Now Know How To Organize Fabric Scraps
You learned how to organize fabric scraps in a simple five step plan. You sorted by size, color, and material. You stored in clear, labeled containers. You picked a small weekly habit, so the pile does not return. You also got a list of easy projects, donation choices, and a way to recycle what you cannot use. This is how to organize fabric scraps so they feel ready, not heavy.
If you want help building your craft space or planning quick wins, explore our beginner guides on Trusti ASG, including Craft Storage Ideas, Small Sewing Room Tips, and Quick DIY Crafts. Start today with one bin, one label, and one tiny project. That is how to organize fabric scraps in real life.