If you want a craft space that looks high end but costs less, you are in the right place. In this guide I share IKEA craft room hacks that anyone can do. We will use ready made pieces that work hard, look clean, and fit small rooms. I will show you how to plan zones, pick the right items, and add simple upgrades like wheels and dividers. You will walk away with a plan you can start today.
Why IKEA works for makers
IKEA pieces are simple, strong, and modular. That means you can stack, roll, and mix them to fit your room. You do not need custom builds. You can start small and grow later. Most parts have matching inserts and accessories, so you can set up storage that fits fabric, thread, paper, paint, and more. For even more budget friendly storage ideas, see our guide on organizing craft supplies.
Start with your zones
Before you buy, sketch your room. Mark three zones:
- a work zone at your main table
- a prep zone for cutting and pressing
- a storage zone for fabric, tools, and small parts
Keep walking paths clear. Put heavy storage low. Keep daily tools within arm’s reach. When you place items by zone, you work faster and make fewer messes.
The cube shelf that does it all: KALLAX
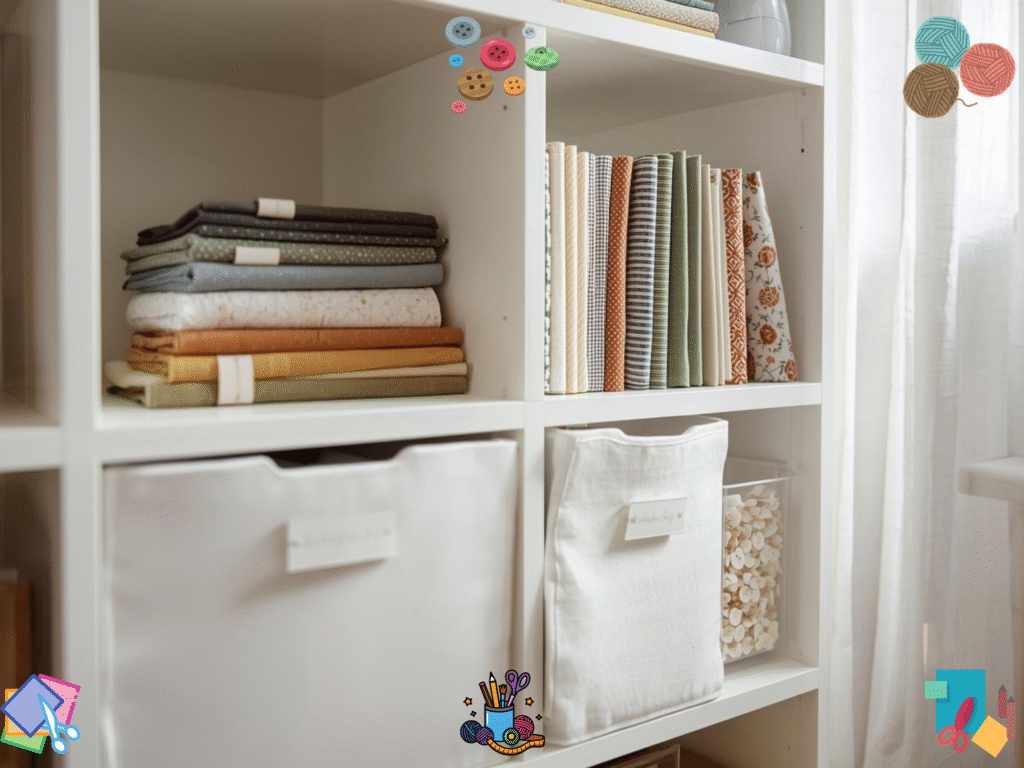
KALLAX shelves are cube units that fit almost any wall. They can stand tall or lie on their side to make a bench. The best part is the inserts. You can add doors, drawers, and boxes, then switch later if your needs change. I like using the 2×4 unit for fabric because it holds standard bins and mini bolts. File fold or roll your yardage and label each cube by color or project. Add felt pads or small casters so the unit slides out when you need to clean behind it. The KALLAX series page shows sizes and insert options you can mix and match.
Hack ideas for KALLAX
- Use magazine files as mini fabric bolts for fat quarters and remnants.
- Add drawer inserts for zippers, buttons, and elastic.
- Put a cutting mat on top of a 1×4 KALLAX laid sideways to create a narrow cutting perch.
- Use cube boxes for in progress kits and label the front.
These simple tricks make the cube shelf feel like custom craft room furniture without custom prices.
The small but mighty helper: RÅSKOG cart
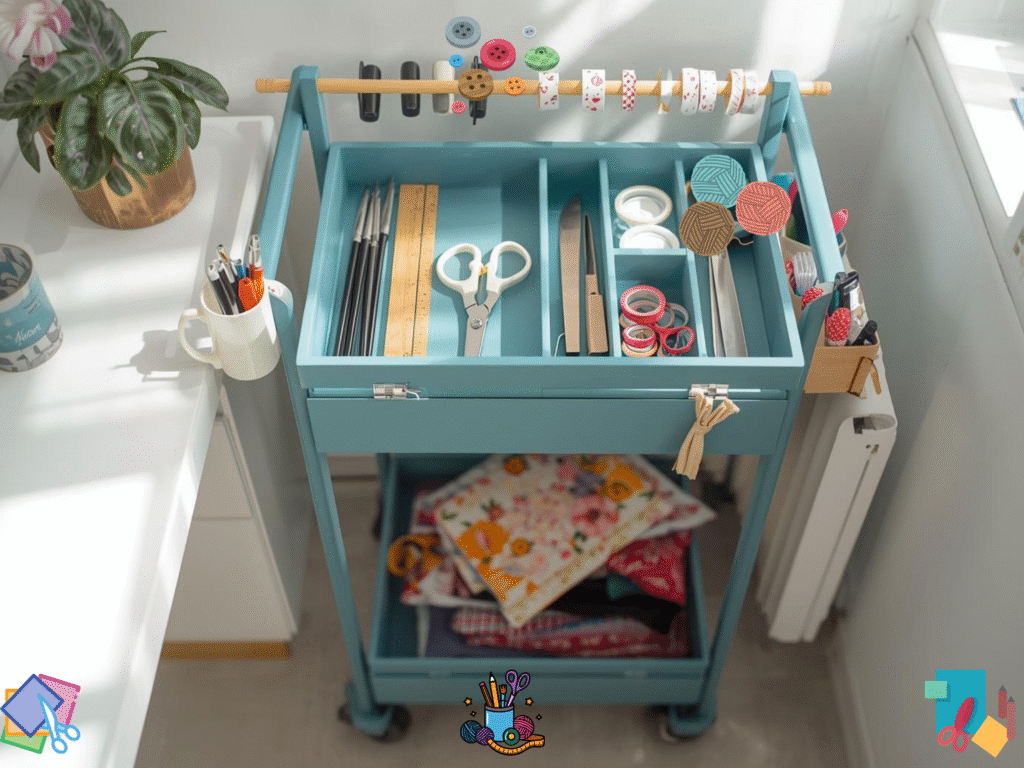
The RÅSKOG rolling cart is a favorite for a reason. It slides beside your desk, tucks under a table, and rolls to where you craft. Set it up by shelf: scissors, rulers, and marking tools up top, glue and tapes in the middle, blanks or scraps on the bottom. Clip small cups to the rim for pens and seam rippers. Add a dowel across the top basket to hold washi tape or ribbon. If you sew, park the cart to the right of your machine so tools are at hand but off the table. Browse utility carts and the RÅSKOG trolley to see sizes and details.
Quick upgrades for the cart
- Stick magnetic strips on the side for metal snips and small rulers.
- Drop in utensil trays so tools stand upright.
- Use shallow plastic lids as lift out trays for needles and presser feet.
- Add a hook at the handle for your cutting mat or pressing mat.
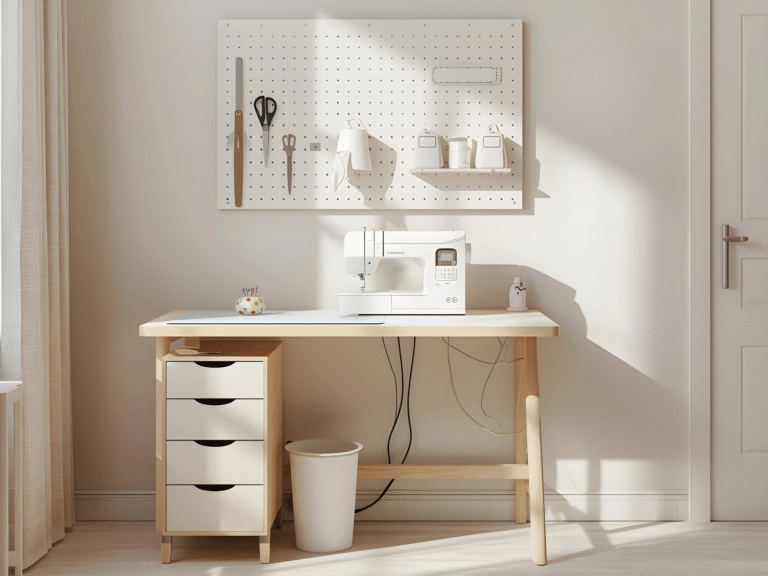
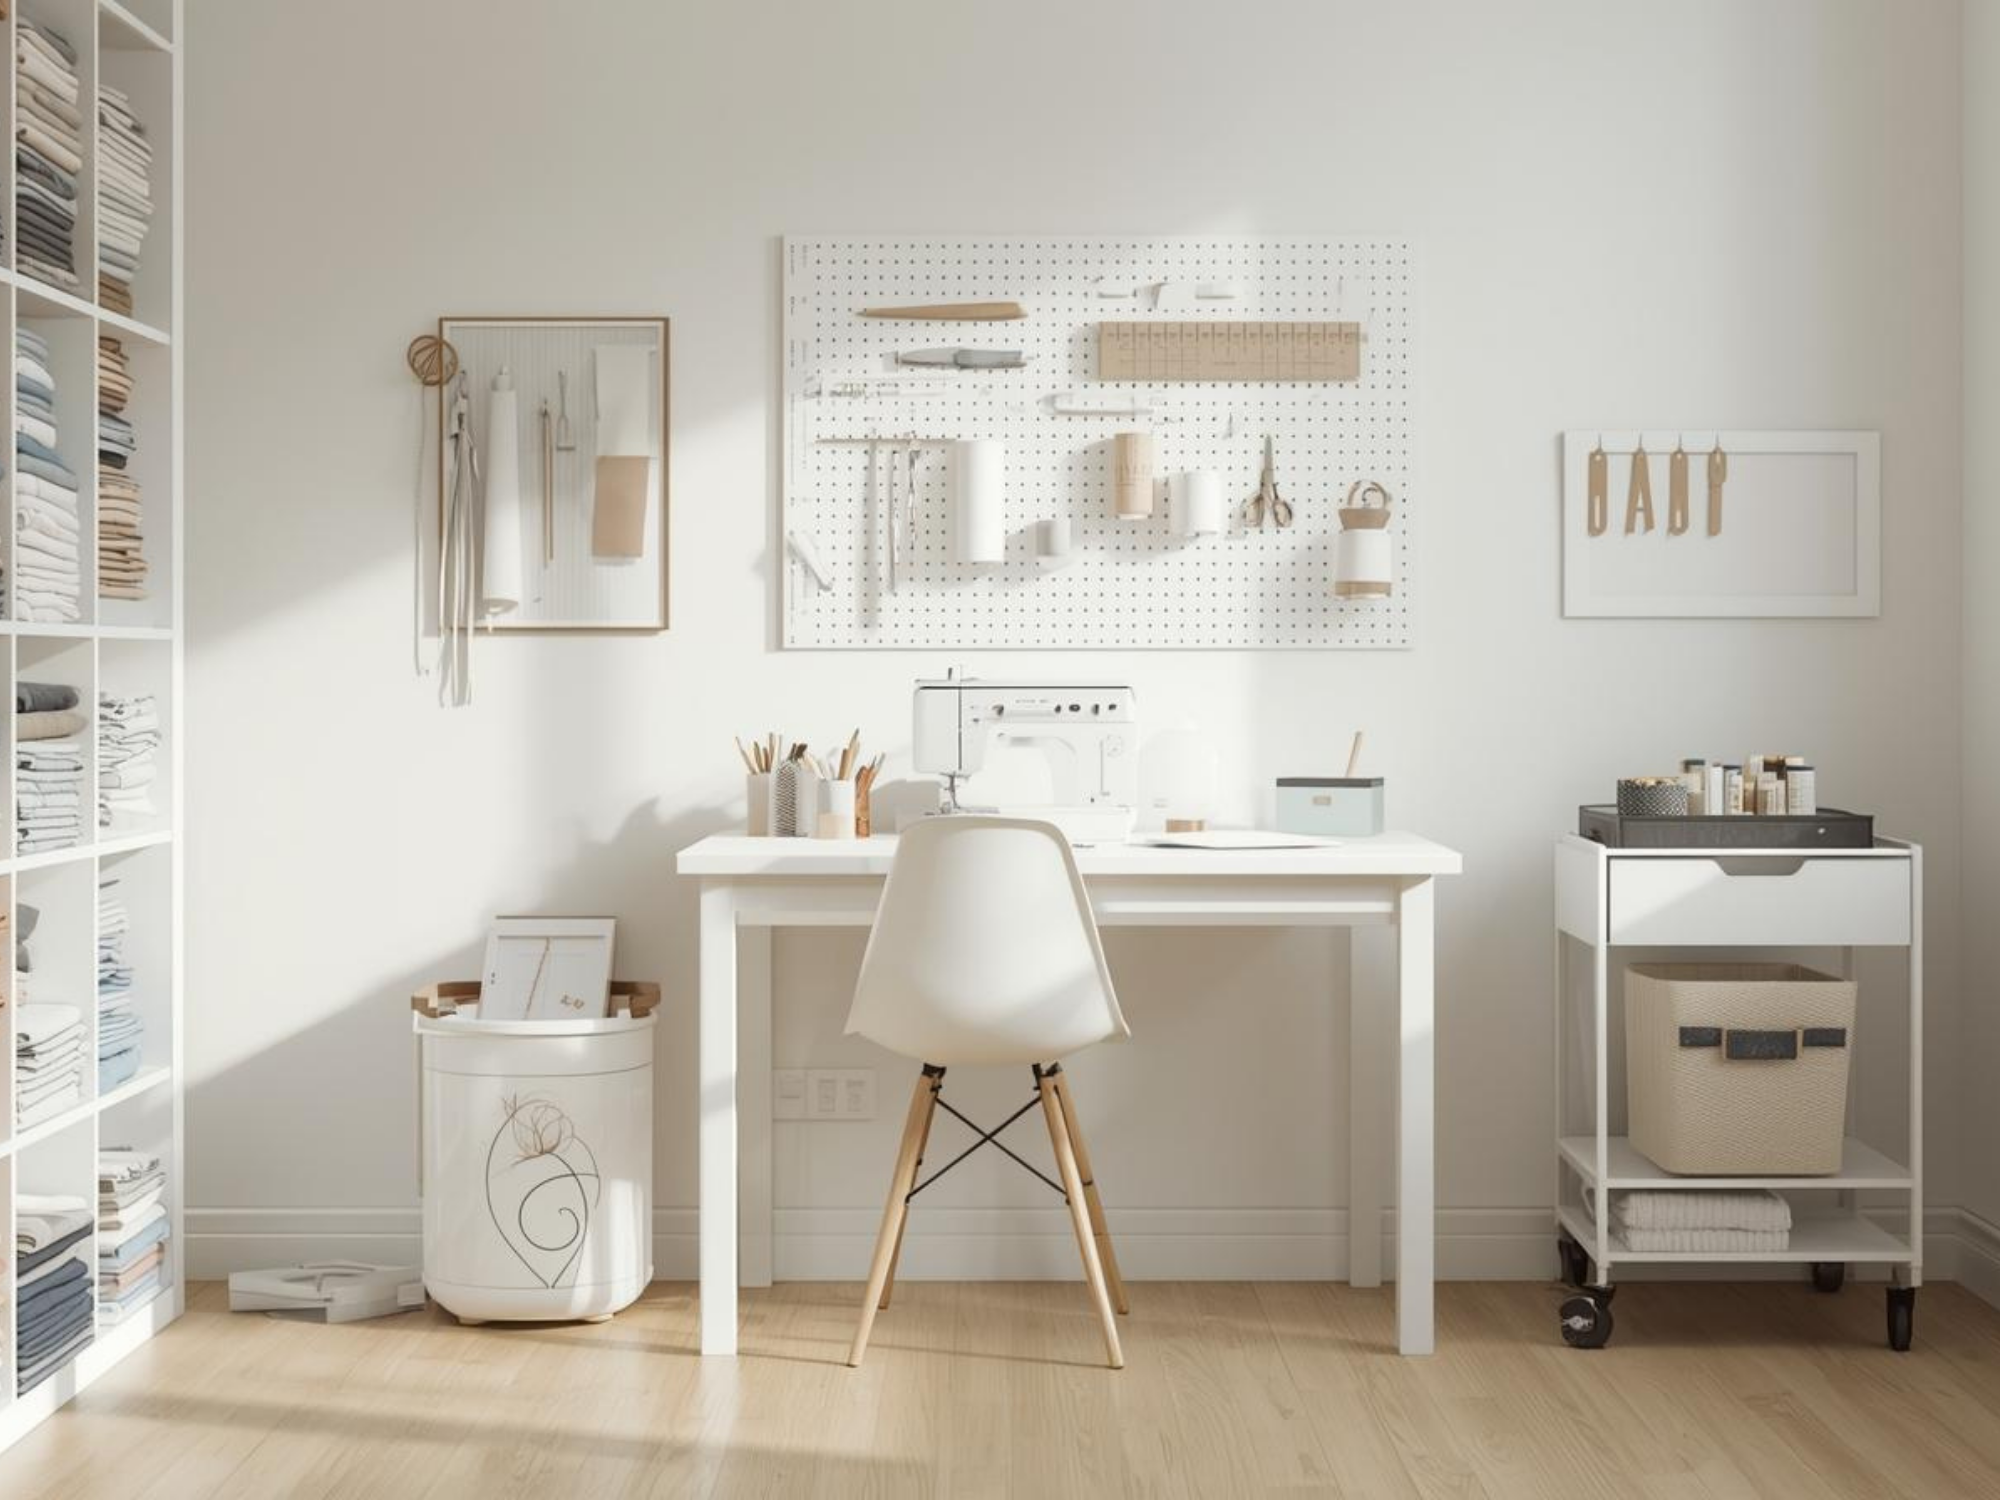
Clear the wall and free your desk: SKÅDIS pegboard
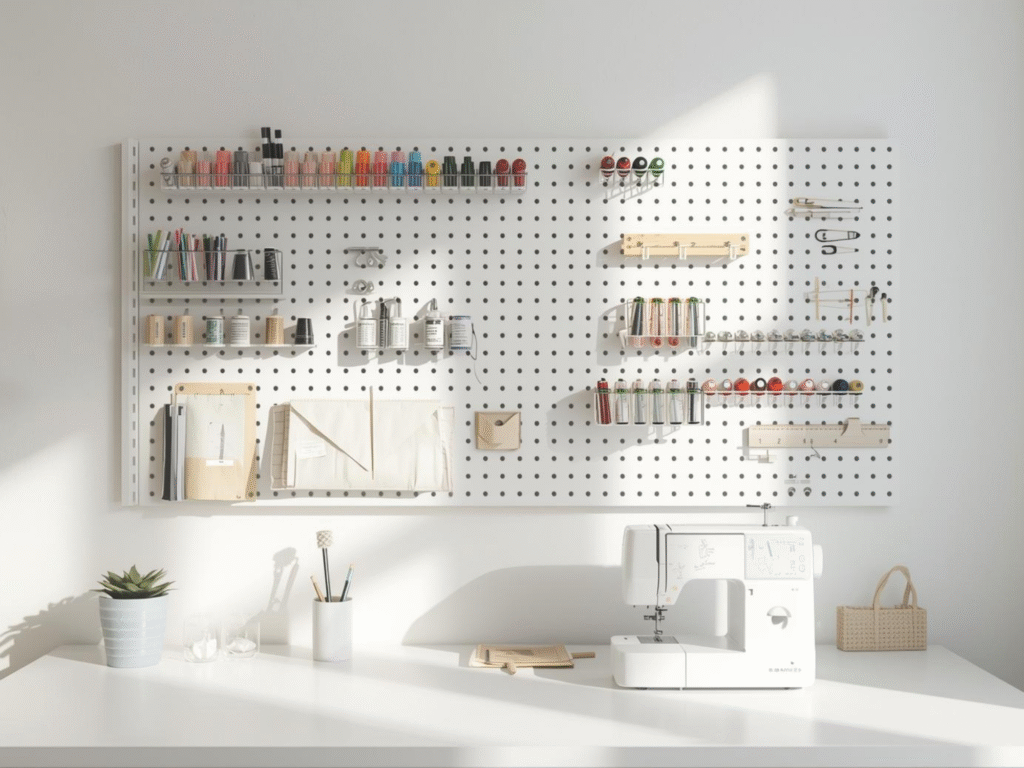
The SKÅDIS pegboard system turns a blank wall into organized storage. Use cups for markers, small shelves for thread, and elastic cords for patterns and rulers. I mount one board above the machine and one near the cutting area. Keep only daily tools on the wall. Rotate the rest into drawers or bins to prevent clutter creep. See boards and accessories in the SKÅDIS series and pegboard listings to plan your layout.
Wall setup tips
- Place the board so you can reach the center without standing up.
- Group by task. All cutting tools together. All measuring tools together.
- Use the letter holder for pattern envelopes and instruction booklets.
- Add a small shelf just for bobbins, clips, and seam gauges.
These are simple ikea storage ideas that make tiny rooms work like big studios.
Slim drawers for the small stuff: ALEX units
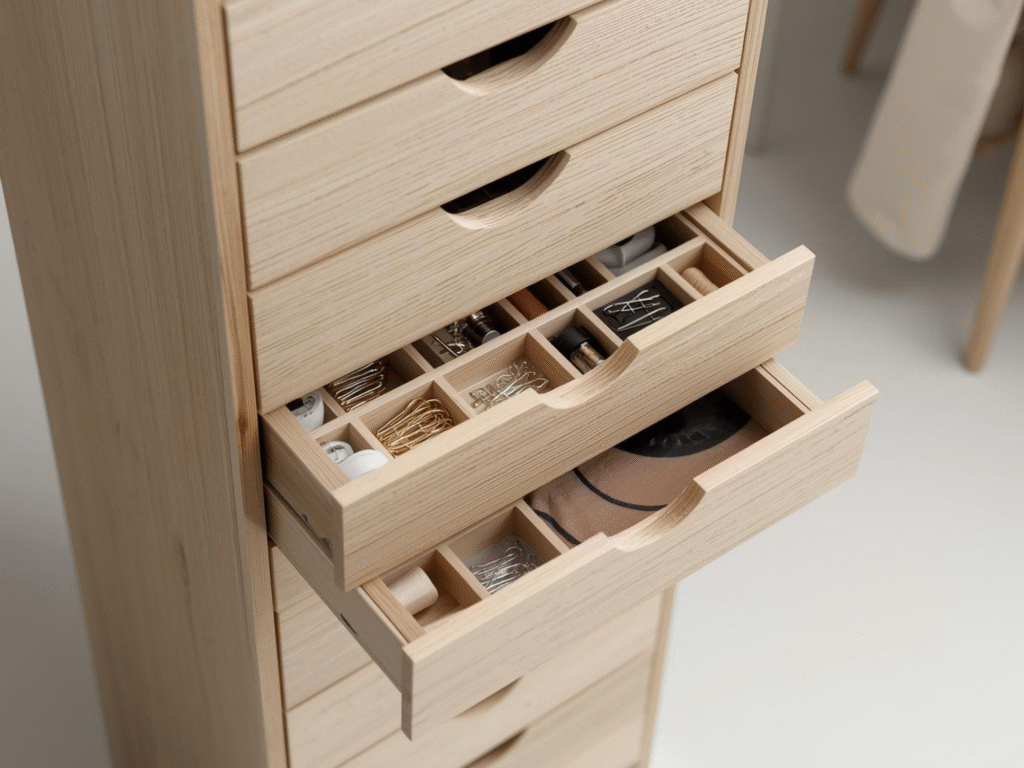
Small items need shallow drawers so they do not get lost. The ALEX drawer units are perfect for thread, vinyl, paper, needles, and snaps. The 9 drawer tower fits in tight spaces and gives you many thin layers. Add dividers for bobbins and feet. Label each drawer by task so you can reset the room in minutes after a project. Explore the ALEX series and the 9 drawer unit details to see sizes and options.
ALEX drawer map
- Top drawers: bobbins, needles, pins, clips
- Middle drawers: threads, interfacing, stabilizer
- Lower drawers: cutting blades, heat tools, vinyl scraps
Make a cutting island from ready made parts
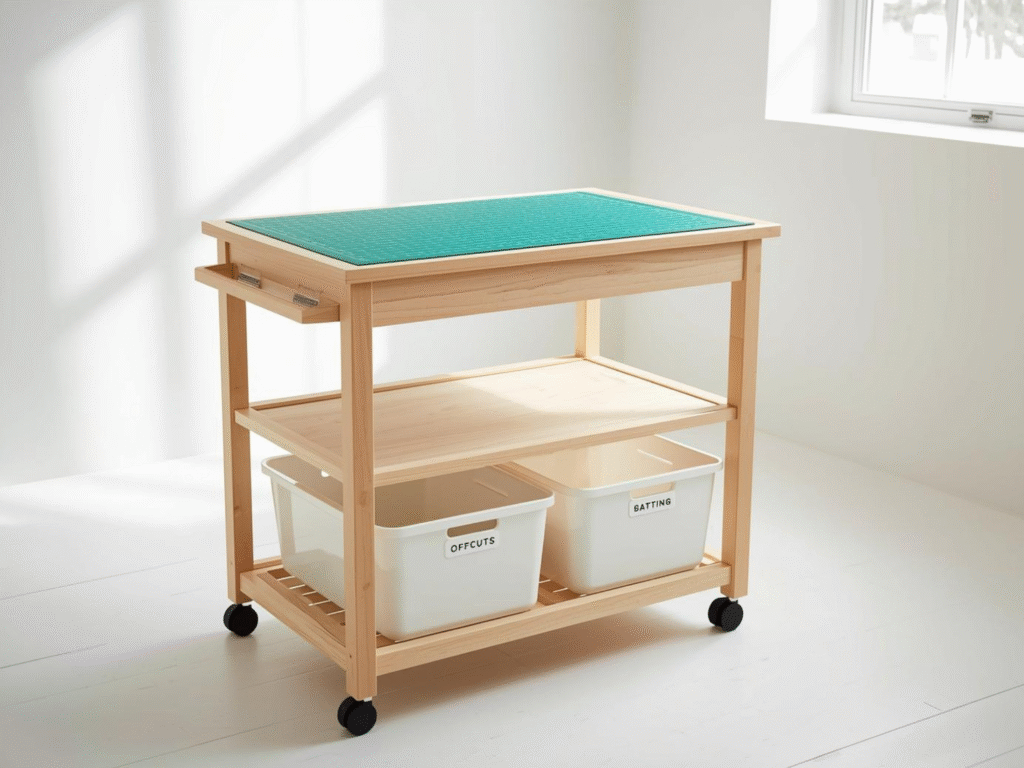
No space for a full table. Try a narrow kitchen cart or island on wheels and top it with a cutting mat. Store heavy tools low to keep it steady. Roll the cart against the wall when you are done. IKEA’s kitchen islands and carts come in many widths, so you can pick one that fits your room and budget.
Build steps
- Pick a cart as wide as your favorite mat.
- Add locking casters if they are not included.
- Place a non slip liner under the mat.
- Add two bins on the lower shelf for offcuts and batting.
A sample layout for a 6 by 8 foot room
- Put a 2×4 KALLAX on the longest wall for fabric.
- Mount a 30 by 22 inch SKÅDIS above the machine.
- Park a RÅSKOG on the machine’s right side.
- Slide an ALEX unit under the desk’s left side for thread and feet.
- Use a slim rolling island as a mobile cutting station.
This simple setup keeps tools close and traffic clear. It is easy to clean and easy to change as your projects change. See SKÅDIS boards and common KALLAX sizes to double check fit.
Step by step: set up your room in one weekend
Day 1 morning. Measure your wall space and door swing. List your top three projects for the next month.
Day 1 afternoon. Buy one KALLAX, one RÅSKOG, and one pegboard with cups and hooks. Pick one drawer unit if you sew with many small parts.
Day 2 morning. Build the units. Add inserts and dividers. Mount the board where you can reach it while sitting.
Day 2 afternoon. Load only what you will use in the next month. Put the rest in a “back stock” bin. Label everything.
If you want even more layouts and printable planners, explore our Crafting Space and Organization hub at Trusti ASG.
Free IKEA Craft Room Hacks Planner
Download the free, easy-to-use template in the link below to make life a little easier for you as you start your fast crafting journey:
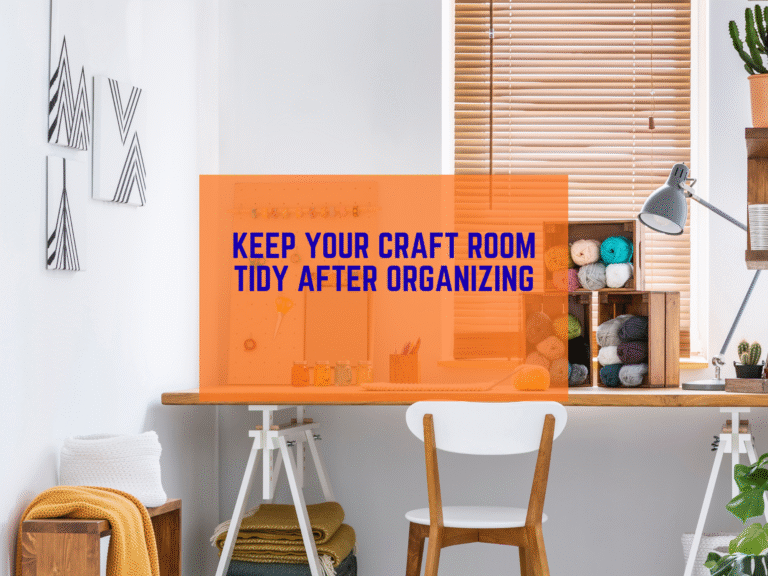
Keep it tidy with tiny habits
- End each session with a 10 minute reset. Return tools to the wall and cart.
- Use one bin per project. When you pause, all parts go in that bin.
- Keep a donate box. If a tool sits for 6 months, let it go.
- Do a monthly clean of one cube or one drawer. Small steps keep the room calm.
Quick shopping list
- 1 KALLAX cube shelf plus 2 to 4 inserts
- 1 RÅSKOG rolling cart
- 1 to 2 SKÅDIS boards with cups, shelves, and hooks
- 1 ALEX drawer unit if you have many small parts
- 1 narrow rolling island and a large cutting mat
You can add these a few at a time. That is the beauty of modular pieces. Start with the wall and the cart, then add drawers as your stash grows.
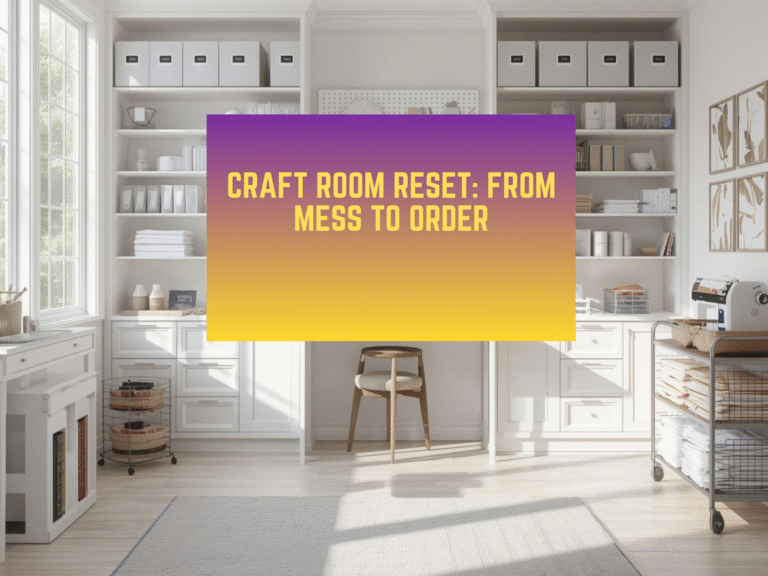
Final thoughts
You do not need custom cabinets to have a studio that works. With a few smart pieces and some easy upgrades, you can get the same calm, clean feel. Use these ikea hacks for craft room setups to make space for what you love. Try one shelf, one cart, and one board first. See how much faster and happier you feel. Then add on.If you want even more storage tips and step by step checklists, read our Trusti ASG guide to craft storage. It will help you plan your next move and keep your room ready for making.