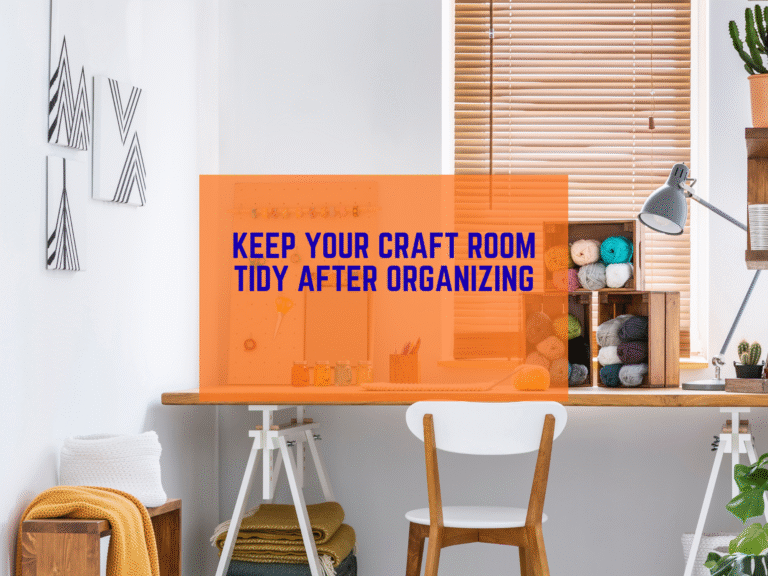
Running a craft business from a small room is tricky. You need space to make, store, pack, and ship. You might even have more than one machine. I have been there. The good news is you can build a simple, smooth system that fits in a tight spot. This guide walks you through beginner-friendly steps for craft room organization that supports real orders, every day.
Start with the path: how work moves

Picture your work moving like a loop. Materials come in. You create. You finish. You pack. You ship. Then you restock. Draw this loop on paper and mark each stop in your room. Keep the path clear so you do not trip over bins or boxes. When I map the path first, my space feels bigger and calmer.
Use this loop to plan five zones:
- Create
- Dry or finish
- Inventory storage
- Packing and shipping
- Returns and restock
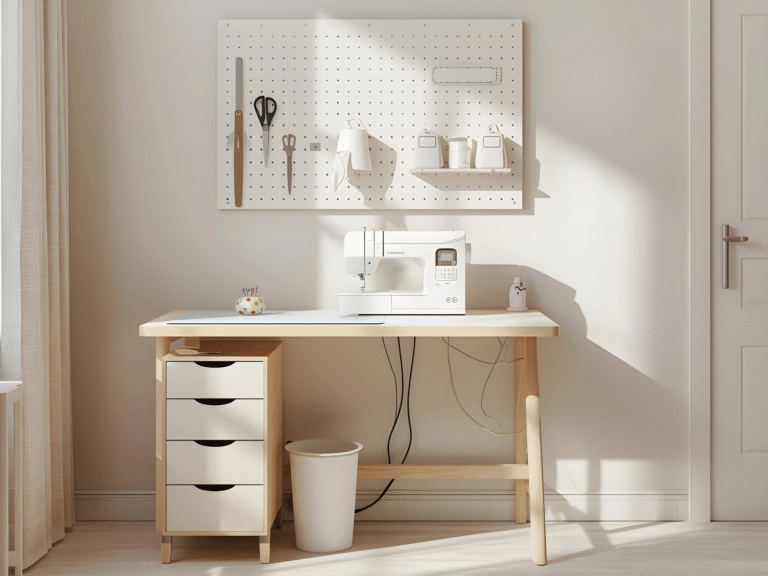
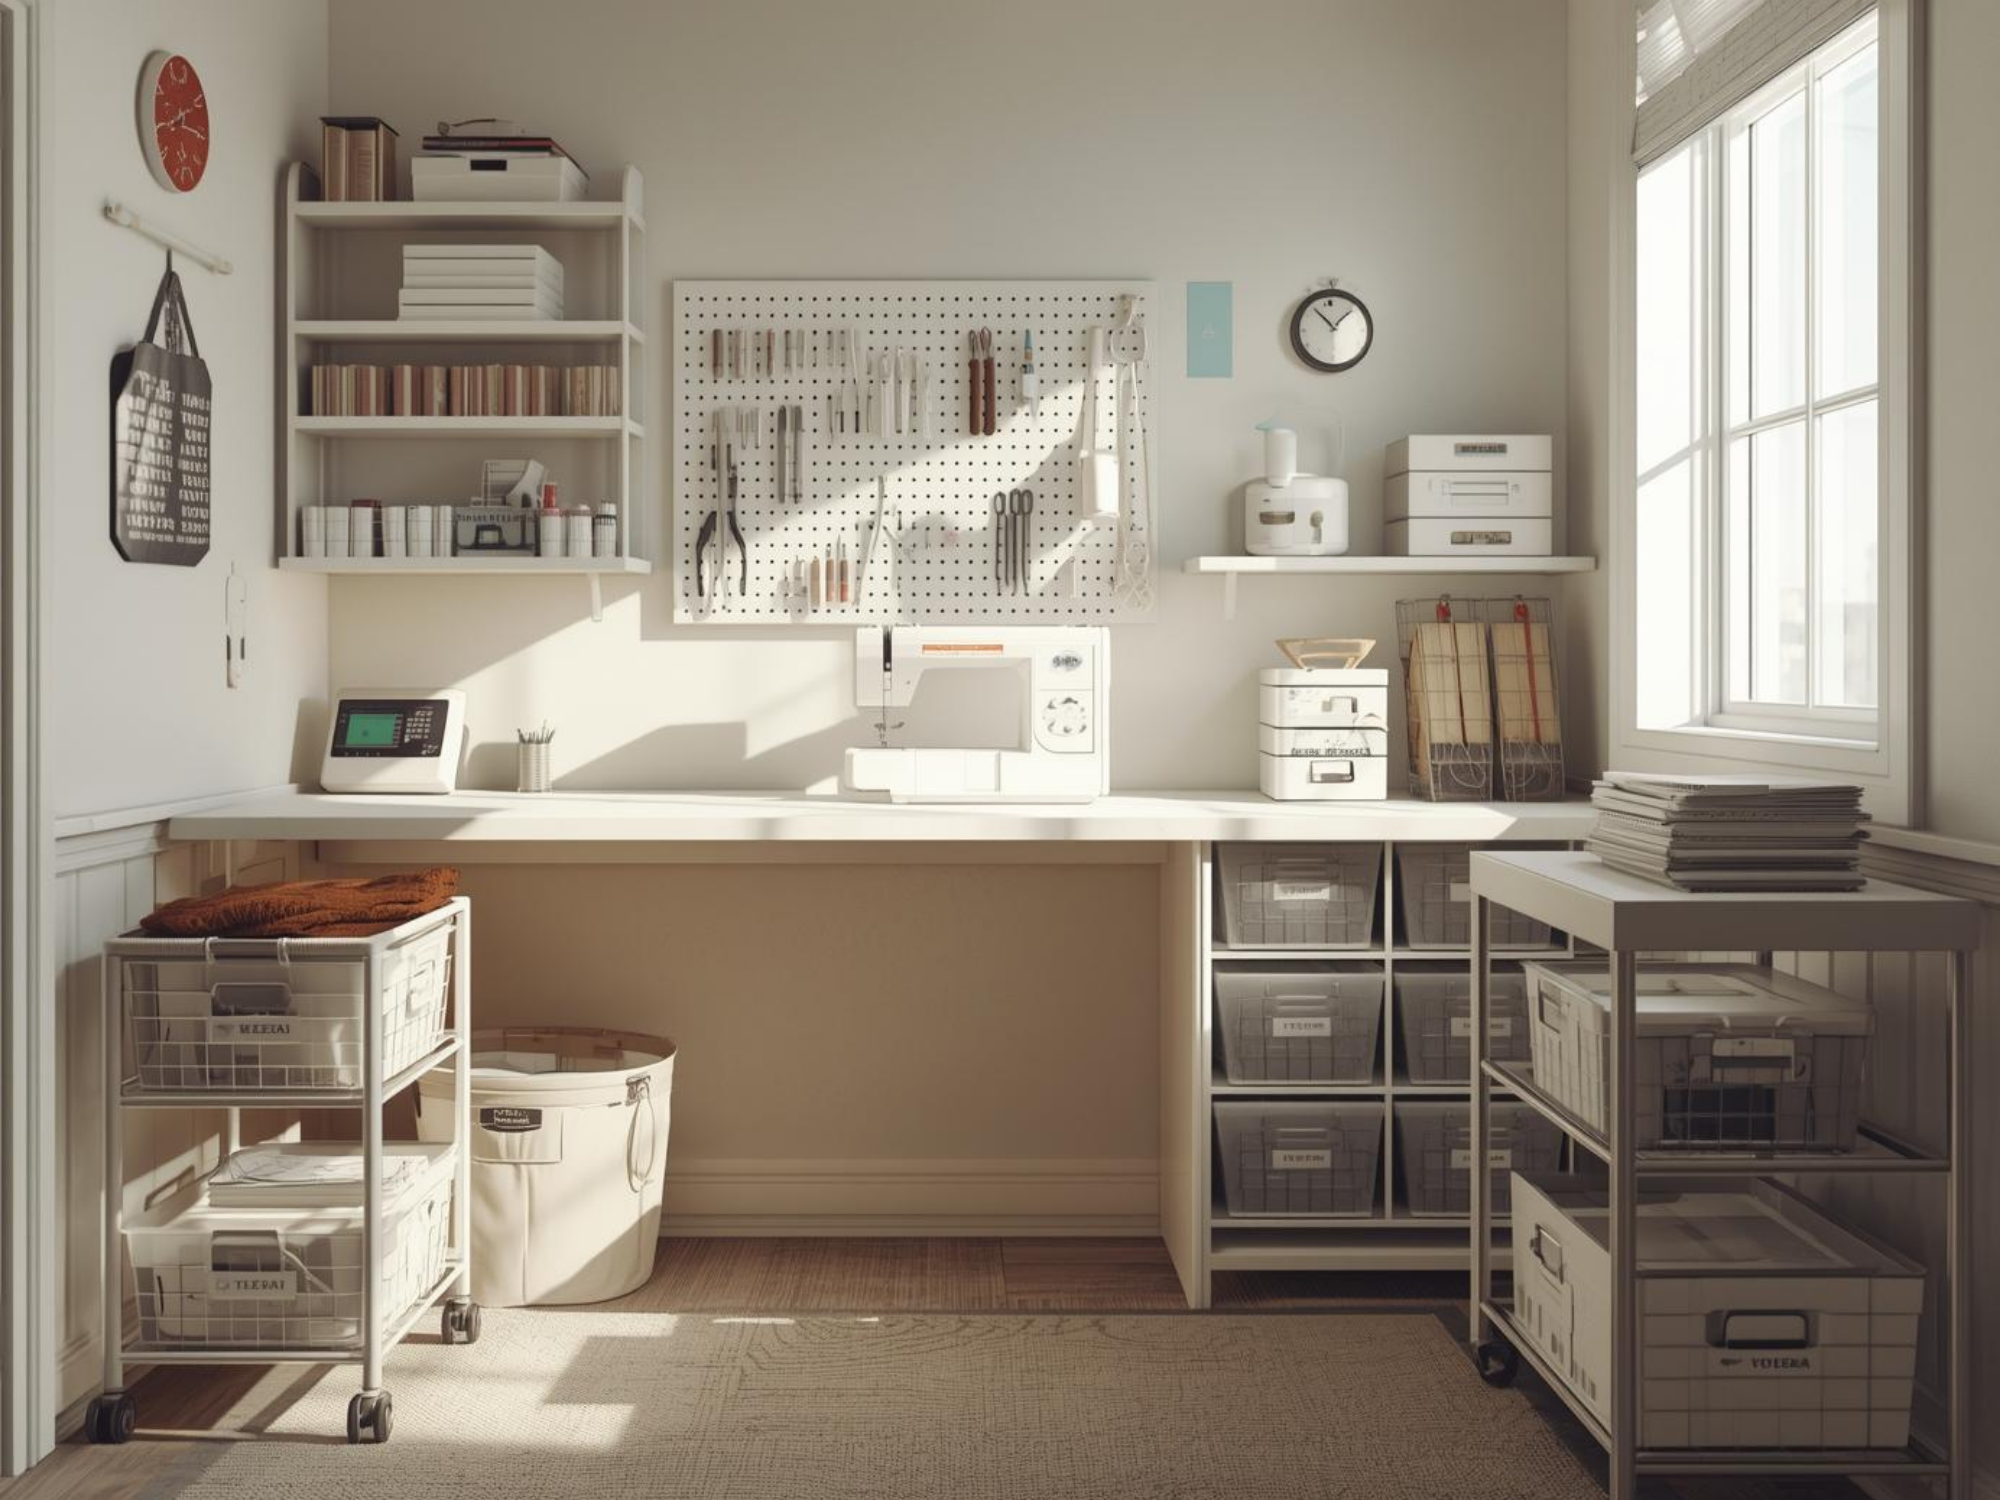
Zone 1: Create space that stays ready
Put the tools you touch every hour within arm’s reach. If you run two or three machines, place the main machine in front and the others to the side. Keep a small rolling cart between them for thread, bobbins, blades, and basic tools. Pegboards help you store small items up and off the table so your surface stays clear. IKEA’s SKÅDIS system is flexible and easy to re-arrange as your needs change.
Zone 2: Inventory on shelves or in bins
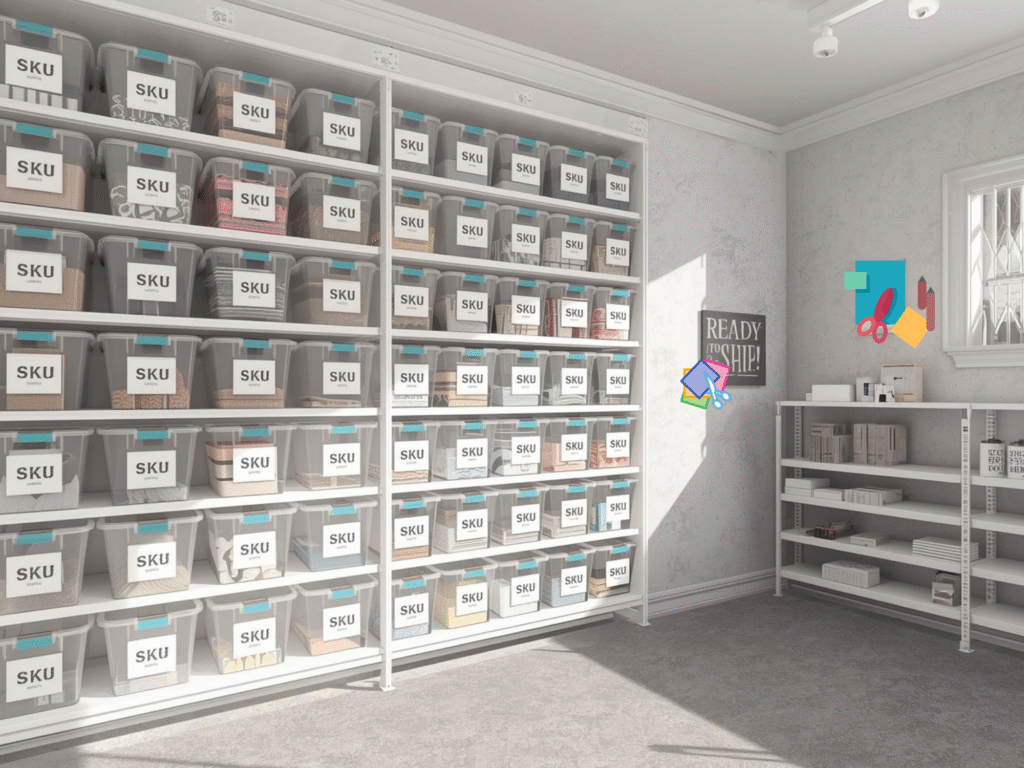
Your products need a real home. Use sturdy shelves with clear bins, or banker boxes with large labels. Give each product a simple SKU and a location code, like “A-3-Bin2.” Put your top sellers on the middle shelves so you can pick them fast. Add a “Ready to Ship” shelf just for finished items that are waiting for labels.
For ideas on sorting fabric, trims, and kit parts, see our fabric organization tips and storage posts on Trusti ASG. They show easy ways to fold, label, and color-code so you can find what you need in seconds.
If you run many hobbies from one space, try simple zones by craft type. We break this down in our “Multiple Hobbies, One Organized Craft Room” guide.
Zone 3: A dedicated packing station
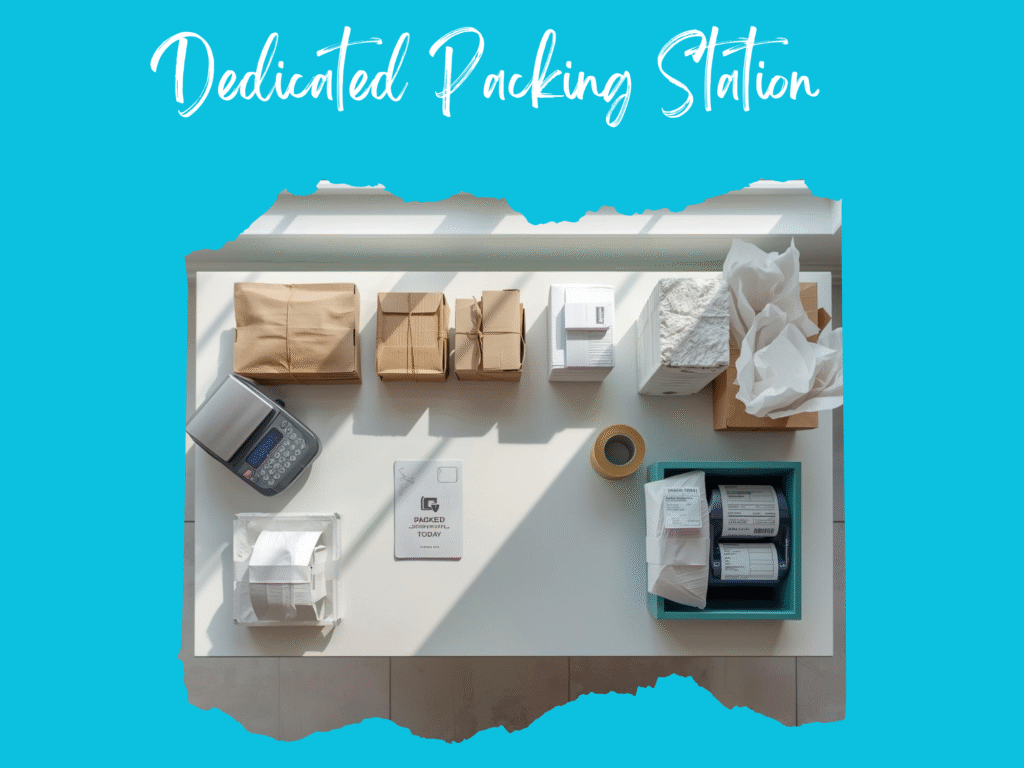
Packing is where many small shops lose time. Give it its own table if you can. Keep it clean and set up the same way every day. Here is a simple layout, left to right:
- Scale and tape dispenser
- Stack of mailers and boxes in three common sizes
- Filler, tissue, and thank-you cards
- Label printer or shipping labels
- “Packed Today” bin
Follow clear packaging rules so orders arrive safe. USPS explains how to choose packaging, address correctly, and weigh before you ship. It is a good checklist even if you use a different carrier.
If you ship with USPS often, you may be able to order some Priority Mail supplies at no extra cost and keep them at your station.
In Canada, Canada Post’s packaging guide shows when to use boxes, protective mailers, or bags, and what materials work best. Keep one sample of each at your station so you do not guess on busy days.
Zone 4: Shipping supplies that stay neat
Use magazine files, narrow bins, or a small rack to divide mailers by size. Store flat boxes upright so they do not crush each other. Label every slot. Keep refills below and grab-and-go stock at chest height. USPS shares practical packing and shipping tips, like putting a card with return details inside the box and removing batteries from devices before mailing. These habits cut returns and damage.
If you are in Canada, look into the Canada Post Solutions for Small Business program. Membership is free and can include discounts on domestic and international parcels, plus tools made for small shops. Savings can be significant as you grow.
Zone 5: Returns and restock
Create a small bin for returns and fixes. Process this bin once a day. If an item can be sold again, move it back to inventory and update the count. If it needs repair, add it to a simple task list near your create zone.
Simple systems that save hours
One pick list. Before you start packing, write a pick list from your orders. Group items by shelf location so you walk the room once.
Batch steps. Pick everything. Then pack everything. Then print all labels. Batching cuts setup time and mental load.
Five-minute reset. At the end of the day, put tools back, toss scraps, and restock the “top five” supplies you used. Small resets keep your craft workspace ready for the morning.
For more craft room organization help, browse our Crafting Space and Organization articles and free templates designed for tiny, busy rooms.
Free Small Business Craft Workspace Planner
Download the free, easy-to-use template in the link below to make life a little easier for you as you start your fast crafting journey:
Beginner shipping setup for marketplace sellers
Many crafters sell on marketplaces. If you use Etsy, set up shipping profiles so your common box sizes and weights are saved. This speeds up listings and keeps rates consistent.
Tools that work hard in small spaces
- Pegboards and rails. Hang scissors, rulers, tapes, and small parts in clear cups so you can see them at a glance. SKÅDIS has bins, shelves, and hooks that you can rearrange any time.
- Rolling carts. Park one cart by your main machine with thread, needles, blades, and cleaning tools. Roll it to the packing station for busy seasons.
- Clear labeling. Use big, bold labels on shelves and bins. Pick a simple color code that matches your order flow, like blue for inventory and green for shipping.
A steady workflow in a tiny room
Here is a simple day that balances making and shipping:
- Warm-up 10 minutes. Check your pick list, print invoices, and pull stock from the inventory shelves.
- Make in blocks. Work in 25-minute focus blocks. Leave your packing station clean until after lunch.
- Midday pack. Pack the morning orders in one batch. Weigh, label, and place finished parcels in a single outgoing bin. USPS and Canada Post both offer tools for small businesses, so choose the one that best fits your location and volume.
- Afternoon create. Finish custom pieces and restock fast sellers.
- Five-minute reset. Restock mailers, refill tape, and empty the trash so tomorrow starts fresh.
Make room for growth
As orders increase, upgrade carefully:
- Add a second inventory shelf and mirror your labels so picking still feels natural.
- Move packing to a standing-height table to reduce strain on busy days.
- Use a simple spreadsheet or free app to track counts by SKU and bin location.
- Keep one “overflow” shelf for seasonal items so your main stock stays lean.
When you need more detailed storage strategies, our step-by-step guides on Trusti ASG can help you plan layouts, choose containers, and set smart routines that fit how you work.
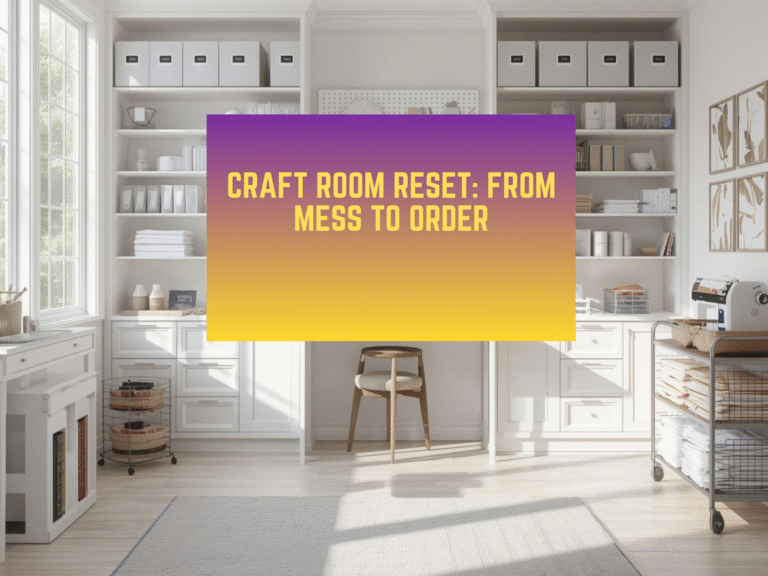
Why this works
A small business craft room has two jobs. It must be creative and it must be a mini warehouse. When we plan the path, create clear zones, and keep supplies where we use them, everything flows. You finish more orders with less stress. Customers get neat packages on time. You get your table back for the fun part.
If you are just starting, try these five moves this week:
- Map your loop on paper.
- Give every product a home and a label.
- Set up one simple packing station with a scale and three mailer sizes.
- Make a daily pick list before you start packing.
- Do a five-minute reset at the end of the day.
These small steps build a strong base for your shop. For more craft room ideas, download our free templates and planners made for small spaces that work hard.