If you want a dedicated spot to sew but you do not have an entire room, you are not alone. I have lived in small places too. A simple craft closet can change everything. With a few shelves, a fold-down table, good lighting, and smart storage on the door, you can build a tiny sewing nook that closes when you are done. I will show you how to plan it, set it up, and keep it tidy. This guide is beginner-friendly and written for small spaces like apartments, condos, and shared rooms.
Along the way I link to helpful guides and tools. I also share a free template below so you can start fast and stay organized.
Why does a closet craft setup work?
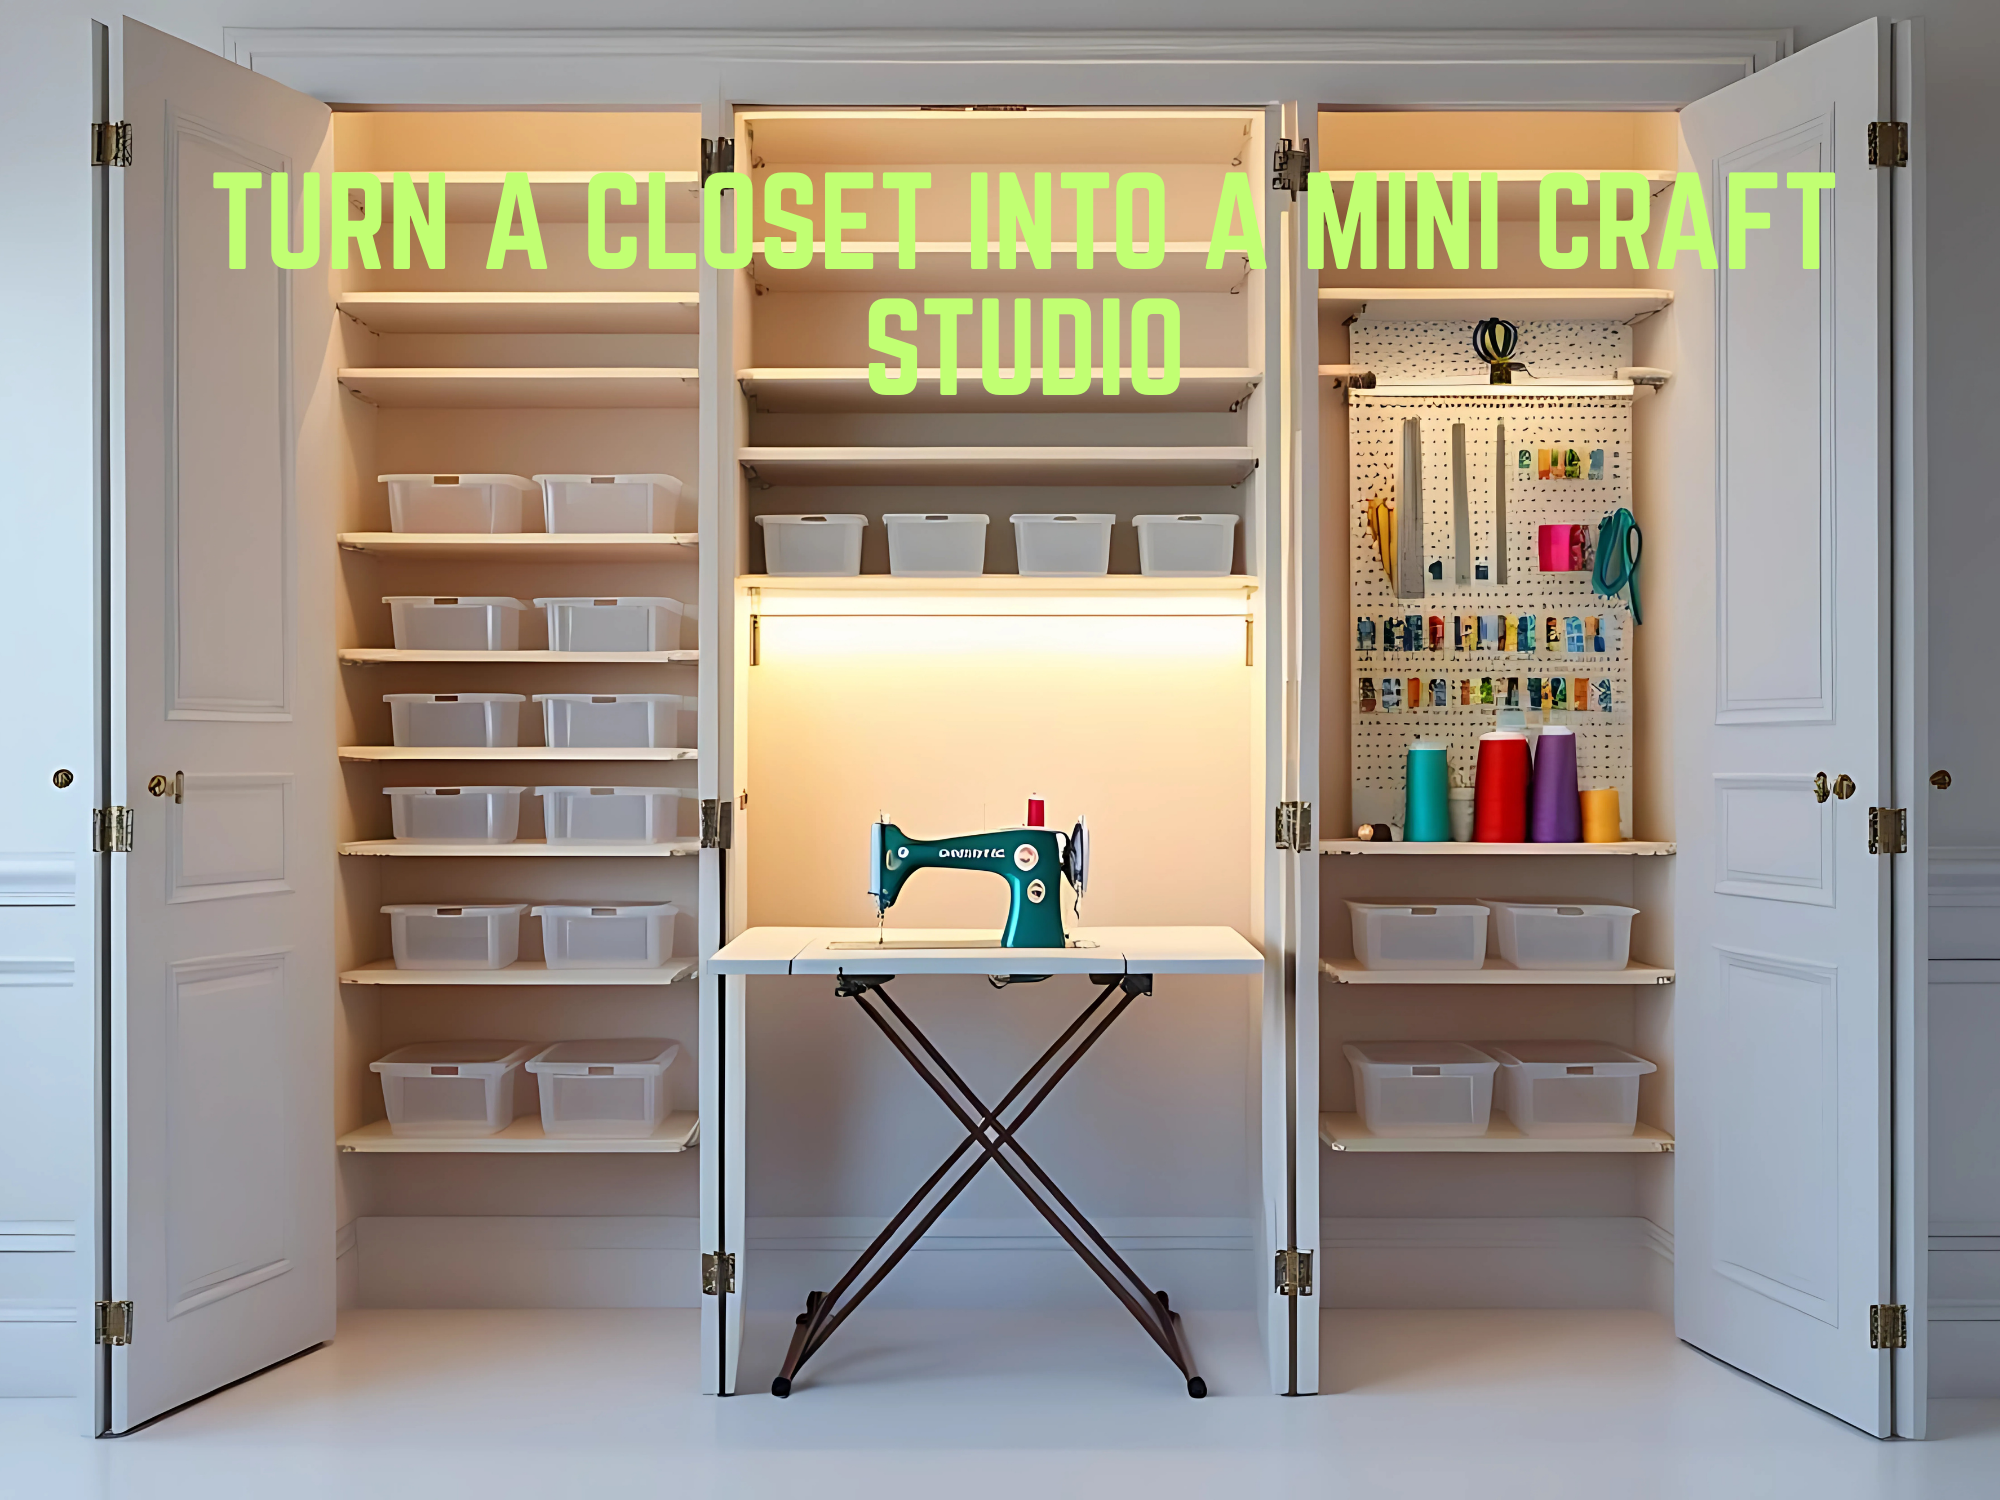
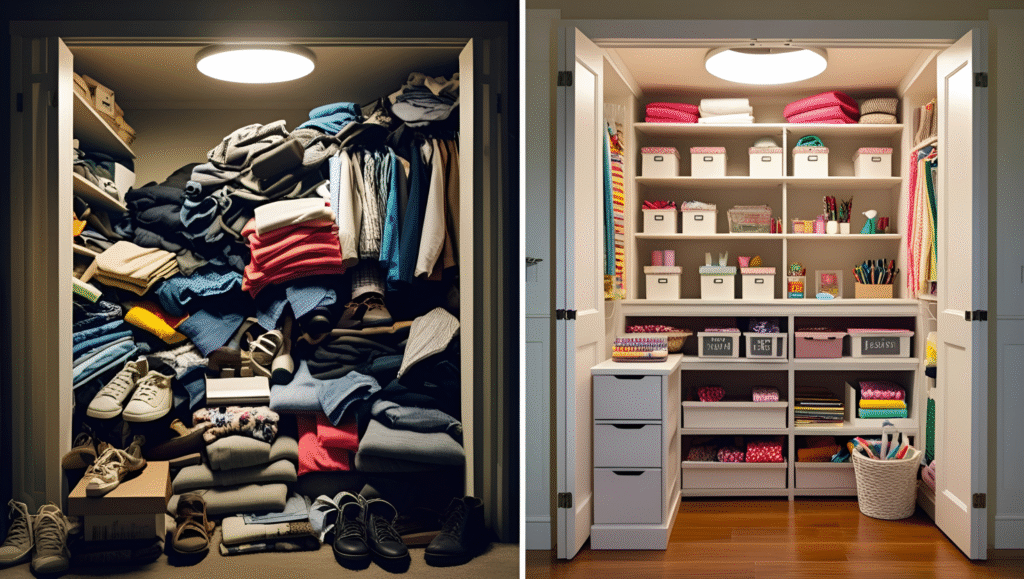
A closet is small, but it has secret power. It is a box with walls, a door, and often a light. That makes it perfect for a mini craft studio. You can build up the walls with shelves, use a fold-down table for your machine, and hang tools on the door. When craft time is over, you close the door. Your space looks neat. Your mind can rest. You also protect projects from pets, little hands, and dust.
Key wins:
- Start fast because everything has a home
- Stop clutter from spreading to the kitchen table
- Keep tools safe and easy to grab
- Close and go when life gets busy
What you will build
You will make a compact craft studio inside a standard closet or a large cabinet. It will include:
- Adjustable wall shelving for fabric, bins, and books
- A fold-down table for sewing and cutting
- Bright, safe task lighting
- Door storage for scissors, rulers, and small tools
- A simple power plan with cable clips
- A clean-up routine that takes under five minutes
This is simple carpentry. If you can measure, drill, and screw, you can do it.
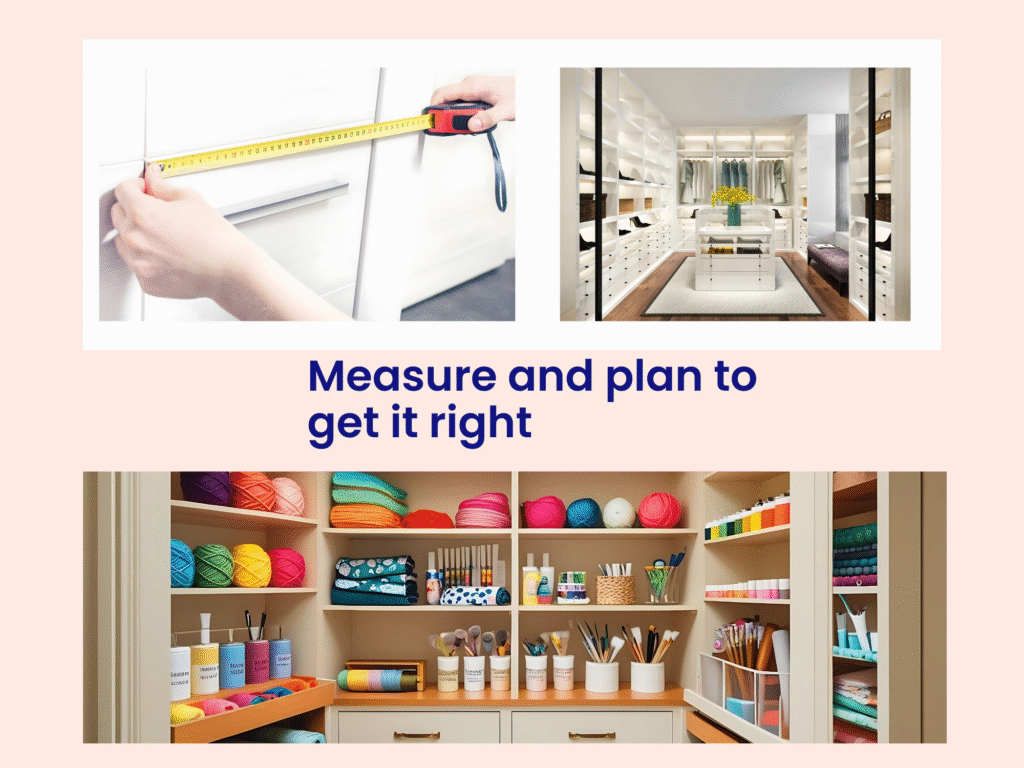
Step 1: Measure and plan your craft closet
Grab a tape measure, pencil, and paper. Measure:
- Closet width, depth, and height
- Door style and swing
- Where the studs are, if you have access
- Any baseboards or obstructions
- Outlet locations
Write down how you work. Do you keep your machine out, or do you tuck it away? Do you cut small pieces or large patterns? Do you quilt or mend? Your answers guide the layout.
Planning tips
- Leave knee space for the fold-down table. Aim for at least 18 inches of clear depth when seated.
- Plan shelf heights around your bins. I like clear 12 to 15 inch tall bins for fabric.
- Keep heavy items at waist to shoulder height.
- Store tiny tools at the door so you can grab them fast.
For a quick planning checklist, use our free Craft Space Switch Kit. It helps you map zones and choose bins.
Step 2: Choose a layout that fits your habits
There are two common craft closet layouts. Pick one.
Layout A: Machine stays set up
- Fold-down table sits in the middle
- Shelves up high and on both sides
- Door storage holds tools and thread
Best for daily sewing and quick fixes.
Layout B: Machine stores on a shelf
- Fold-down table for cutting and tracing
- Machine rides in and out on a lower shelf
- Door storage still holds small tools
Best if you share the closet with coats or cleaning items.
Either layout can still close clean and neat. Both support simple craft closet organization that you can keep up with.
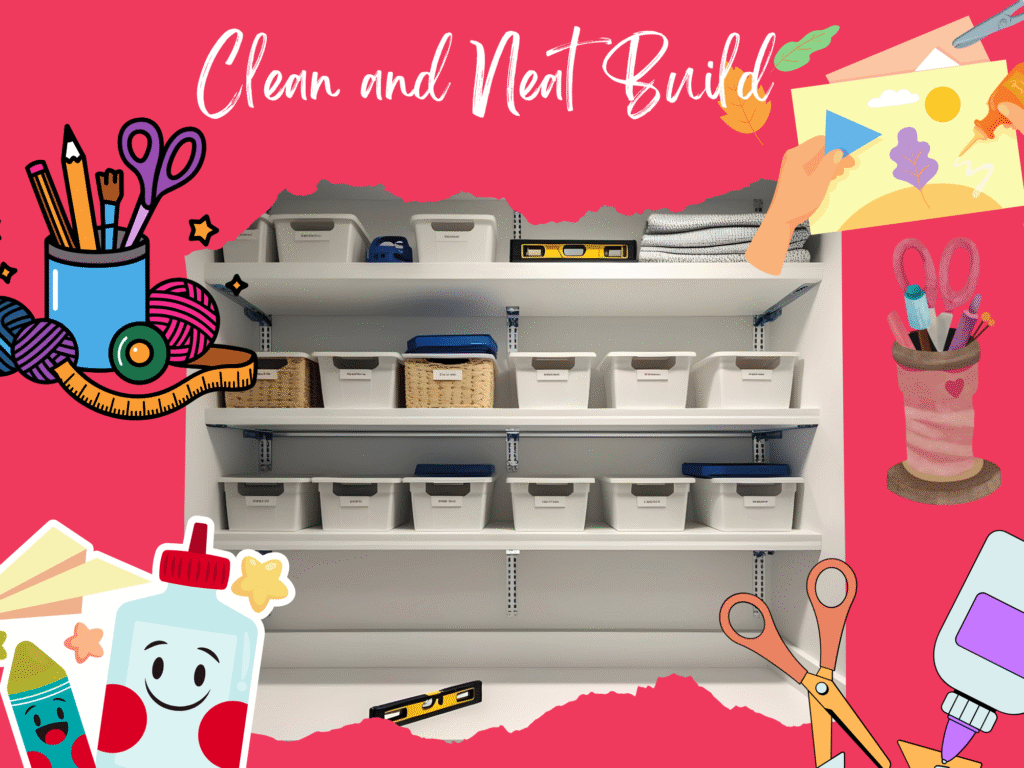
Step 3: Install adjustable wall shelving
Adjustable tracks and brackets are perfect for a craft closet because you can move shelves as needs change. Most home centers sell wall standards, brackets, and shelf boards. If you prefer wire shelves, that also works for bins and light airflow.
Helpful how-to: How to Install Wire Shelving – The Home Depot Project Guide
Materials
- 2 vertical wall standards with screws and anchors
- 6 to 8 brackets
- 3 to 5 shelf boards cut to width
- Stud finder, level, drill, and screwdriver
Steps
- Mark a centerline and the bracket heights. Use a level.
- Fasten standards into studs if you can. If not, use anchors rated for the load.
- Hang brackets.
- Place shelves and test with a few bins.
Shelf spacing ideas
- Top shelf: light, rarely used items
- Eye level: fabric bins and project boxes
- Below eye level: machine or cutting tools
- Low shelf: heavier things like a small iron board or a serger
For pegboard add-ons, read this primer: Pegboard basics
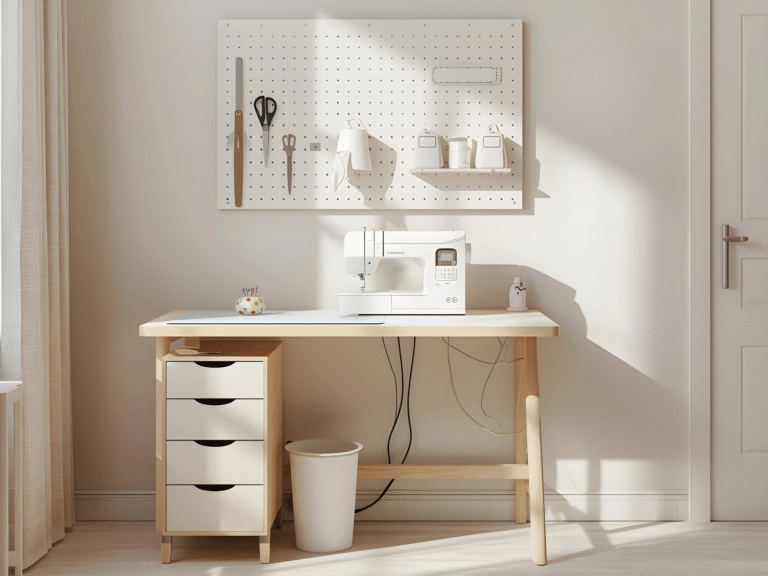
Step 4: Build a fold-down table for your sewing nook
A fold-down table gives you a real work surface that tucks away. You can buy a fold-down wall desk or build one from a heavy plywood top, a piano hinge, and a folding bracket or chain.
Helpful project guide: Fold-Down Workbench – Family Handyman
Size guide
- Width: match your closet width minus 2 inches for clearance
- Depth: 18 to 24 inches works for most small machines
- Height: 28 to 30 inches for seated sewing
Build steps
- Cut the tabletop to size. Sand edges.
- Fasten a ledger board to the wall at the final height.
- Attach a continuous hinge between the tabletop and ledger.
- Add folding brackets or side arms to hold the top level.
- Test with your machine. Check leg room.
- Round the front corners for safety.
Step 5: Add bright, safe task lighting
Many closets have a dim bulb. That makes sewing hard and unsafe. Add LED task lights with a switch you can reach while seated. Under-shelf bars or puck lights are simple. Pick lights with a color temperature around 4000K to 5000K. This looks bright and clear.
External link: Best Under-Cabinet Lighting – Wirecutter
Lighting tips
- Place a light over the machine area to reduce shadows
- Put a second strip under a shelf for cutting or tracing
- Use cable clips to keep cords tidy
- If you use a power strip, choose one with surge protection
If you are unsure about wiring, use plug-in lights only. Always follow the instructions from the maker.
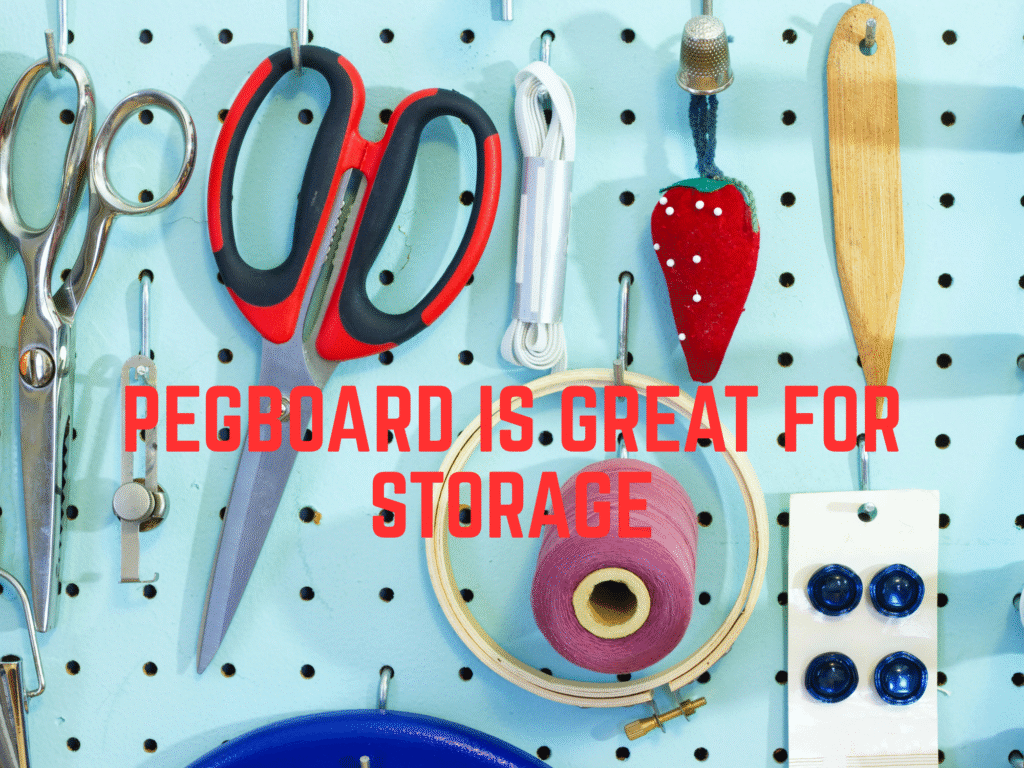
Step 6: Use the door for smart craft closet organization
The door is a storage wall. Make it work hard. You can mount a shallow rack, pegboard, or pockets. Many crafters use an over-the-door system, so there is no drilling.
Ideas to try:
- Over-the-door rack for thread, trims, and paint
- Pegboard panel for scissors, rotary cutters, and rulers
- Clear shoe pocket organizer for glue sticks and pens
- Magnetic strip for small metal tools and clips
External link: SKADIS Pegboard System – IKEA
Place sharp tools high if you share the home with kids. Put daily grab items at eye level. Label every pocket or hook to make clean up easy.
Step 7: Plan power and safety
Sewing machines, irons, and lights need power. In a sewing nook inside a closet, safety comes first.
- Use a grounded outlet and a quality surge protector
- Unplug heat tools after use
- Keep cords off the floor with clips
- Never cover vents on your machine
- Place a small smoke alarm nearby if you use heat tools
If your closet does not have an outlet, run a single heavy-duty extension cord only while you sew. Coil and store it after.
Step 8: Store fabric and tools the simple way
Simple craft closet organization beats fancy systems. Clear bins and labels help you see all you have. You avoid buying the same fabric twice. You also save time.
Fabric
- Fold fabric in the same size
- Sort by color or project
- Use acid-free boards for special fabric
Notions and tools
- Small divided bins for snaps, needles, and buttons
- Cups for pens, chalk, and seam rippers
- A long hook for rulers and cutting mats
- A tray for “current project” pieces
If you want a budget system that starts at home, grab our Budget-Friendly Crafts Binder Template. It helps you plan purchases and shop your stash first.
Step 9: Make your close-and-go routine
A good craft studio is not only about shelves. It is also about the last five minutes.
My routine:
- Put tools back on the door
- Coil the cord and unplug the strip
- Slide the machine back or fold the table
- Drop small scraps in the bin
- Place the current project in a clear box
For busy weeks, use our Fast Craft Ideas Template to pick 30 to 60 minute projects that fit your tiny space.
Free Closet Craft Studio Planner
Download the free, easy-to-use template in the link below to make life a little easier for you as you start your fast crafting journey:
Turning a large cabinet or armoire into a craft studio
No closet? A tall cabinet can be your closet craft setup. The same parts still work.
- Mount adjustable standards inside the cabinet
- Add a fold-down table that clears the doors
- Use the inside of the doors for hooks and pockets
- Add LED strip lights under a shelf
- Keep the machine on a pull-out shelf if space allows
Many people like this because the cabinet looks nice in a living room or bedroom. It also locks if needed.
Budget, tools, and weekend timeline
You can build a clean craft closet on a small budget. Prices vary by store and brand. Here is a simple estimate.
Budget tiers
- Starter: $150 to $250 for basic wire shelves, over-door rack, and a fold-down table kit
- Mid: $250 to $500 for stronger wood shelves, better lights, and a sturdy folding bracket
- Plus: $500 to $800 for cabinet-grade shelves, dimmable lights, and custom door panels
Basic tool list
- Tape measure and pencil
- Stud finder and level
- Drill and driver bits
- Handsaw or circular saw for the tabletop
- Sanding block
- Safety glasses
Weekend plan
- Friday night: Measure and buy parts
- Saturday morning: Install wall standards and shelves
- Saturday afternoon: Build and mount the fold-down table
- Sunday morning: Add lights and door storage
- Sunday afternoon: Load bins, label, and test your clean-up routine
Sample packing list for bins
- Fabric: cotton, knits, interfacing
- Notions: zippers, elastic, buttons, snaps
- Tools: scissors, rotary cutter, ruler, seam ripper
- Thread and bobbins
- Patterns and tracing paper
- Cutting mat and small iron board
- Glue sticks and craft knives
- Safety gear: glasses and finger guards
Label each bin on two sides so you can read it even if you move things around.
Safety reminders
- Wear eye protection when drilling
- Use anchors that match your wall type
- Keep sharp tools in holders
- Unplug irons and heat tools after use
- Do not overload one outlet
If you rent, choose no-drill door storage and freestanding shelves where possible. Use removable adhesive hooks. Check your lease if you plan to drill.