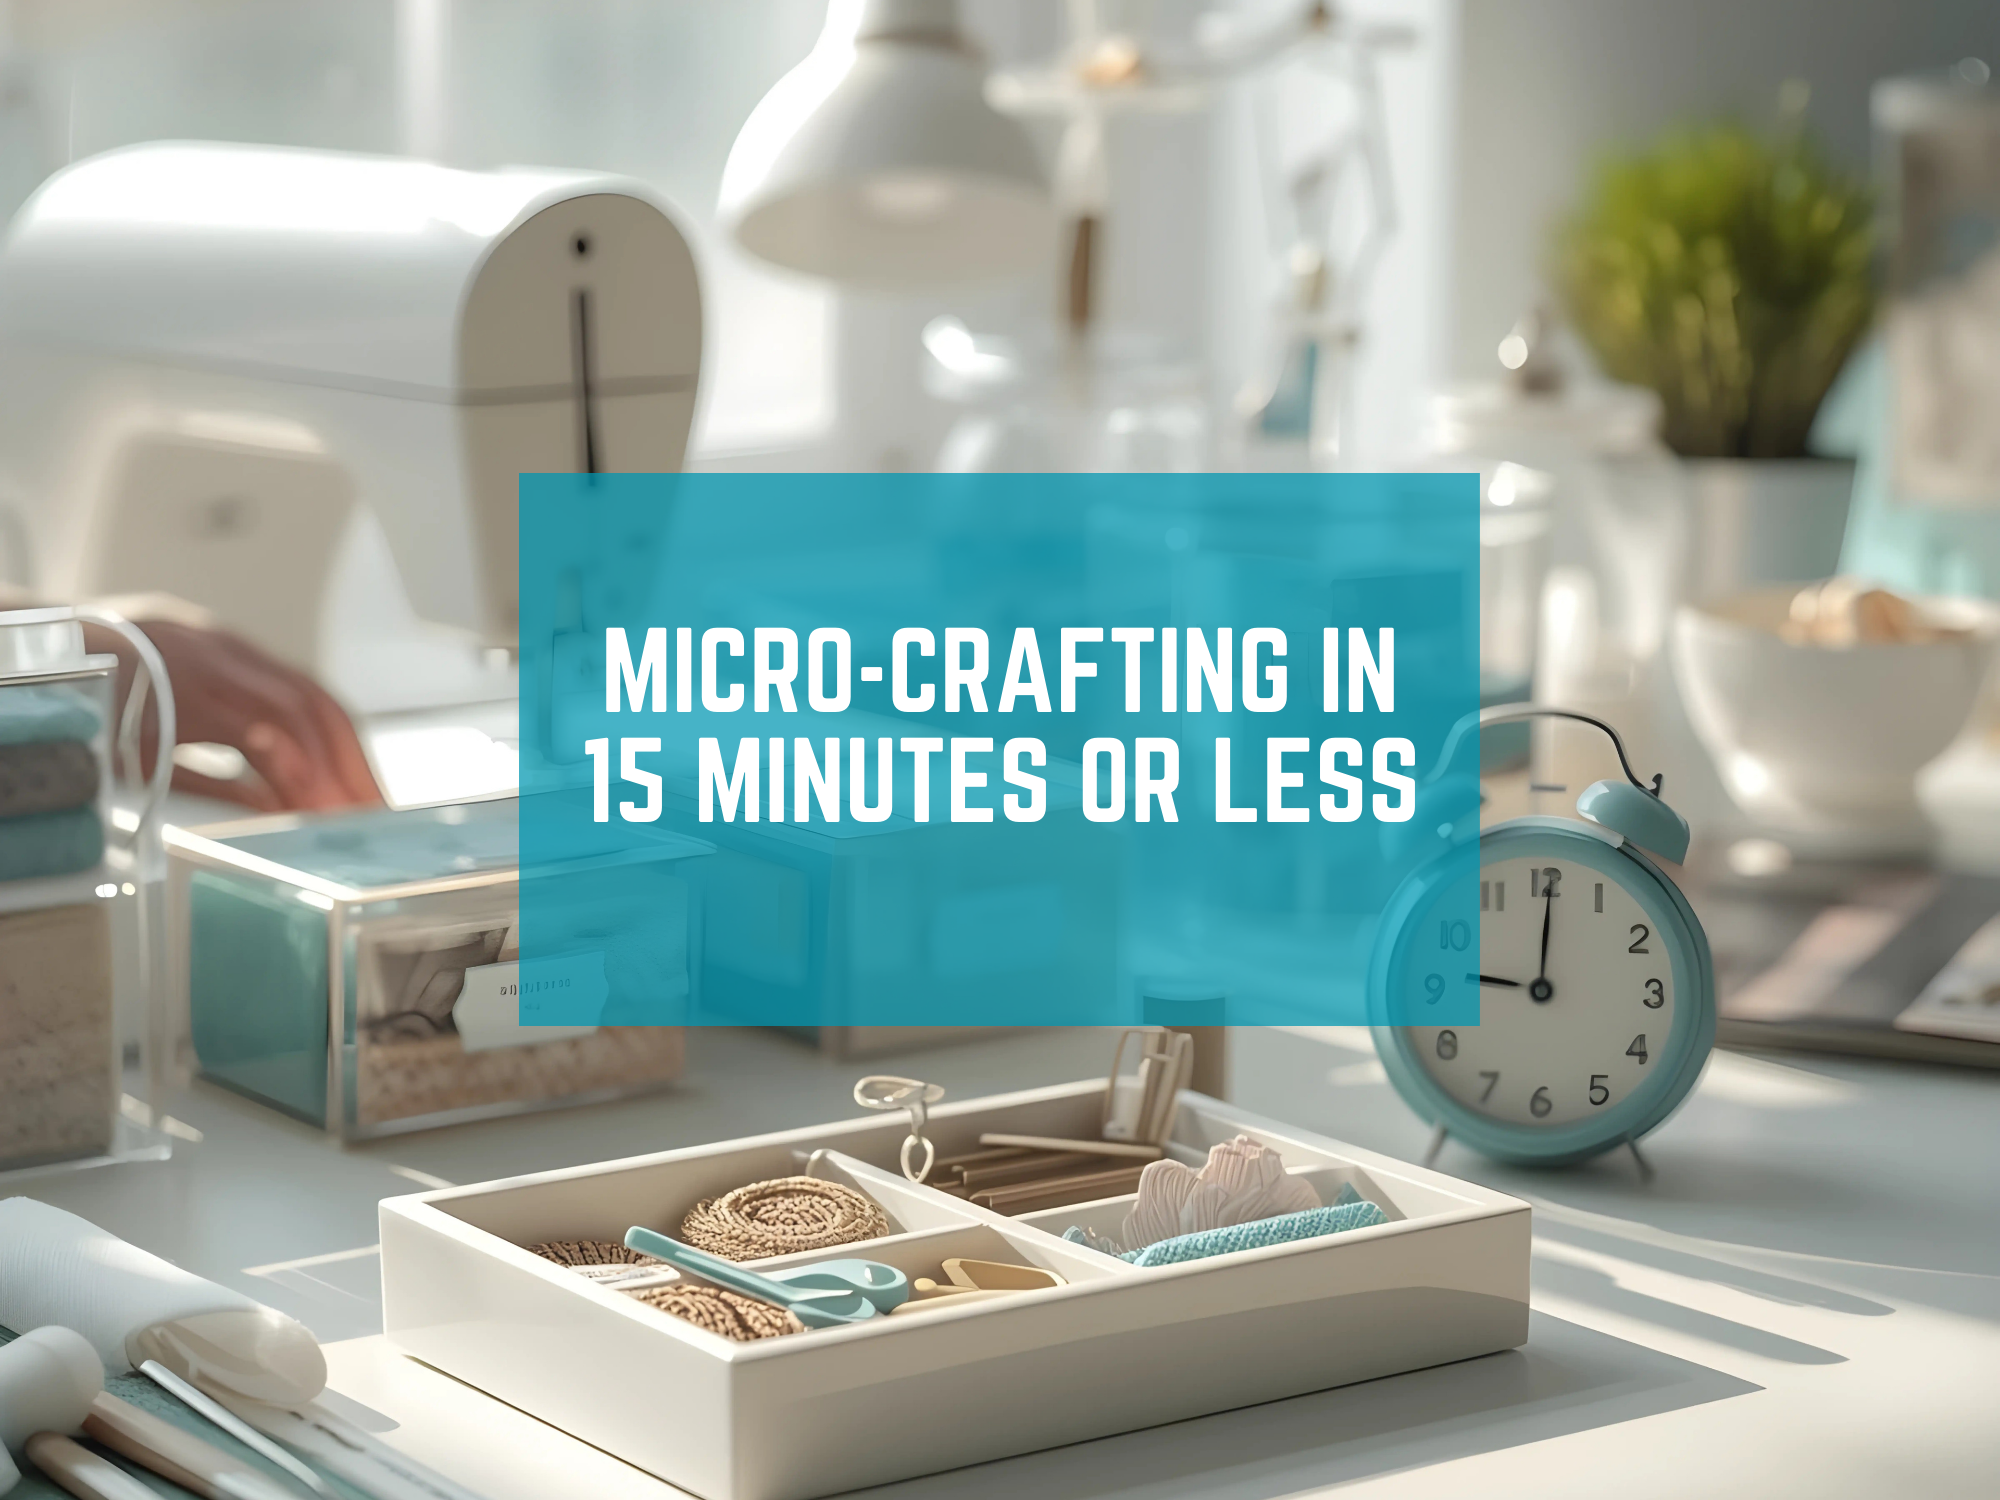
Do you ever think, I only have 10 or 15 minutes to spare, so why start? I used to think that too. Then I tried micro-crafting. Micro-crafting breaks creativity into tiny sessions. You work in small steps that fit your day. It feels light, not heavy. It builds wins fast. Little by little, the work adds up.
If you like simple, beginner ideas, you will feel at home here. I share easy steps, quick wins, and safe starts. I also link to helpful guides so you can learn more. For more tools and simple planners, visit the Trusti ASG blog.
What Is Micro-Crafting?
Micro-crafting is the habit of starting small. You choose one tiny step that takes 15 minutes or less. You do that step, then stop. Later, you do the next tiny step. These steps might be cutting two squares, sewing one seam, or gluing a few pieces in a scrapbook. This method turns big ideas into doable parts. It is great for beginners and busy people.
Many readers tell me they love quick crafts that do not need a big setup. A short session lets you enjoy craft time without stress. When the timer goes off, you clean up fast and feel proud. You made progress today.
Why Small Steps Work
Small steps are easy to start. Easy starts lead to action. Action leads to results. When you see progress, you want to keep going. That is how a small habit grows into a full craft project you finish.
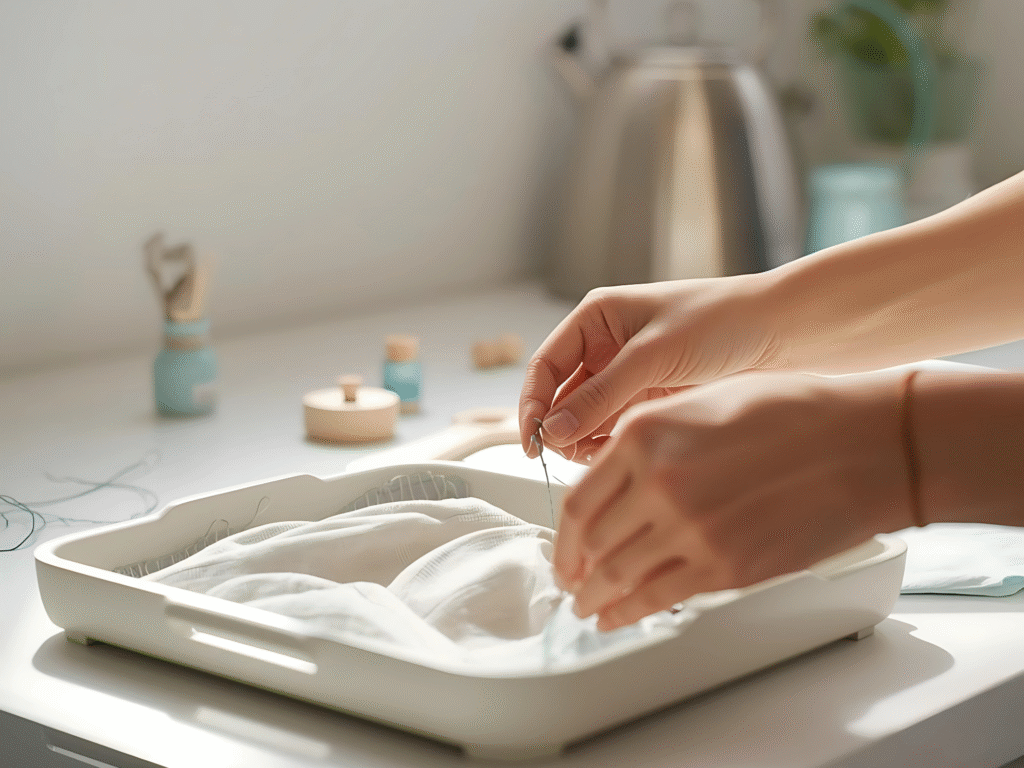
Small steps also fit real life. You can stitch while water boils. You can cut paper during a short break at work. You can press a seam while you wait for a call. You no longer need a long, open afternoon to create.
Find Pockets of Time
Look for tiny spaces in your day. Here are a few to try:
- Breakfast: cut two pieces, label them, and place them in a zip bag.
- Lunch break: draw a small sketch for a card front.
- After school pickup: plan tomorrow’s step on a sticky note.
- Dinner prep: set a timer while the oven preheats and trim threads.
- Before bed: tidy your tray, refill bobbins, or set out fabric for the next step.
If you like timers, try the Pomodoro Technique. It teaches short focus sprints with breaks. I often use one 15 minute sprint for my session.
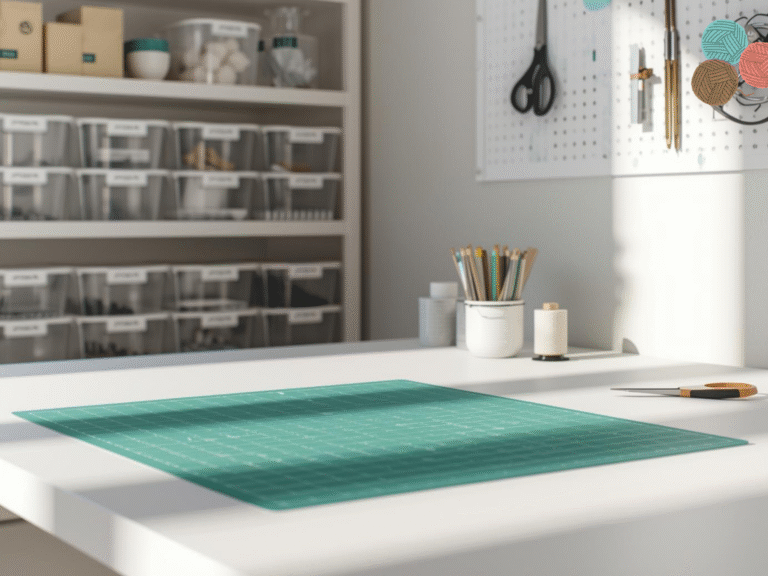
Set Up a 15 Minute Station
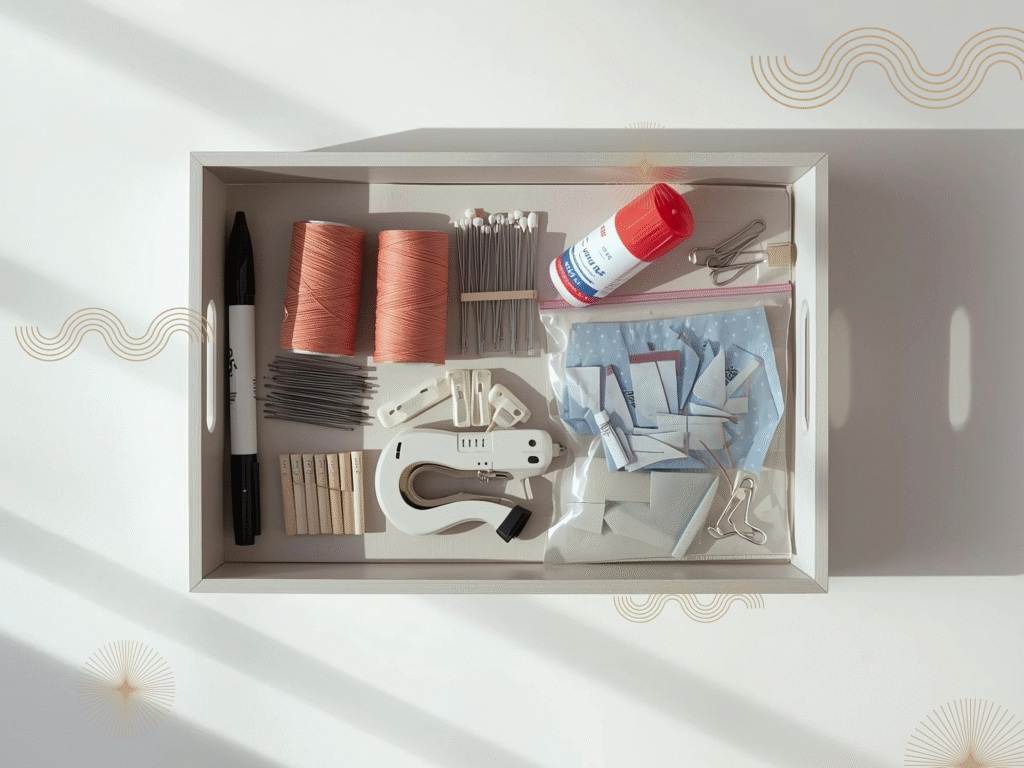
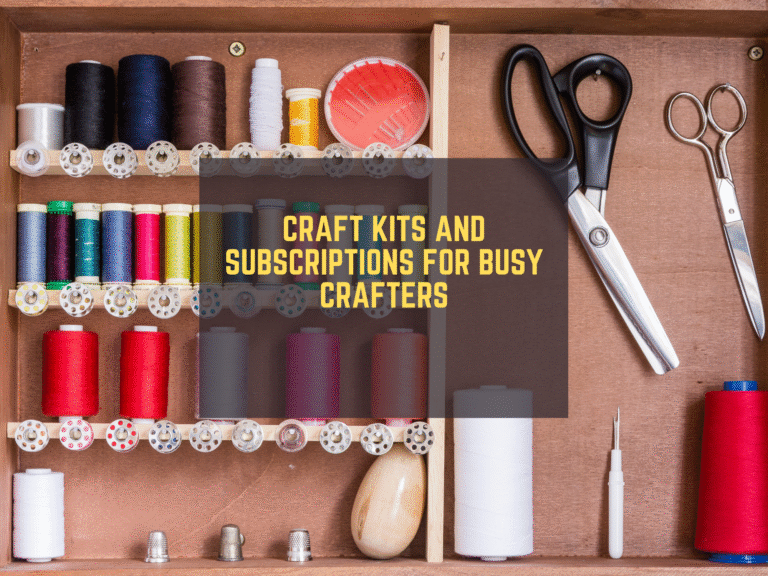
A small setup helps you start fast. Keep a tray or tote that holds only one active project. Include:
- Scissors, small ruler, fabric marker, pins, needles
- Pre-wound bobbin, thread, seam ripper, clips
- Glue stick, double-sided tape, tape runner for paper crafts
- A few pre-cut pieces in labeled bags
- A kitchen timer or your phone timer
Put the tray where you can reach it in seconds. When you sit down, you are ready to go. No hunt. No mess.
For more step-by-step printables that make setup easy, visit our free resources at Trusti ASG.
30 Tiny Tasks You Can Do in 15 Minutes or Less
Pick one. Set a timer. Stop when it rings.
Sewing and Quilting
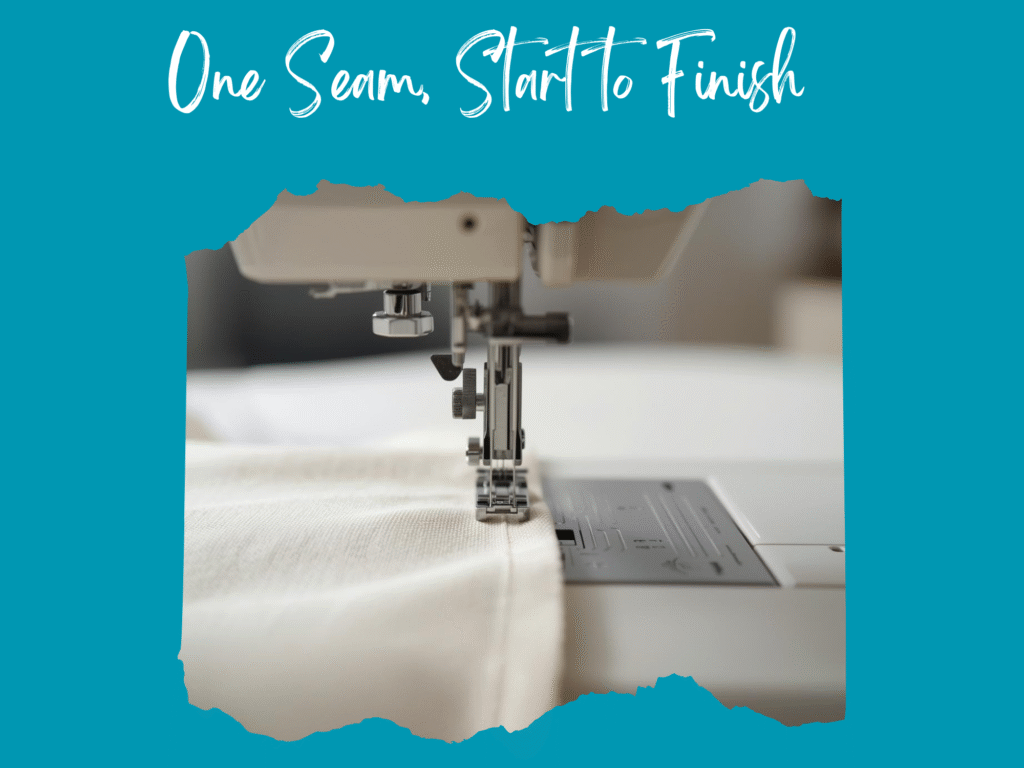
- Sew one straight seam.
- Press the seam you just sewed.
- Chain-piece two or three patch units.
- Cut four squares or rectangles for the next block.
- Wind a bobbin and thread the machine.
- Practice a hand stitch like the simple backstitch on a scrap.
- Pin pieces for the next seam so you can sit and sew later.
- Trim loose threads on a finished section.
- Fuse one small patch or repair a hem with fusible tape.
- Make a test swatch to check tension.
Paper Crafts and Scrapbooks
- Glue three photos and add one sentence to each.
- Punch shapes and sort them by color.
- Stamp a set of card fronts, three at a time.
- Cut mats for two photos.
- Add washi borders to a page.
- Write a quick journaling note while the memory is fresh.
Yarn and Needlework
- Knit five rows on a dishcloth.
- Start a tiny crochet motif or a corner of a granny square.
- Weave in ends on a finished piece.
- Block a small swatch with a spray bottle.
- Sort yarn scraps and make a mini pom pom.
Fabric Crafts and Mending
- Iron on a patch to fix a small tear.
- Hand sew a button back on a shirt.
- Mark a hem line with chalk and pins.
- Cut fabric for one zipper pouch panel.
- Baste a zipper with long stitches to sew later.
Design, Prep, and Organize
- Sketch a 2 inch design for an applique or stamp.
- Make a mini color plan with four swatches.
- Write tomorrow’s step on a sticky note and set it on your tray.
- Tidy your kit and put tools back in the same spot.
These are true 15 minute crafts. They end clean. They start fast. They build momentum.
A Sample Day of Micro-Crafting
Here is what a busy day can look like.
- 7:30 a.m. While coffee brews, I cut four squares for a pouch panel.
- 12:15 p.m. During lunch, I sew one seam and press it.
- 3:45 p.m. In the pickup lane, I plan the next step on a sticky note.
- 6:10 p.m. While pasta water heats, I trim threads and pin the zipper.
- 9:00 p.m. Before bed, I baste the zipper in place.
Each session was 5 to 12 minutes. I did not rush. By the end of the day, my pouch front was ready to stitch. The small steps made the work feel easy.
Beginner Roadmap: Your First 7 Days
Use this simple plan to get started. Keep your tray stocked. Stop at the timer, even if you feel like doing more.
- Day 1: Set up your tray. Choose one project. Write three tiny steps.
- Day 2: Cut two small pieces. Put the rest back in the bag.
- Day 3: Sew one seam. Press it.
- Day 4: Glue or pin parts for the next step.
- Day 5: Add one small design detail: a label, a line of stitching, a sticker.
- Day 6: Do a five minute tidy of your kit. Refill thread or tape.
- Day 7: Put all finished parts together for a photo. Celebrate the win.
If you like printable checklists and planners that match this plan, explore our tools at Trusti ASG Free Templates.
Tips That Keep You Moving
- Pick the next step before you stop. Leave a note on your project so you can start fast next time.
- Batch prep on weekends. Pre-cut pieces or wind bobbins so weekdays are easy.
- Keep it visible. Store your tray where you can see it, but out of reach of kids or pets.
- Use a simple timer. Fifteen minutes feels short and safe. The Pomodoro Technique is a good place to start.
- Stop on a win. Ending with a small win builds confidence and joy.
How Micro-Crafting Helps You Finish
When you take tiny steps, you lower the hurdle to start. You also keep a promise to yourself. That builds trust and energy. Over time, you stack small wins into big ones. A zipper pouch becomes a set of pouches. A few scrapbook cards become a full album. One seam becomes a finished tote.
I make space for this in my own life. I do not wait for a perfect free day. I work in small parts, and I see steady progress. You can do that too. Choose one small task today. Set a timer. Begin.
Free Micro-Crafting in 15 Minutes or Less – Quick Start Planner
Download the free, easy-to-use template in the link below to make life a little easier for you as you start your fast crafting journey:
Ready to Try Quick Craft Sessions?
Micro-crafting is simple and kind. It meets you where you are. It turns short breaks into joyful progress. If you want ideas for quick craft sessions, use the list above and save this page. For more tips, templates, and planning guides that support quick crafts and busy makers, visit the Trusti ASG blog.
You do not need hours to create. You need a small plan, a timer, and a friendly start. Your next finished project can begin right now, in the time it takes the water to boil.