Big craft projects can feel scary. A large quilt, a detailed scrapbook, or a complex costume can look like a mountain. I have felt that too. The truth is you do not need hours each day. You just need a plan you can trust. In this post, I share a friendly project breakdown so you can use small blocks of time and still finish your big craft with pride.
I will show step by step instructions you can apply to sewing, quilting, scrapbooking, and more. We will set mini goals, track progress in a checklist or journal, and keep your momentum strong. By the end, you will see how even 15 minutes a day can move a big diy project forward.
Why a Project Breakdown Helps
When a task looks too big, our brain freezes. A project breakdown turns one big craft into tiny actions. Tiny actions are easy to start. Easy to start means you will come back tomorrow. This is how you finish big craft projects when life is busy.
If you are brand new to quilting and want a simple start-to-finish overview, this beginner guide walks through the main steps from cutting to binding.
Pick One Big Craft and Define the Finish Line
Choose a single focus. Say it in one sentence, like:
- Make a 60 by 72 inch throw quilt
- Build a 20-page vacation scrapbook
- Sew a lined cape for a Halloween costume
Then define “done.” For a quilt, “done” might mean washed, labeled, and ready to gift. For a scrapbook, it might mean photos printed, pages assembled, and a title page. For a costume, it might mean hemmed, pressed, and fittings complete. Clear finish lines guide your step by step instructions.
Need beginner-friendly patterns to match your time and skill? Here are simple quilt projects with step-by-step patterns and illustrations.
Divide Into Phases
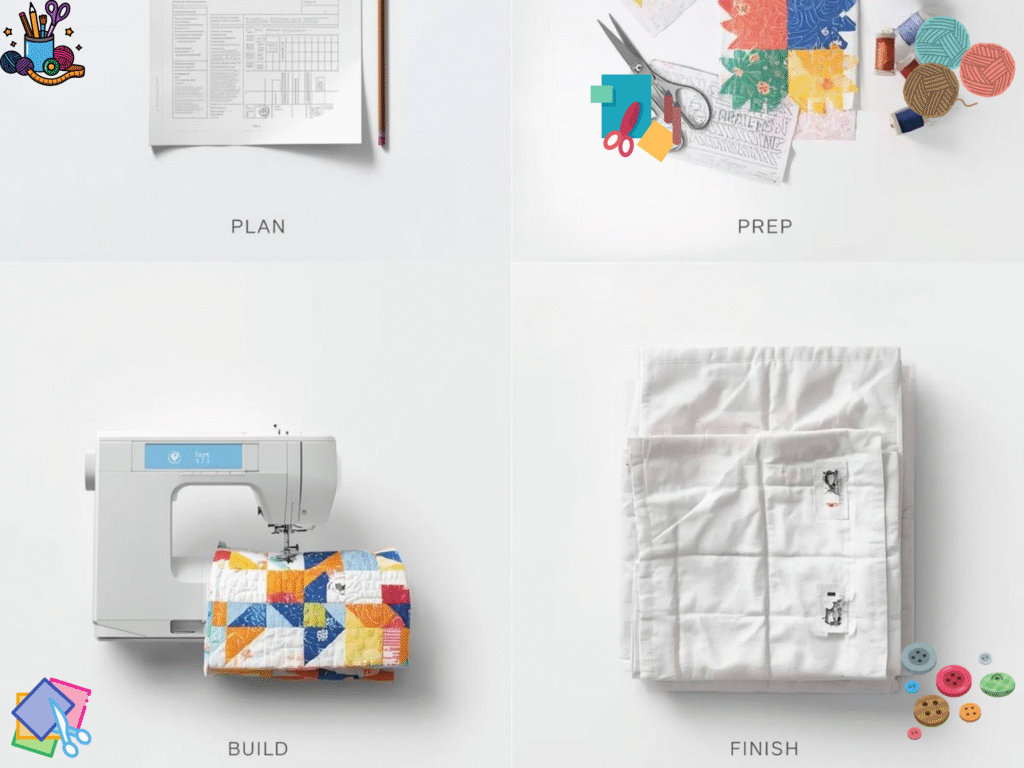
Every big craft has natural parts. Use these four phases and adapt them to your project:
- Plan
Pick pattern or concept, measure, choose fabric or papers, list supplies. - Prep
Wash or press fabric, print photos, back up files, pre-cut pieces. - Build
Sew blocks, assemble pages, fit and join garment parts. - Finish
Quilt and bind, add journaling and embellishments, hem and press.
If you like a more detailed planning approach for quilts, these planning and time-management ideas are helpful and practical.
Make a Day-By-Day Micro Schedule
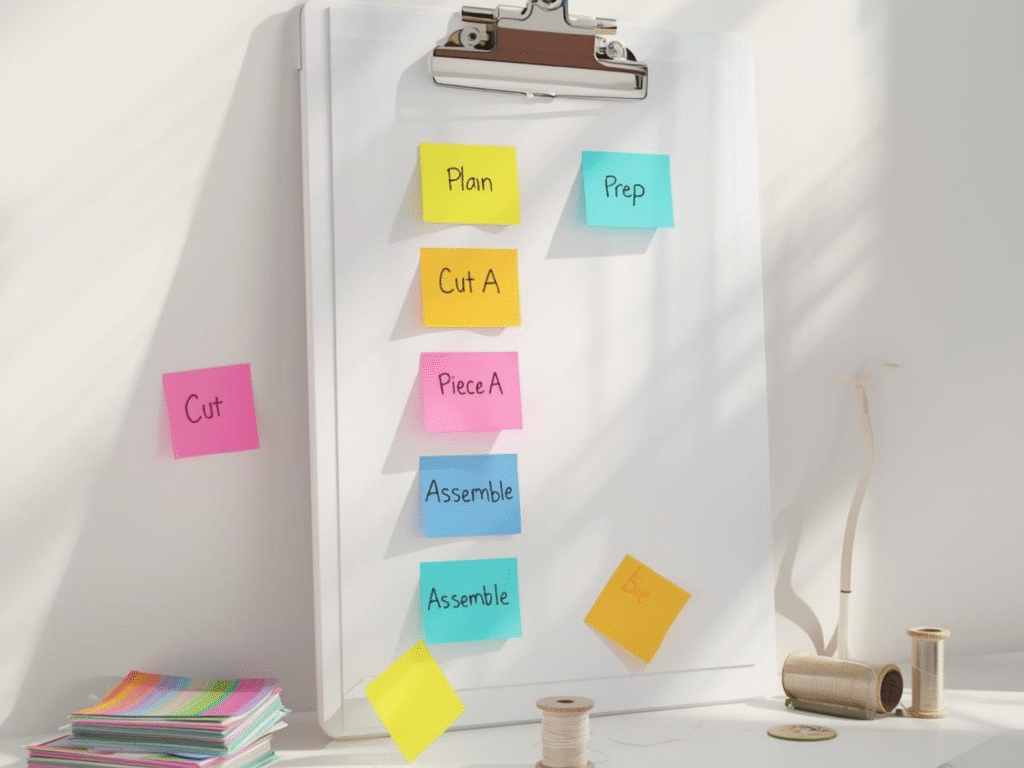
Here is a simple 7-day project breakdown for a throw quilt. You can copy this idea for scrapbooks or costumes.
- Day 1 – Plan
Pick the pattern. Read the supply list. Check fabric yardage. If you need help reading pattern details like yardage and sizing, this quick lesson shows what to look for on pattern envelopes. - Day 2 – Prep
Wash and press fabric. Gather tools. Wind two bobbins. Set out a scrap to test stitches. - Day 3 – Cut
Cut strips and squares. Label piles with sticky notes. Put extras in a zip bag. - Day 4 – Piece Part A
Sew blocks 1 to 10. Trim. Press seams the same way each time. - Day 5 – Piece Part B
Sew blocks 11 to 20. Join rows 1 to 3. - Day 6 – Assemble
Join the rest of the rows. Press the top flat. Baste with batting and backing. - Day 7 – Finish
Quilt simple lines. Attach binding. Stitch the label. Wash and dry.
For scrapbooking, swap steps: Day 1 choose theme, Day 2 gather photos, Day 3 print and trim, Day 4 lay out pages 1 to 5, Day 5 lay out pages 6 to 10, Day 6 add titles and journaling, Day 7 final review and protectors.
For a costume: Day 1 choose pattern and size, Day 2 cut fabric, Day 3 sew bodice, Day 4 sew sleeves and attach, Day 5 sew skirt or pants, Day 6 install zipper and lining, Day 7 hem and press.
Block Your Time Like a Pro
You do not need a whole afternoon. Try one of these tiny blocks:
- 10 minutes to set up or clean up
- 15 minutes to cut small pieces or chain-piece seams
- 20 minutes to press and join one row
- 30 minutes to assemble a page or fit a sleeve
Short, focused blocks beat long, rare sprints. If time is tight, this guide shares realistic ways quilters carve out time, even with busy days.
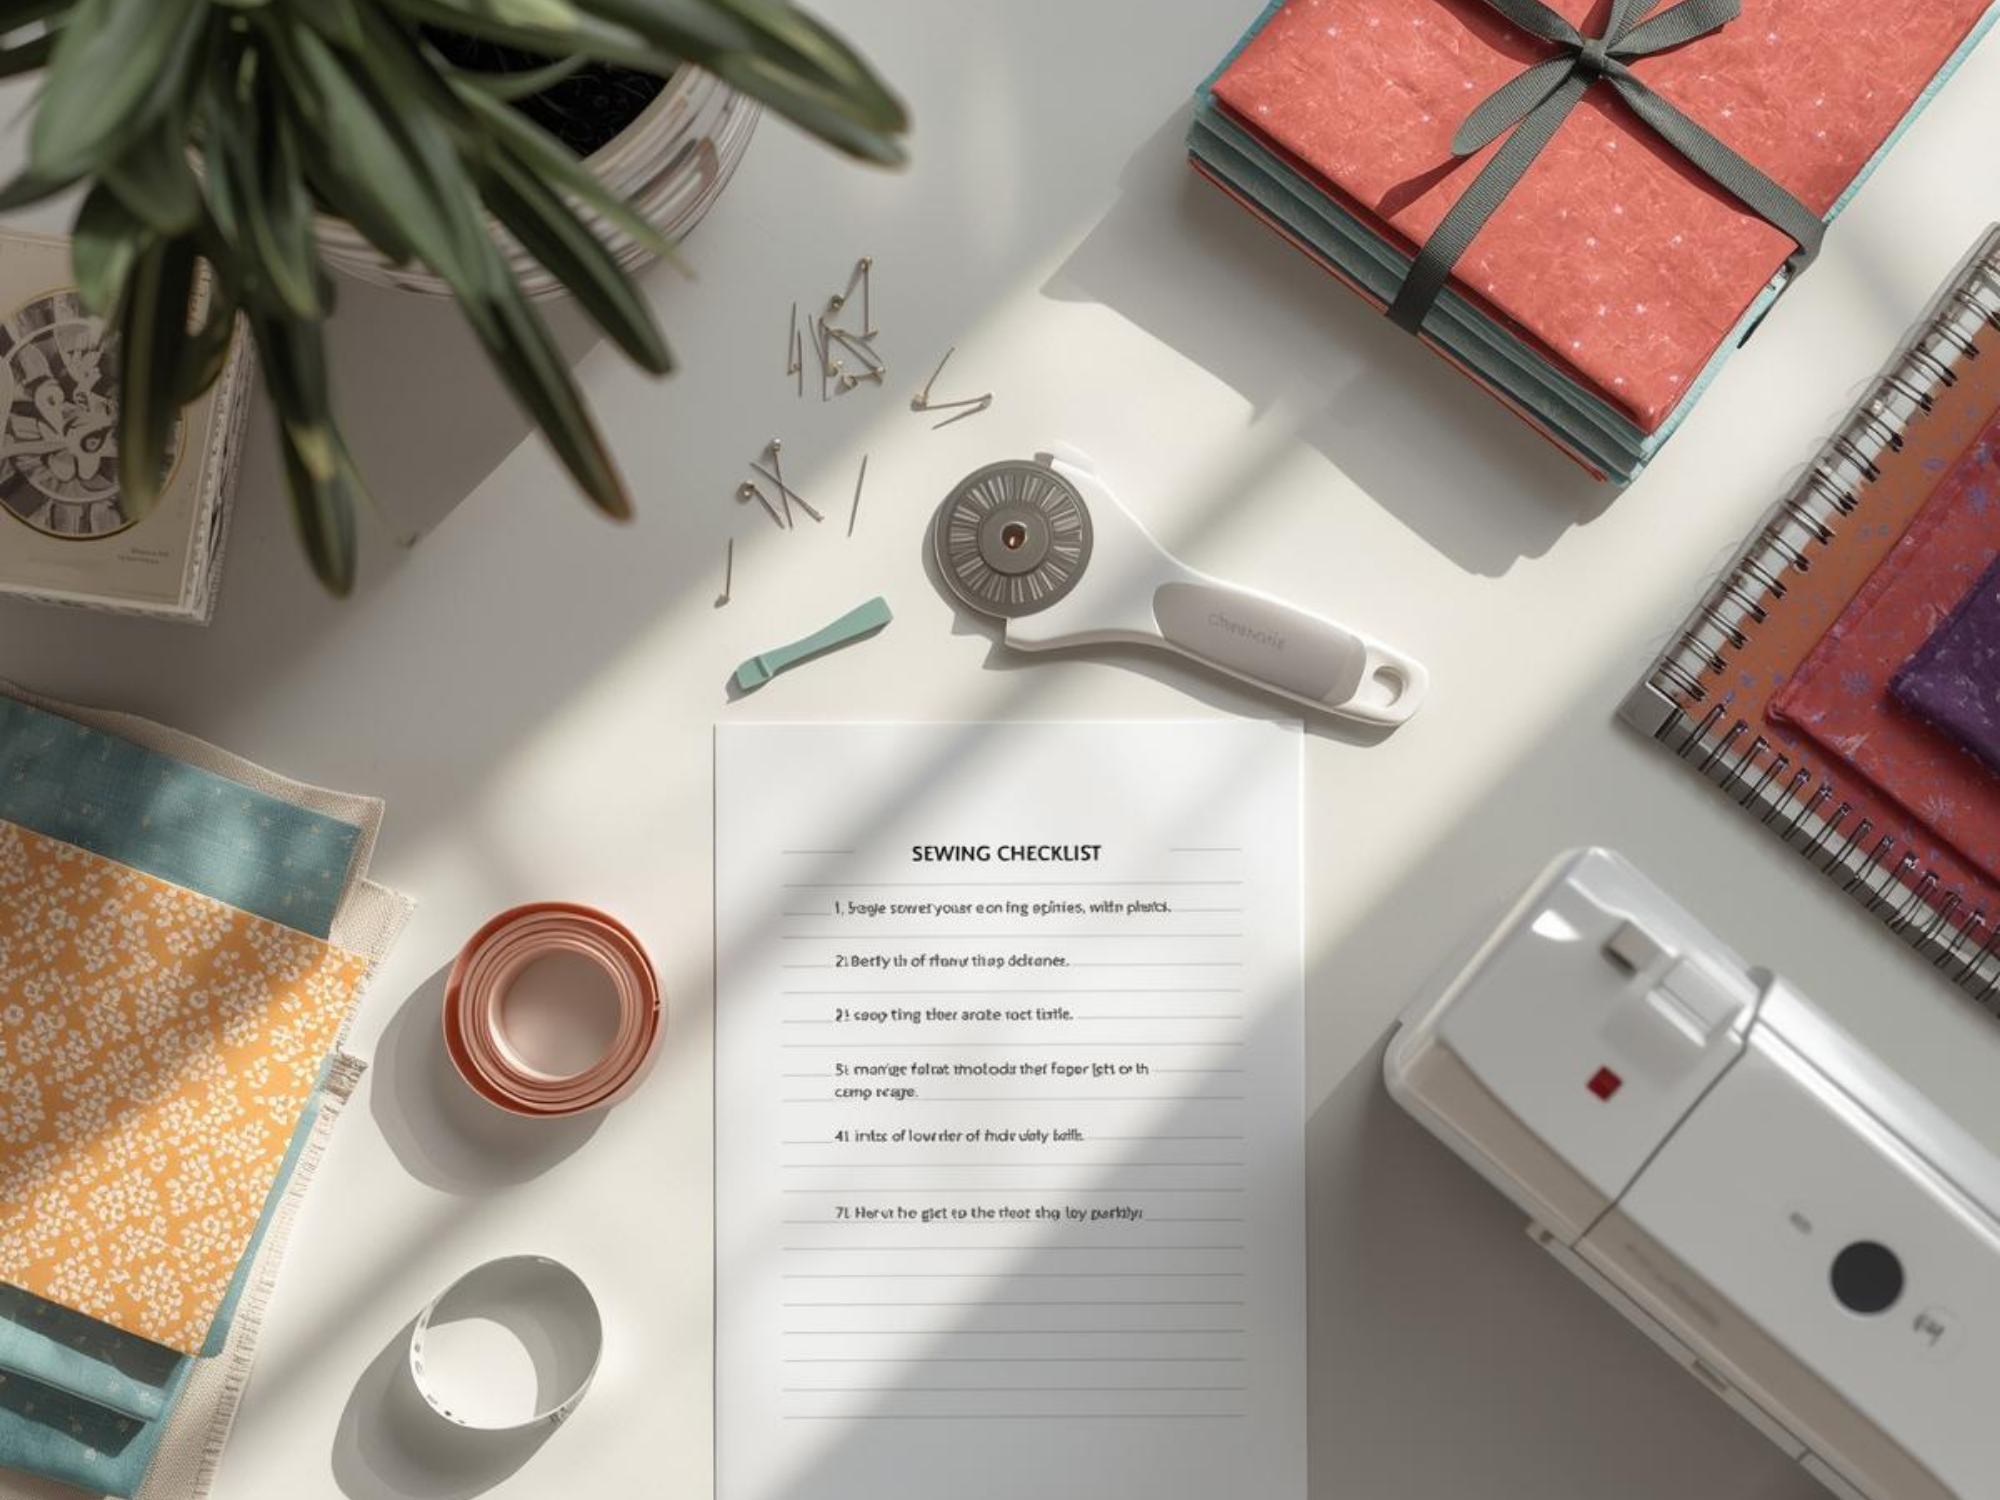
Use a Checklist and a Project Journal
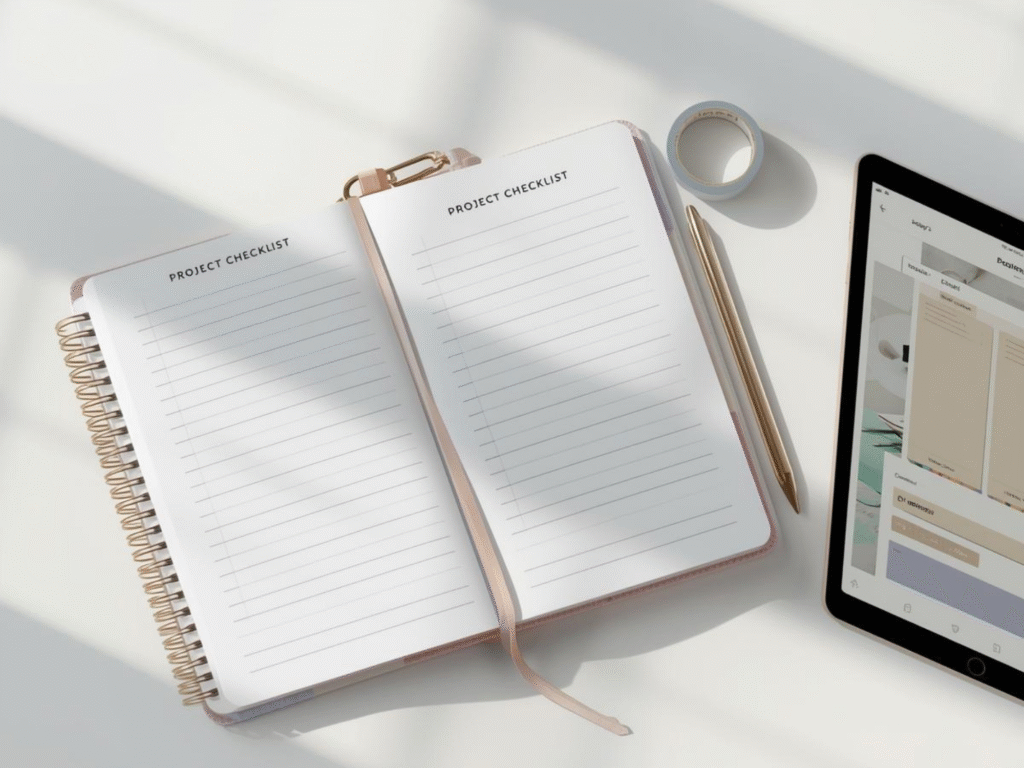
A checklist stops you from asking “what next.” A project journal captures notes you will need later.
What to track in your checklist:
- Phase and step lists
- Date and time spent
- What you finished
- The next step
What to jot in your journal:
- Needle size and stitch length
- Fabric sources and color codes
- Pattern changes that worked
- Lessons to repeat on the next big craft
Prefer digital planning for sewing? This overview shares helpful tools and a free downloadable planner to sketch and queue projects.
Example: Big Quilt, Broken Into Mini Goals
Here is a simple sequence that turns a big craft into small wins. Repeat until done.
- Sort fabric by color.
- Cut only what you will sew today.
- Sew one set of blocks.
- Press and trim.
- Join one row.
- Log what you did and write the very next action.
If you want a gentle quilt to try from start to finish, a rag quilt has simple seams and forgiving edges. It is a solid first win while you learn.
Crafting Examples Big Projects To Do At Home

Not sure where to start? Try these crafting examples big projects to do at home:
- A throw quilt for your couch
- A memory book for a trip or graduation
- A cosplay cape with lining and trim
- A set of floor pillows with zippers
- A kitchen set with pot holders, placemats, and a table runner
Each idea becomes doable when you apply a project breakdown and write step by step instructions for the week ahead.
Common Roadblocks and Easy Fixes
- I keep losing my place.
Keep one master checklist on a clip board. Circle tomorrow’s first step before you clean up. - I forget what needle or stitch I used.
Write it in your project journal every time you sit down. - Cutting takes forever.
Pre-cut for only one session. Cutting a little and sewing right away keeps energy high. If you like quick beginner shapes and building blocks, these basics help you move faster with fewer mistakes. - I do not know which pattern is right.
Pick a beginner pattern with clear diagrams. Start small and add features next time. This list of beginner quilts is a good place to choose your first big win.
Keep Learning and Build Your Skills
Reading patterns gets easier with practice. If you want deeper skill work like drafting or fitting, these short lessons can help you grow with confidence over time.
Your Next Step
Pick one project today. Write your project breakdown in 7 tiny steps. Set a 15-minute timer and do the first one now. Small actions done daily will finish even the biggest big crafts.
If you want free tools to plan your time and track your tasks, visit our resources on Trusti ASG for printable planners, checklists, and guides that fit busy lives. You can also save this page and share it with a friend who is starting a big craft.
For more deep dives and ready-to-use worksheets, explore quilting time planning ideas from experienced makers and sewists too.
Free Day-by-Day Big Craft Template
Download the free, easy-to-use template in the link below to make life a little easier for you as you start your fast crafting journey:
Final Word
Big diy projects do not need big blocks of time. You need clear step by step instructions, a steady rhythm, and a list you can follow. With a smart project breakdown and a simple checklist, your big craft projects will stop feeling impossible and start looking like the masterpiece you will soon finish.