When I finally get a free hour to make something, I want it to count. If you feel the same, this guide is for you. We will set up a simple plan so your next hour delivers real progress. I will show you how to plan ahead, cut distractions, set one clear goal, and use easy timers to stay on track. With this approach, craft in focus becomes normal. You will leave your table feeling proud and ready to come back.
Along the way, I will share helpful resources and tools. I will also link to ideas on my site so you can keep learning and grab printable helpers.
Why a “Power Hour” Works
A power hour is one focused work session that lasts 60 minutes. It is short, but it is enough time to move one step forward. Our brains like clear starts and stops. When we plan the steps and protect the time, we work faster and with less stress. We finish small parts that add up to a big win.
If you have ever felt stuck, a power hour helps you feel progress again. It is good for beginners too. You do not need a whole afternoon. You just need a plan and one hour.
Pick Your Target Before the Hour Starts

The key to one hour crafts is knowing what you will do before the hour begins. Do not wait to choose during the session. Pick a single, concrete goal that can be done or clearly “moved forward” in 60 minutes.
Try these examples:
- Cut all fabric pieces for a zip pouch
- Wind three bobbins and test stitches on scrap
- Assemble the front panel of a pillow
- Sort one bin of scraps by color and size
- Glue and clamp pieces for a simple wood or paper craft
Keep your goal action based. “Work on my quilt” is vague. “Chain piece rows 3 and 4” is clear.
Want a ready-to-use planning sheet? Search my site here: trustiasg.com/?s=power+hour.
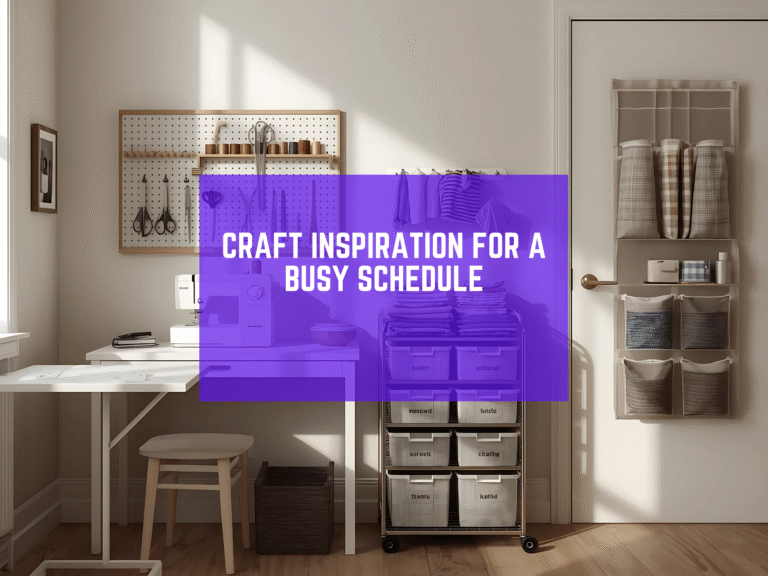
Set Up Your Space in Two Minutes
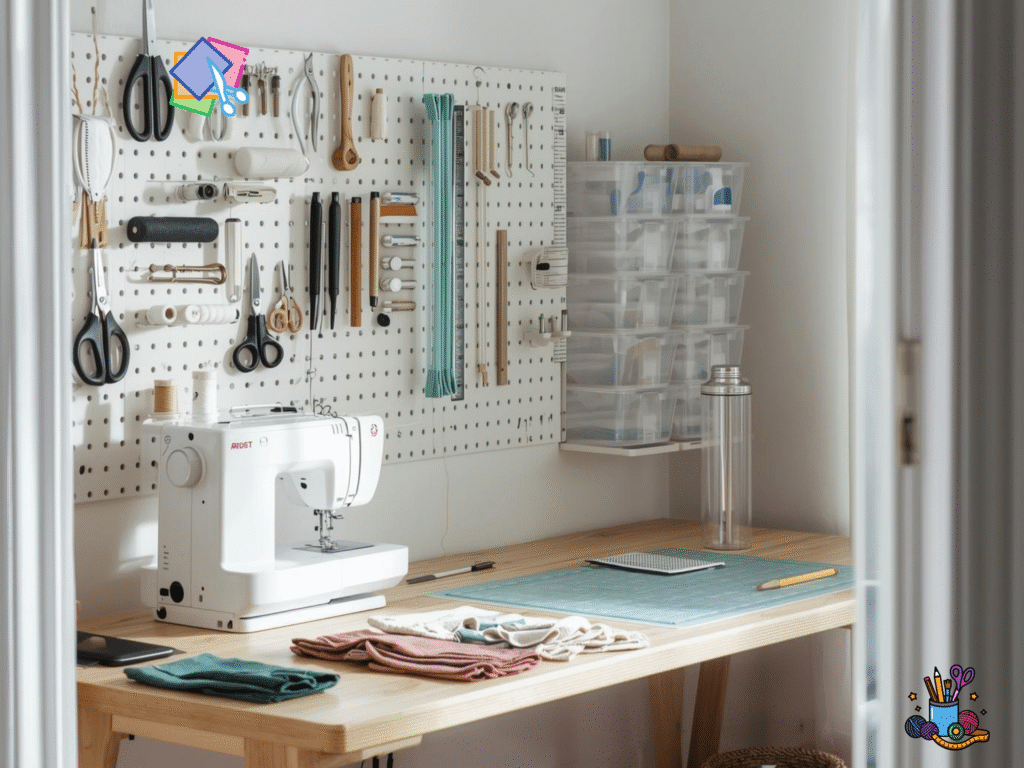
Do a quick stage-and-prep before the clock starts.
- Clear a small work zone.
- Put tools within arm’s reach.
- Place the materials in the order you will use them.
- Keep a scrap dish or bin for threads and trims.
- Fill your water bottle so you do not have to get up.
If you want more small space tips, see my guides: trustiasg.com/?s=sewing+space and trustiasg.com/?s=organization.
Kill Distractions Fast

Protect the hour like an appointment.
- Silence your phone, or place it in another room.
- Close extra tabs on your computer.
- Tell your family you will be busy for one hour.
- Use simple music without lyrics if you like background sound.
The goal is to focus on craft so your mind stays on one task at a time. If a new idea pops up, jot it on a sticky note and keep going.
Use a Timer to Stay Honest
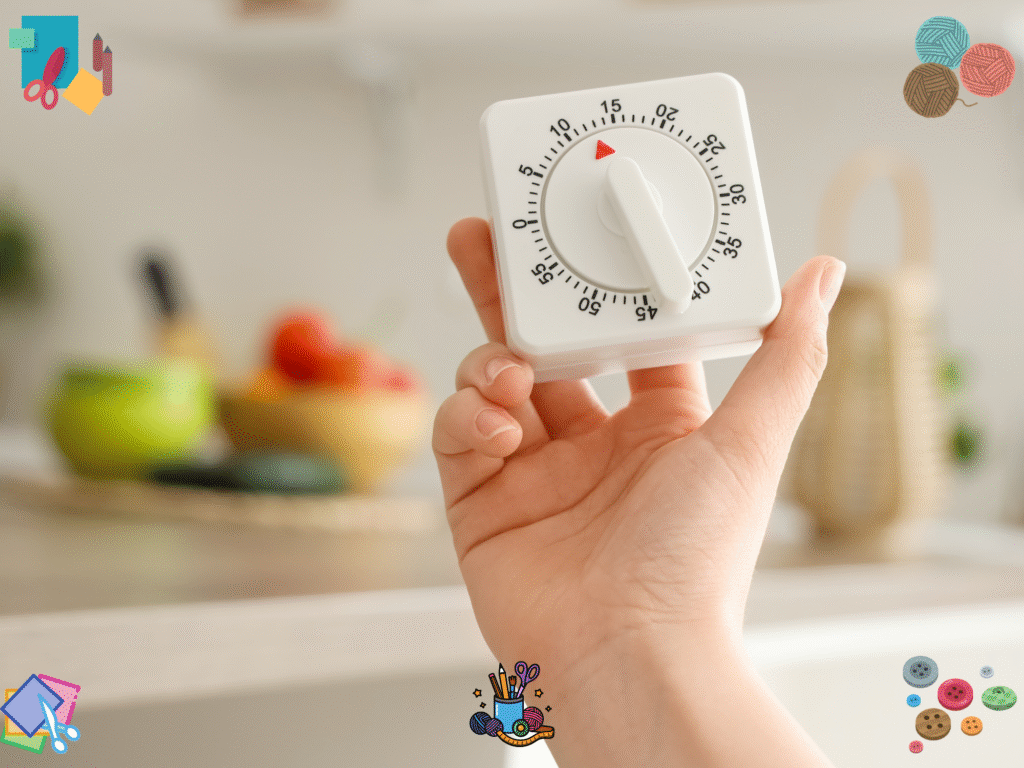
Timers help you start, keep pace, and stop. Many crafters like the Pomodoro method. It means you work for a set time, take a short break, then repeat. You can learn the basics here: Pomodoro Technique. If you want a no-signup web timer, try TomatoTimer.
Two simple options for your hour:
- 60 Straight: Work for 50 minutes, break for 10 minutes to clean up and journal your next step.
- Pomodoro Pair: Work 25 minutes, break 5, work 25 minutes, break 5. Use the breaks to drink water, stretch, and reset your tools.
If you prefer pen and paper, grab a printable “Power Hour” tracker here: trustiasg.com/?s=Pomodoro.
Choose Beginner Friendly Steps
Simple steps reduce stress and increase wins. Here are easy quick craft ideas that fit a power hour:
- Sew a simple drawstring bag
- Hem a pair of pants or a curtain panel
- Cut applique shapes and fuse them to a base
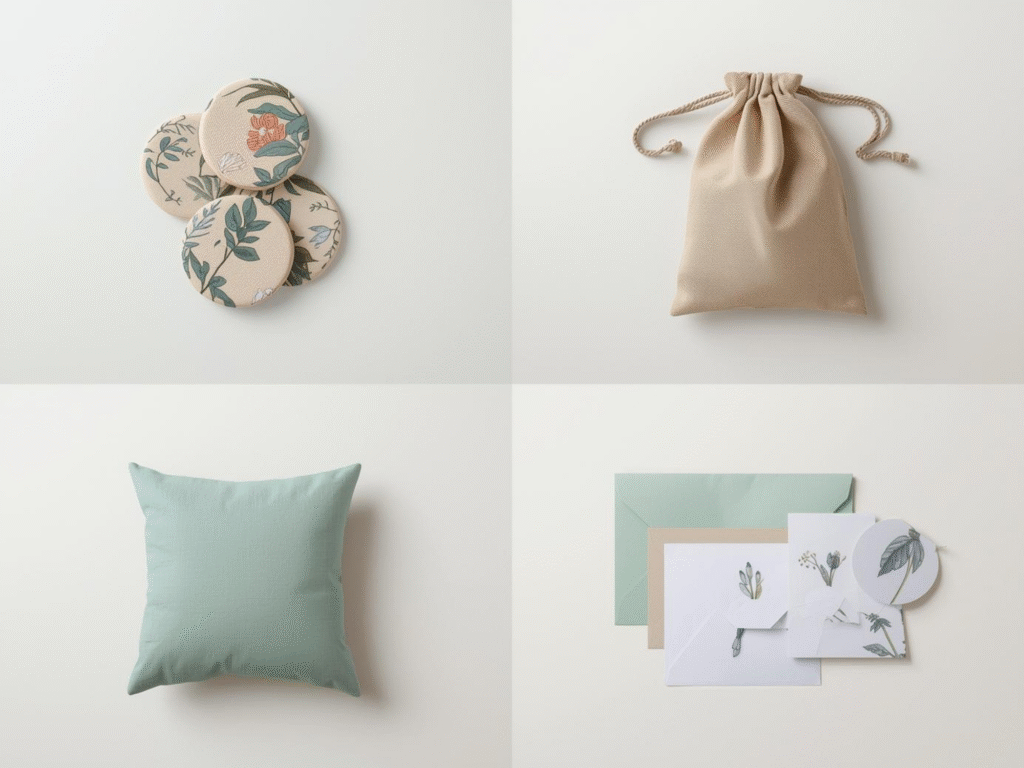
- Make a set of fabric coasters
- Prep a week of hand sewing, like basting or binding
- Assemble greeting cards with pre-cut kits
- Paint and seal small wooden tags or signs
Each idea uses basic crafting techniques that you can learn fast. For free beginner sewing lessons, see the Singer Learn page: SINGER Learn.
One-Hour Action Plan You Can Copy
Use this the next time your hour opens up.
Minute 0 to 5: Prep
Set the timer. Put tools and materials in order. Read your one-sentence goal out loud.
Minute 5 to 25: Block 1
Start the first step. Do not switch tasks. If you get stuck, write the problem on a sticky note and keep moving on the part you can do.
Minute 25 to 30: Reset
Short break. Breathe, drink water, tidy threads.
Minute 30 to 55: Block 2
Finish the main step. If you finish early, begin the next clear step. Keep your hands moving.
Minute 55 to 60: Wrap and Stage
Clean up for three minutes. Then stage the next step for your next session. Leave a note on top that says exactly where to start next time. This keeps your craft in focus for the next hour, and it makes it easy to sit down and get moving.
How to Pick the Right Project for One Hour
Look for these traits:
- Few tool changes
- Few color changes
- Pieces that are already cut or can be cut in one go
- Short seams or short glue times
- Easy stopping points
What to avoid in a short session:
- New-to-you techniques that require long setup videos
- Complex layouts that need a design wall and lots of testing
- Steps with long drying or pressing times that will eat your hour
If you want ready lists of power hour projects, try a search here: trustiasg.com/?s=one+hour.
Track Tiny Wins
Progress fuels motivation. Keep a simple log:
- Date
- Goal
- What I finished
- What blocked me
- Next step
A short log helps you see patterns. You will notice what time of day you focus best, which projects fit an hour, and where you lose time. For a printable tracker, search here: trustiasg.com/?s=tracker.
Upgrade Your Skills in Small Bites
A power hour is also great for skill drills. Spend 30 minutes on one drill, then 30 minutes on a project.
Try:
- Straight stitch lines on scrap, then curved lines
- Even seam allowance practice with a guide
- Zipper insertion on test pieces
- Bias tape application on squares
- Hand backstitch rows for neat seams
Skill drills make projects faster later. If you want basic technique guides, the sewing tutorials here are clear and friendly: SINGER Learn. For time tools, learn more about Pomodoro here: Pomodoro Technique.
Example: A Pillow Cover Power Hour
Here is how I would use a single hour to finish the front of a simple envelope pillow cover.
- Goal: Sew the front panel with applique.
- Prep: Cut shapes and fuse them to the front panel before the hour, or cut them in the first 10 minutes if simple.
- Block 1: Stitch around all shapes with a tight zigzag.
- Reset: Snip threads, press lightly.
- Block 2: Topstitch the border and add any trim.
- Wrap: Write a note for next time, “Hem both back pieces, then assemble.” Place the back pieces and the front panel together in a clear folder.
This kind of plan turns a single hour into a clear result.
Keep It Simple, Keep It Moving
Your first power hours may feel a bit clumsy. That is normal. With a few sessions, you will trust the system. You will see that 60 minutes is enough to move a project forward. When your next free pocket of time opens, you will know exactly what to do.
To recap:
- Choose one clear goal before the hour.
- Stage tools and materials.
- Use a timer and quick breaks.
- Track tiny wins and stage the next step.
For more tools and printables, explore my site:
- Power hour and Pomodoro planners: trustiasg.com/?s=planner
- Small space setup tips: trustiasg.com/?s=small+space
- Project ideas that fit an hour: trustiasg.com/?s=project+ideas
Free Power Hour Planner
Download the free, easy-to-use template in the link below to make life a little easier for you as you start your fast crafting journey:
Final Word
You do not need a full weekend to feel progress. With a plan, a timer, and a single goal, an hour can deliver a real win. Try this on your next free pocket of time. Pick one task, set the timer, and begin. One hour crafts are not about rushing. They are about steady steps that build confidence and joy. Use simple crafting techniques, keep your craft in focus, and lean on quick craft ideas that fit your time. You will be amazed at what one focused hour can do.