If your fabric stash has taken over your room, you are not alone. I have been there too. Piles look big, heavy, and hard to sort. The fix is simple. Use a few smart fabric folding techniques, pick the right containers, and label what you own. In this guide I will show fabric organization ideas that work in small spaces. You will learn how to fold, file, or roll fabric so it is visible and ready to grab. I will also share ways to sort by color or material, use cubbies and drawers, and keep a simple inventory so you can find what you need without the mess.
Start With A Quick Sort
Before you buy bins or baskets, do a light sort. Lay fabric on a table or bed and make four groups.
- Keep and use soon
- Keep and store
- Scraps
- Donate or give away

Sort by type or by color. If you sew clothes, sort by fiber first like cotton, linen, knits. If you quilt, sort by color first like warm, cool, neutrals. Keep it basic so you can finish in one short session. If you need small space ideas while you work, our sewing room organizing posts can help you plan shelves and surfaces that fit tight corners.
Pick Your Method: Fold, File, Or Roll
You do not need fancy gear to organize fabric. Choose one method for yardage and one for small cuts. The goal is to stand fabric up so you can see the edges.
Fold On Boards For Shelf Filing
Many sewists use comic book boards or mini bolt boards. Wrap yardage around a board, secure with a small clip, and stand it upright on a shelf. It looks like a tiny fabric shop and makes color pulls fast. If you use boards, choose acid free so the paper will not harm fabric during long storage.
Want to see how it works in real life. This short video shows comic boards in use for a neat, visible wall of fabric.
File Fabric In Drawers
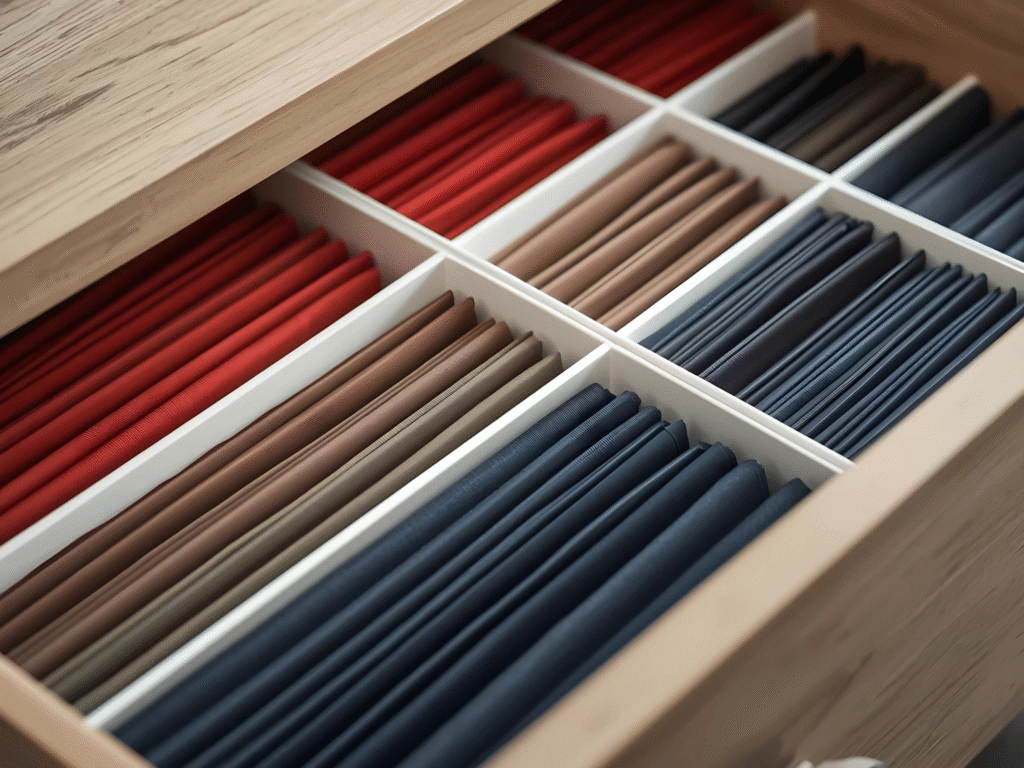
If you have deep drawers, use the file method. Fold yardage to a rectangle that fits your drawer height and stand each piece like a file folder. This keeps colors visible and stops piles from falling over when you pull one out. A simple how to with photos shows the idea and drawer options.
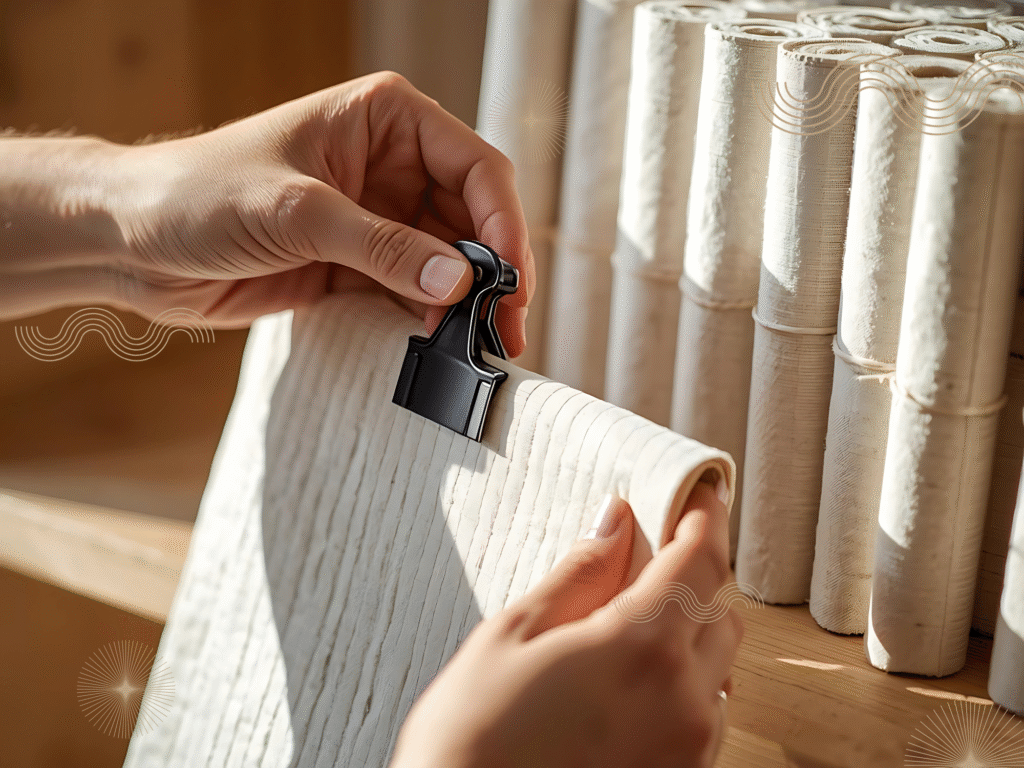
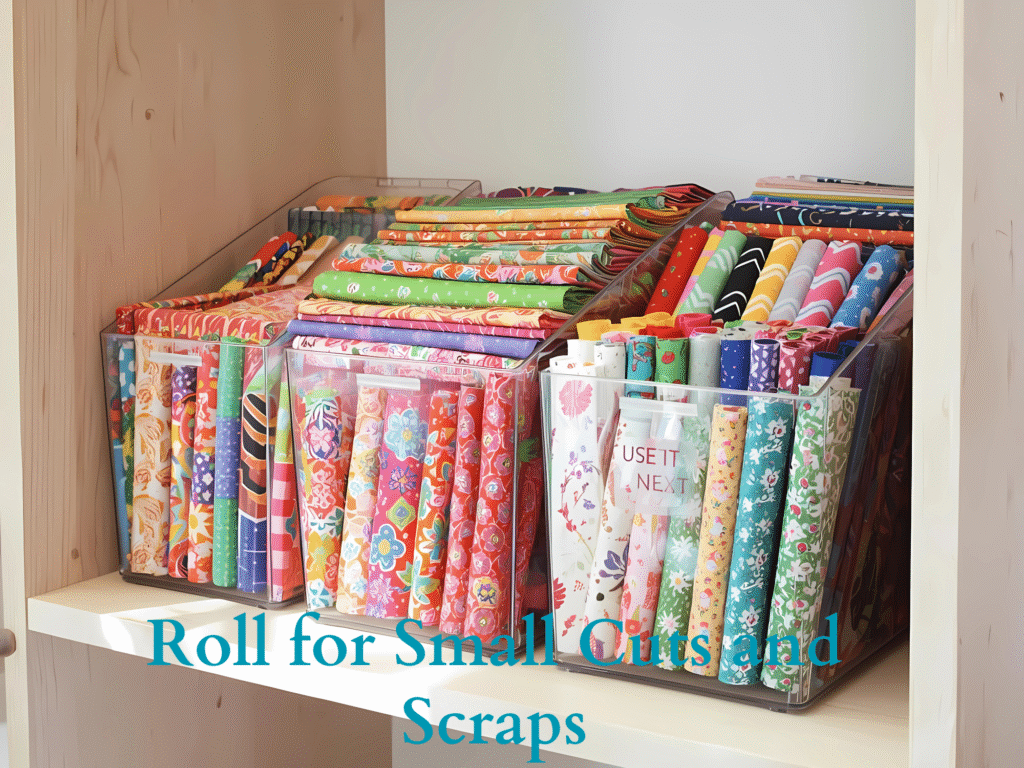
Roll For Small Cuts And Scraps
Rolling is great for fat quarters and odd shapes. Make loose rolls, use a small elastic or scrap ribbon, and drop them into shallow bins. Rolls fit well in baskets on open shelves. Many sewists also roll scraps by color so they can grab a handful for quick projects.
Choose Containers That Let You See
Clear is king for fabric storage. When you can see the edge, you will use it.
- Fabric storage bins that are clear and stackable are best for shelves and closets.
- Fabric storage boxes with lids keep dust away. Add a front label so you do not have to open it.
- Fabric storage baskets work when you love open shelves. Pick ones with a tight weave so small bits do not snag.
- Fabric storage drawers are great under a table or inside a cart. Use dividers so stacks stay in place.
Cube shelves make this easy because every cube holds one category. Many crafters use the IKEA Kallax as a base and add boxes or doors as needed. Reviewers also praise it for small rooms because it doubles space at a low price.
If you want styling and layout ideas for cube shelves in a sewing room, this guide shows examples and a simple desk hack that pairs well with cubbies.
Set Simple Rules For What Goes Where
Pick rules you can follow on busy days. Here is a starter set.
- Yardage over one yard goes on boards or files on a shelf.
- Half yards and fat quarters go in a bin, upright by color.
- Scraps smaller than a fat quarter go in a color box.
- Special fibers like wool or silk get their own box to avoid lint or snags.
These fabric storage ideas are easy to keep because each piece has a clear home. If you need more small space tips, see our post on smart storage and zoning a tiny sewing area.
Label And Keep A Simple Inventory
A label saves time. Use large, clear words like Cotton, Linen, Knits, Black and White, Warm Reds, or Low Volume. Add yardage if you know it. For a simple inventory, keep a one page list near your shelf. Write the color, fiber, and amount when you add new fabric. Update when you cut. You can also keep a small digital list. Our organizing posts cover quick label and list ideas you can copy.
How To Organize Fabric Scraps
Scraps pile up fast. Do not let them spread across your table. Try this three step plan.
- Sort by color into clear shoe boxes.
- Cut common sizes like 2 inch or 5 inch squares when you are watching TV.
- Keep a “use it next” box with fun colors near your machine.
Need project ideas to use scraps right away. These roundups share coasters, pincushions, bags, and more beginner friendly makes so scraps become finished items instead of clutter.
Free Fabric Organization Template
Download the free, easy-to-use template in the link below to make life a little easier for you as you start your fast crafting journey:
A One Hour Setup Plan
You can set up a clean fabric storage system in one hour. Here is a simple plan you can follow today.
- Minute 0 to 10. Do the four pile sort.
- Minute 10 to 20. Fold five to ten pieces on boards for shelf filing.
- Minute 20 to 35. Roll all fat quarters and small cuts. Drop into two bins by warm or cool.
- Minute 35 to 45. Label your cubes, bins, boxes, and drawers.
- Minute 45 to 60. Make a one page inventory and place it on a clip near your shelf.
This plan gives quick traction. You will see color at a glance and stop buying the same blue twice.
Where To Put Everything
Here are layout ideas that make fabric storage simple in small rooms.
- Use a cube shelf for yardage and fat quarters. Store the iron or cutting mat on top.
- Slide shallow drawers or a rolling cart under your table for scraps and tools.
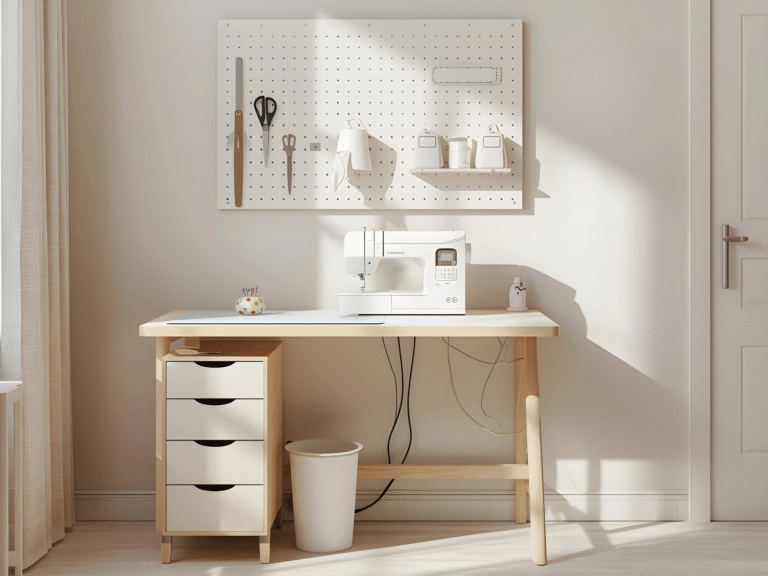
- Hang a pegboard for rulers, shears, and tape so drawers hold only fabric.
- Keep a donate box on the floor near the shelf. When a print no longer fits your style, drop it in right away.
If you are designing a craft closet or corner, our space and storage guides show pegboards, door racks, and fold down tables that pair well with fabric storage bins and baskets.
Keep It Tidy With A Tiny Habit
A tidy stash stays tidy when you build one tiny habit. After each project, spend five minutes putting fabric back in its home. Re-fold on boards, re-file in drawers, or re-roll and return to the correct bin. Check your inventory and update yardage. That five minute reset beats a weekend clean up.