Do you sew, knit, paint, and paper craft in the same small spot? It is easy for fabric, yarn, paints, and papers to mix and become one big mess. This guide shows simple steps for organizing craft supplies so your craft room works for every passion you have. We will use zones, modular bins, and a clear schedule. You will be able to switch from one project to the next without losing parts or focus.
Why a Zone Plan Works
When you enjoy multiple hobbies, your tools compete for space. A zone plan solves that. You give each hobby a home. Sewing lives in one area. Knitting lives in another. Painting has a safe spot too. This system stops the “where did I put it” hunt and keeps storing craft supplies simple.
A helpful mindset is to sort by category first. That is the heart of the KonMari method. Tidy by type, then give each type a place.
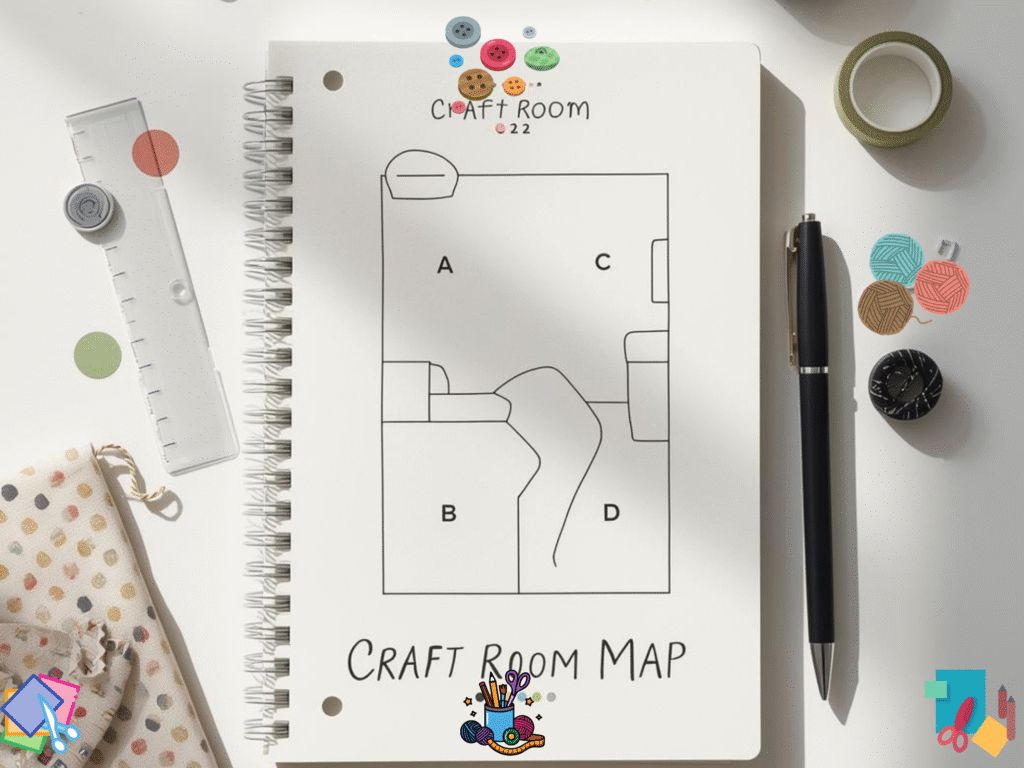
Step 1: Map Your Zones
Grab a notebook. Sketch your room. Draw the shelves, desk, and closet. Now assign each section to a craft. Here is a starter map you can copy:
- Top shelf for fabric and patterns
- Middle shelf for yarn and needles
- Lower shelf for paints and brushes
- Drawer or box for paper, glue, and cutting tools
Add color labels so you can spot things fast. Blue dots for sewing. Green dots for knitting. Yellow dots for painting. Red dots for paper crafts. This keeps multiple craft areas clear at a glance. It also gives you strong ideas for storing craft supplies that you can use right away.
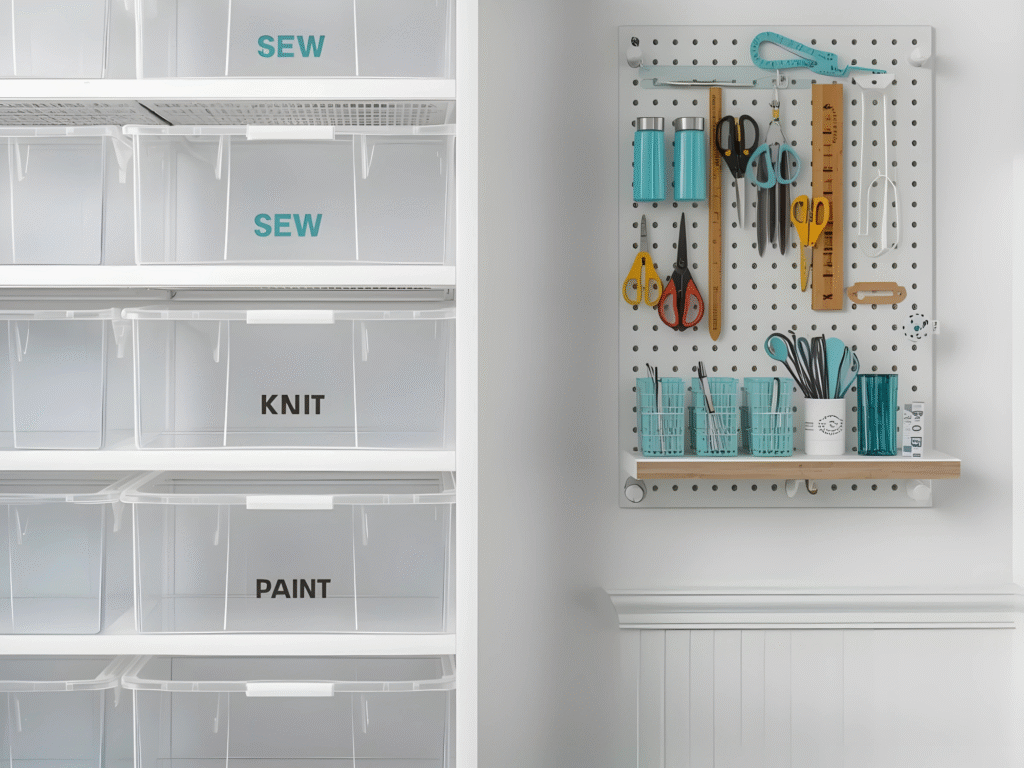
Step 2: Pick Modular Containers That Stack
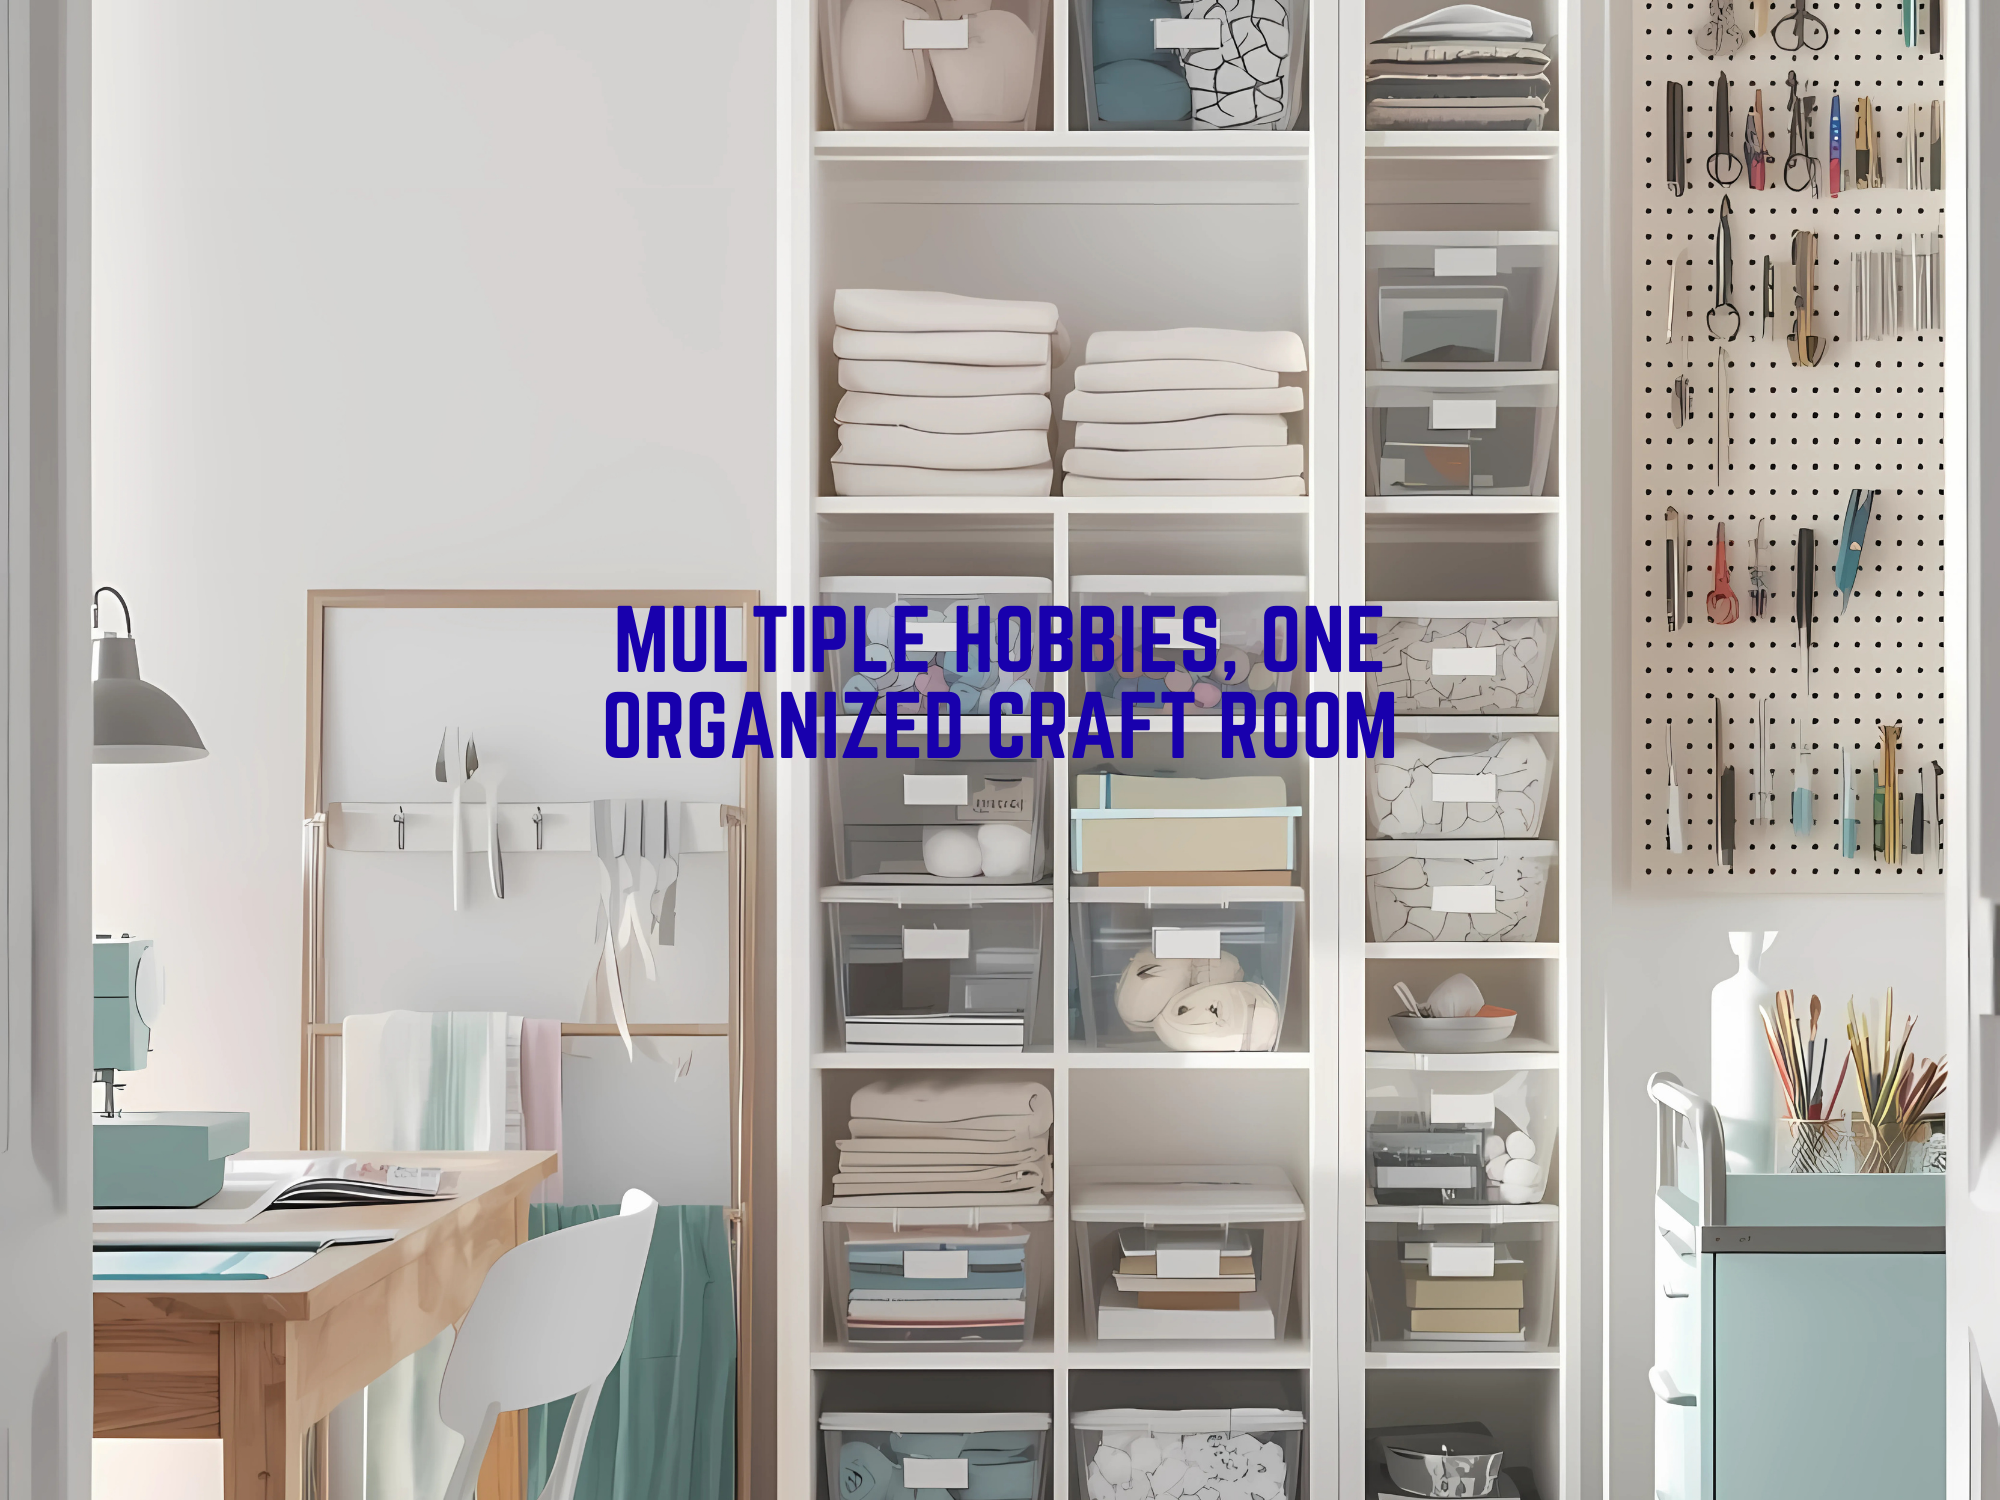
Modular bins make a small room feel bigger. Choose clear boxes that stack, with lids that lock. Keep one size for small tools and one size for larger items. This makes a clean wall of boxes that fit any shelf.
You can see many clear and modular options at The Container Store. Their modular and clear collections show how boxes stack and label well, which is great when organizing craft supplies.
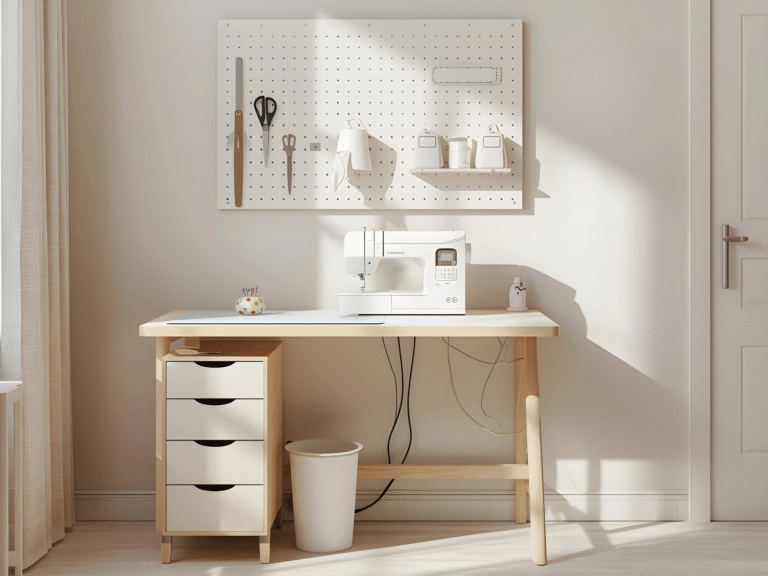
Pegboards save desk space too. Mount a pegboard above your table and hang scissors, rulers, thread, or brushes. The IKEA SKÅDIS system has hooks, cups, and shelves you can rearrange any time.
If you need more shelves, use an adjustable wire system. It lets you raise or lower shelves as your projects change. Home Depot has adjustable wire closet systems you can adapt for crafts.
Step 3: Label Like a Pro
Labels stop mix ups. Use short names and a number.
- SEW-01 Thread
- SEW-02 Needles and feet
- KNIT-01 Yarn by weight
- PAINT-01 Acrylic tubes
- PAPER-01 Cardstock
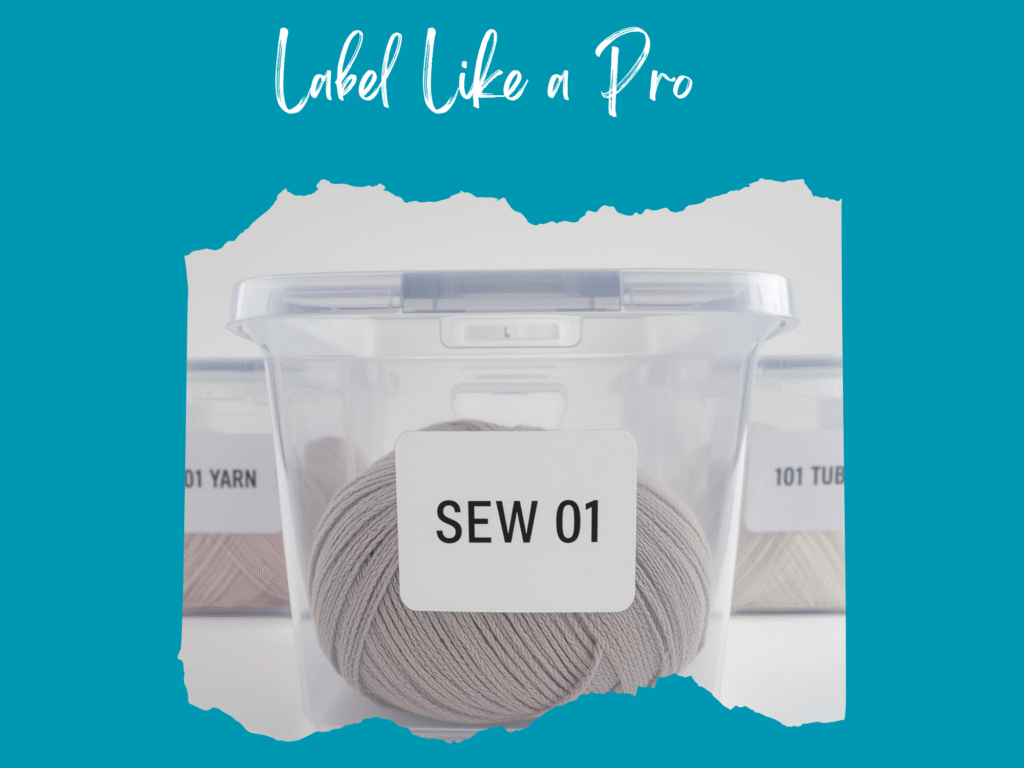
Put the label on the front and on the lid. Add a simple list inside the bin. This keeps craft supplies together and makes cleanup fast. It also helps anyone who shares the room put items back in the right place.
Step 4: Make a Weekly Hobby Schedule
A small space can only handle so much at once. Plan which hobby is “out” on each day. Keep it simple.
- Mon and Tue sewing
- Wed painting
- Thu knitting
- Fri paper crafts
- Sat open day for any project
- Sun reset day
During a session, use short focus blocks. Work 25 minutes, rest 5 minutes. This is the Pomodoro Technique. It helps you move forward without feeling tired. You can learn more and try a free timer at the official site.
This “one hobby out at a time” rule is the secret to organizing craft supplies and keeping them separate, even when you love various hobbies.

Step 5: Set Up a Fast Reset
End each session with a 10 minute reset. Here is my routine:
- Put all tools back in their labeled bin
- Toss scraps that do not belong to today’s craft
- Wipe the table and empty the trash
- Pull out the next day’s bin and place it on the desk
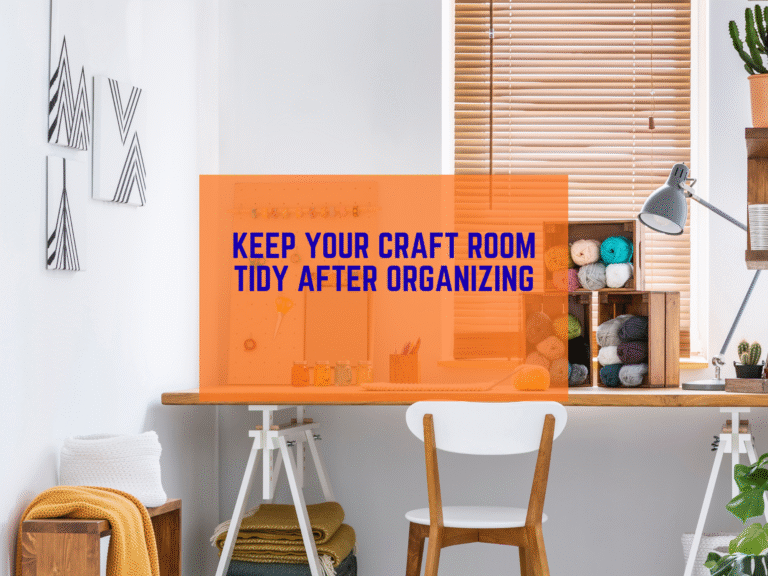
This tiny habit protects your zones. It also keeps storing craft supplies easy because everything has a clear home.
Free Multiple Hobbies, One Organized Craft Room Planner
Download the free, easy-to-use template in the link below to make life a little easier for you as you start your fast crafting journey:
Space Ideas for Common Craft Combos
Sewing + Knitting
Use a rolling cart for sewing notions. Park it beside the machine on sewing days and under the table on other days. Store yarn by weight or project in clear, lidded bins. A pegboard can hold scissors, rulers, and a few skeins you want to admire. Try an IKEA SKÅDIS pegboard for a tight wall space.
Painting + Paper Crafts
Paints and inks need upright storage. Use a shallow drawer for brushes and a bin for wet media. Keep paper flat in magazine files or wide trays. Label by color and weight. A wire shelf with adjustable levels makes room for tall bottles and short trays in the same column.
Tiny Corner Studio
If you only have a corner, go vertical. One pegboard, one tall shelf, one rolling cart. The board holds tools. The shelf holds stacked bins. The cart holds today’s project. Clear bins from The Container Store help you see what you have without opening every box.
Buying List for a Small, Busy Craft Room
- 6 to 10 clear modular bins with lids
- A pegboard with cups, hooks, and small shelves
- 1 rolling cart with 3 tiers
- Label maker or printable labels
- 1 tall shelf with adjustable levels
Shop modular bins, pegboards, and wire shelves using the links above to match your space and budget.
Keep Projects Separate With Kits
Project kits stop drift. Use a large zipper pouch or bin per project. Put the pattern, fabric or yarn, thread, and tools together. Write the next step on a sticky note and put it inside. When it is time to switch, you can put the whole kit away and pull the next one out. This practice is a simple win for organizing craft supplies when you juggle multiple craft projects.
Smart Rules That Protect Your Zones
- One hobby out at a time
- One bin in, one bin back
- Label everything that leaves a bin
- Daily 10 minute reset
- Replace what runs out before starting a new project
Follow these rules and your craft room will stay calm. You will spend more time making, not searching.
Helpful Tools and Next Steps
Want more help planning your space and your week? Read our guides and templates at Trusti ASG. Start with our main blog hub for tips on space, time, and budget, then explore our planning resources.
Final Thoughts
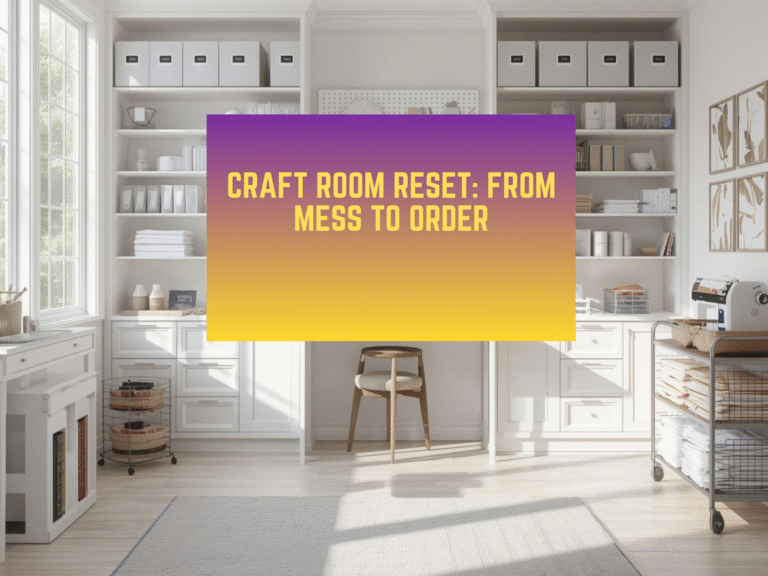
You can love multiple hobbies and still keep a tidy room. With zones, modular bins, and a weekly plan, organizing craft supplies feels easy. You will know where every tool and material are. You will be able to switch crafts without stress. Use these steps to create clear ideas for storing craft supplies that work in a small space. Your craft supplies will stay separate and safe. Your craft room will feel calm, ready, and fun every day.